Strawberry Mango Fruit Leather (Fruit Roll-Ups)
This post may contain affiliate links. As an Amazon Associate and an affiliate for other programs, I earn a commission from qualifying purchases. Read the disclosure policy for more information.
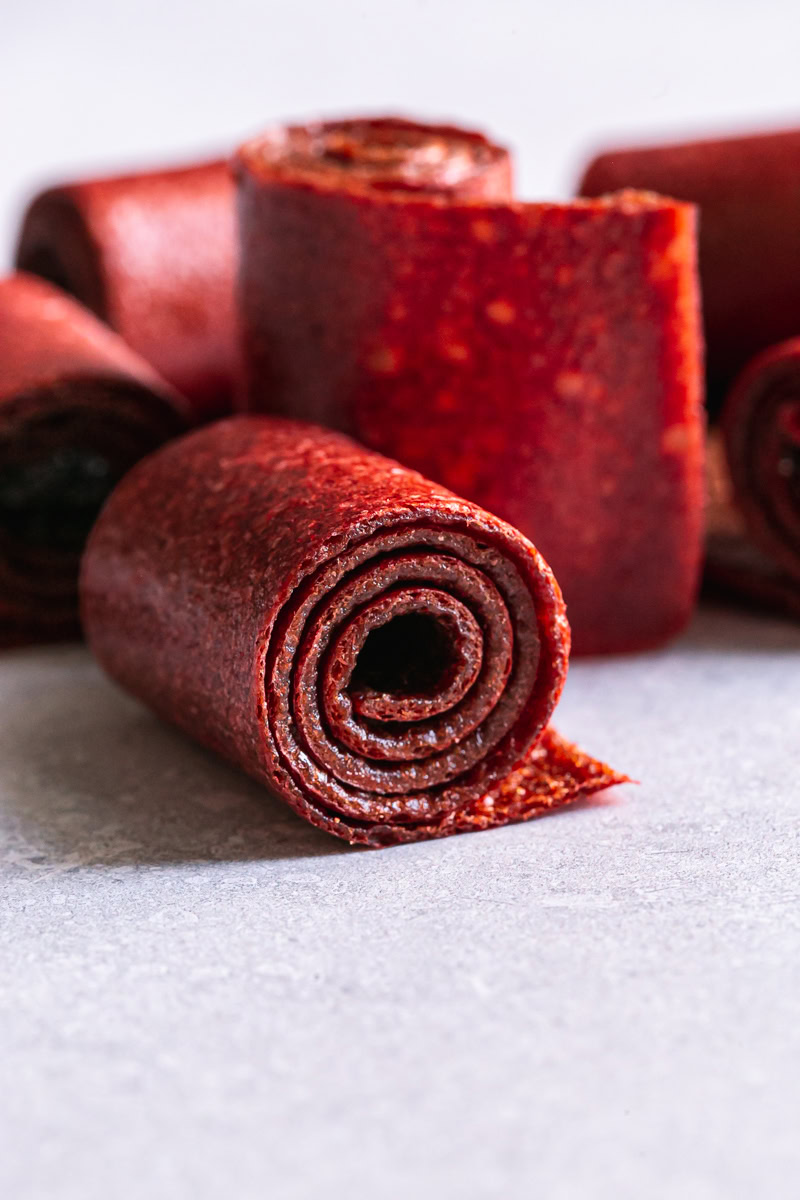
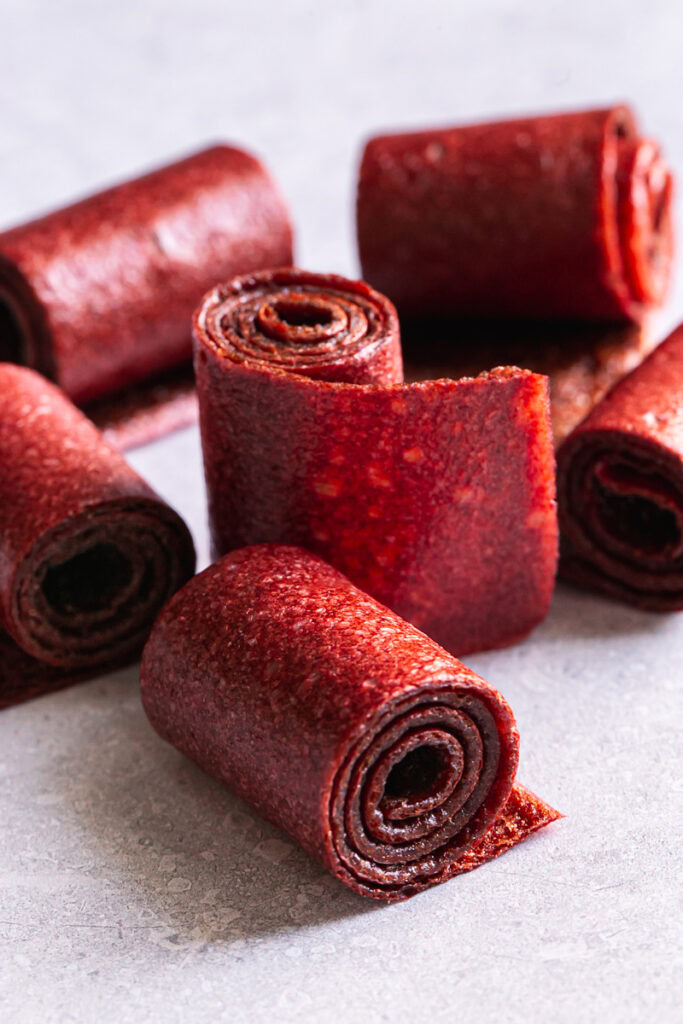
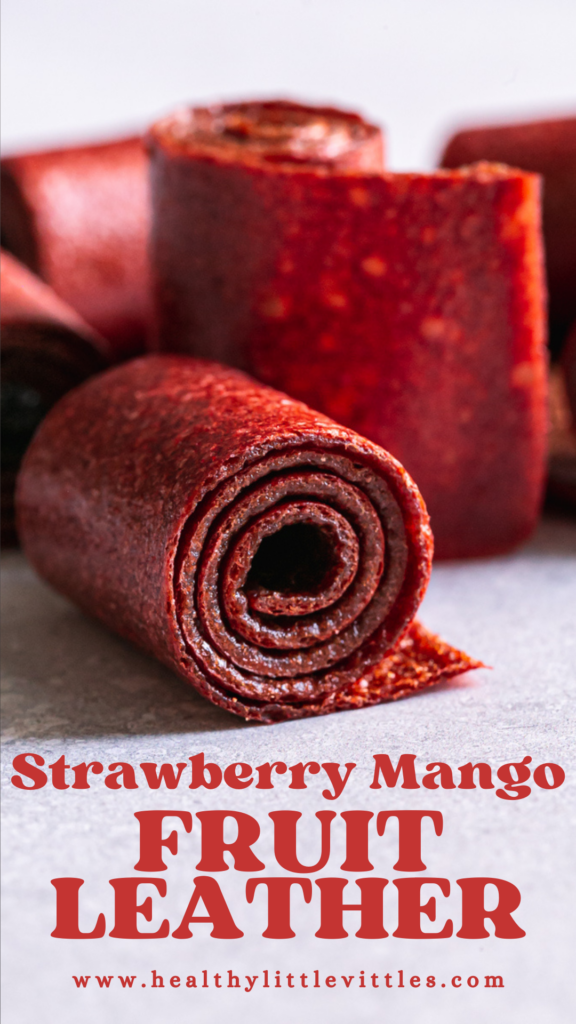
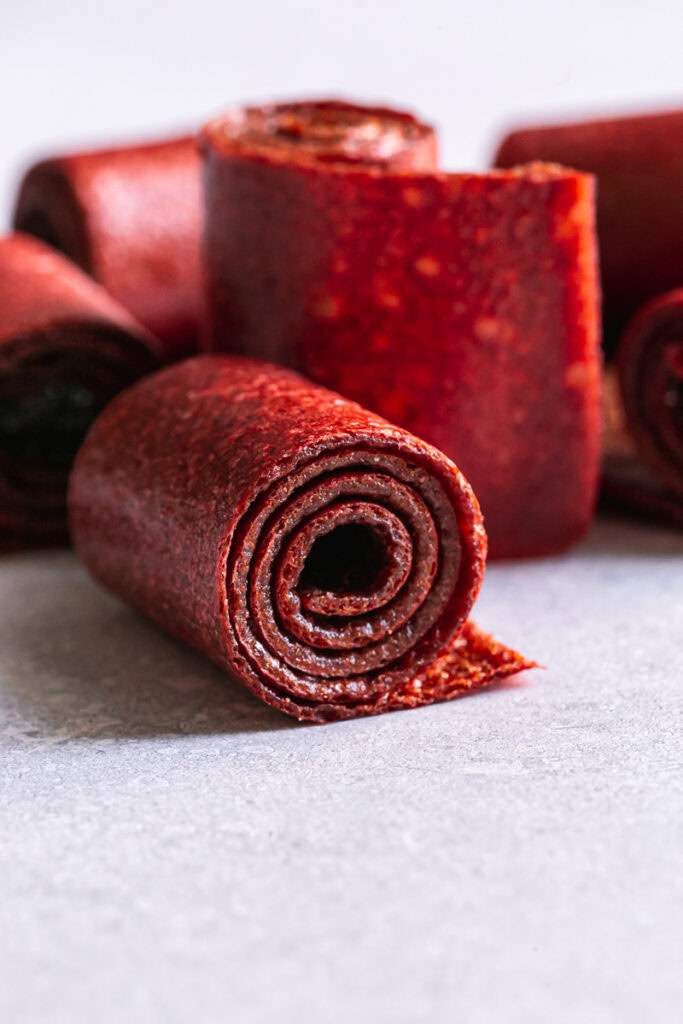
This homemade Strawberry Mango Fruit Leather only requires 4 ingredients and is the perfect snack for school lunches! These fresh, whole food fruit rollups are easily made with real strawberries and mango, dried in the dehydrator (or optionally the oven). 🍓🥭
This was my first attempt at making homemade fruit roll-ups! Why have I waited so long?! 🤔 Making your own fruit leather at home is so easy and made with real fruit, and no artificial fillers or colors. It may seem intimidating, but I promise it’s simple. You just need a little time and patience, as it takes up to 8 hours to fully dehydrate.
What Ingredients You Need To Make Fruit Leather
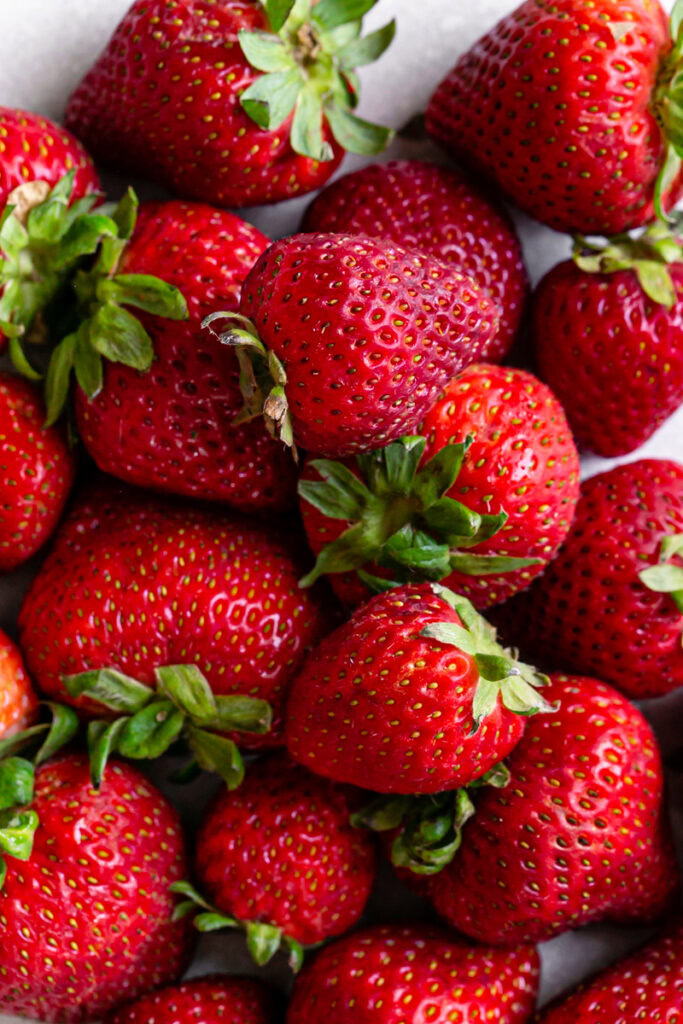
Strawberries 🍓 I used fresh strawberries, you’ll need 3 heaping cups worth.
Mango 🥭 I used frozen mango for ease (it’s already chopped!) but you can feel free to use fresh. If you do use fresh, be mindful that it’s a little juicer than frozen mango, so that may affect the cook time.
Lemon juice 🍋 Adding a tablespoon of lemon juice helps to preserve the color and enhance the flavor. You can use fresh squeezed lemon juice or bottled, but use NOT from concentrate.
Maple syrup 🍁 This is totally optional. If your strawberries aren’t super ripe and sweet you can add a tablespoon of maple syrup.
Do I Need a Dehydrator?
While I do recommend using a dehydrator, you don’t have to have one to make fruit leather. The Denali Dehydrator is a GREAT dehydrator to make this fruit leather making a breeze though! I found it to do a better job than making it in the oven, the fruit leather seemed a bit more bendable and “moist” compared to drying it out in the oven (I did try both methods). My Denali Dehydrator came with a 12×10” silicone baking sheet that’s the perfect depth (1/4 inch) to make this fruit leather. If your dehydrator doesn’t come with one, just grab a small baking sheet, preferably a 9×13” baking sheet.
💡 USE CODE GINAFONTANA for 10% off at Denali.com!
Oven method
The other option is to make the fruit leather in the oven using a baking sheet. Using a Silicone baking mat helps the fruit leather peel off a lot easier, but you can use parchment paper if you don’t have a silicone baking mat. I would spray it with coconut oil beforehand.
How To Make Homemade Fruit Rollups (fruit leather)
You can make this fruit leather recipe in a dehydrator (what I did using my Denali Dehydrator) or the oven. Cook time will vary depending on which you choose, the kind of dehydrator you have or your oven, how thick/thin the fruit mixture is, so I’ll briefly touch on how to tell when it’s done and how to avoid overcooking it below.
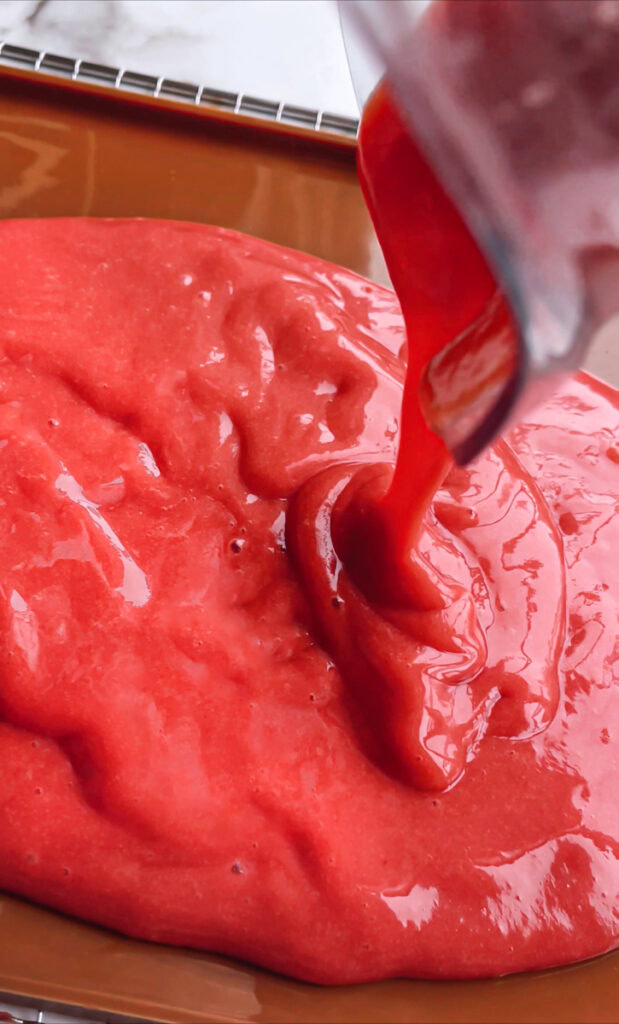
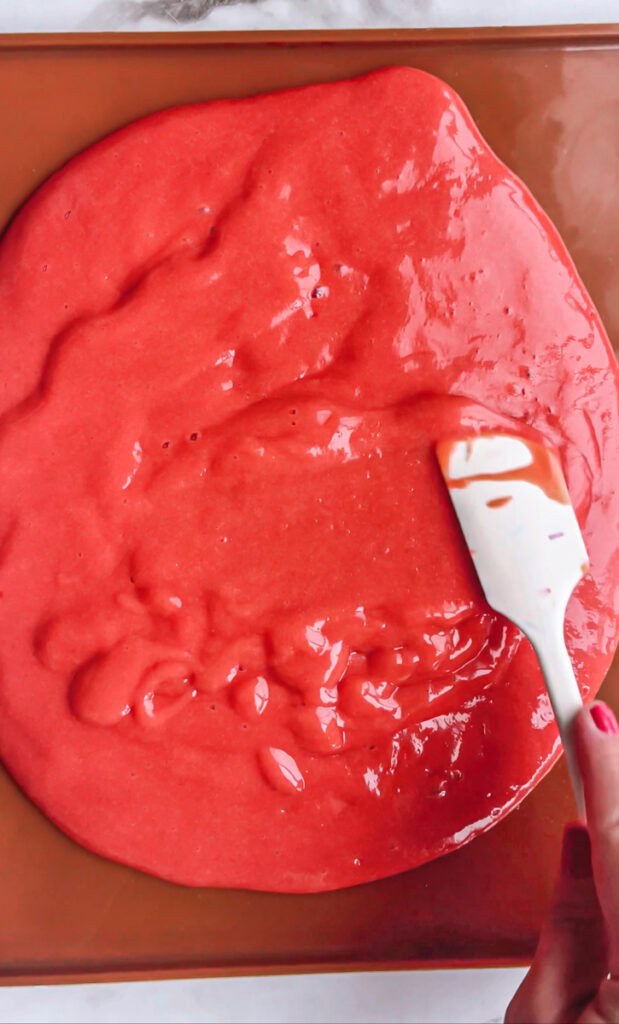
First, wash and slice the tops of the strawberries. Then add them to a blender with the mango, lemon juice and maple syrup. Blend until smooth, it’ll resemble a smoothie consistency. Then pour the mixture onto the silicone baking tray (that comes with the Denali Dehydrator) or parchment-lined baking sheet. Spread the fruit mixture into an even layer the best you can. This will ensure even cook time for the whole sheet so you don’t end up with some crunchy or gooey spots. Dehydrate at 167 degrees Fahrenheit for 8-10 hours.
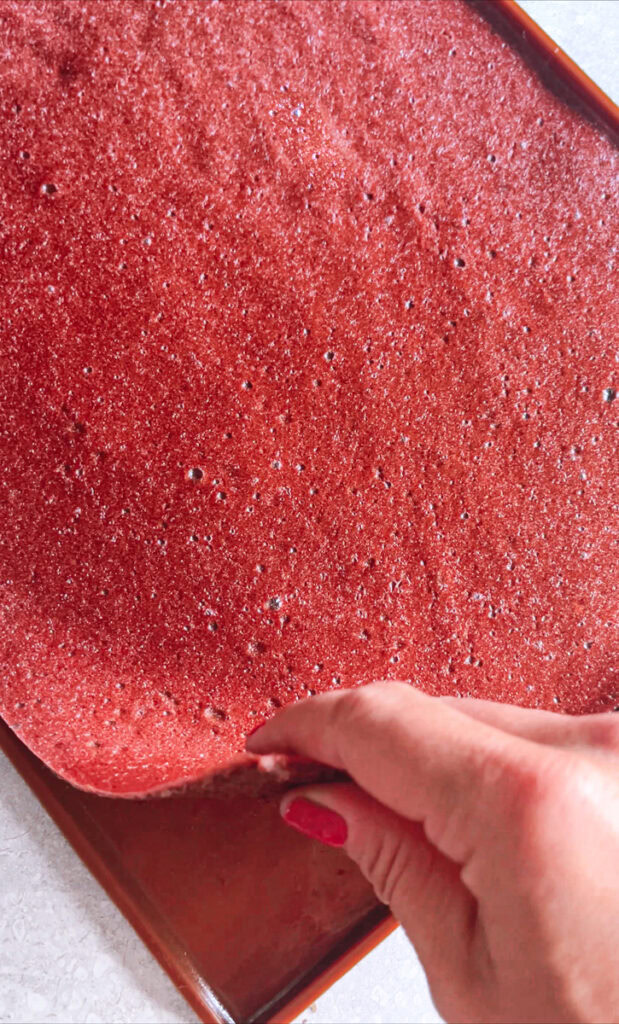
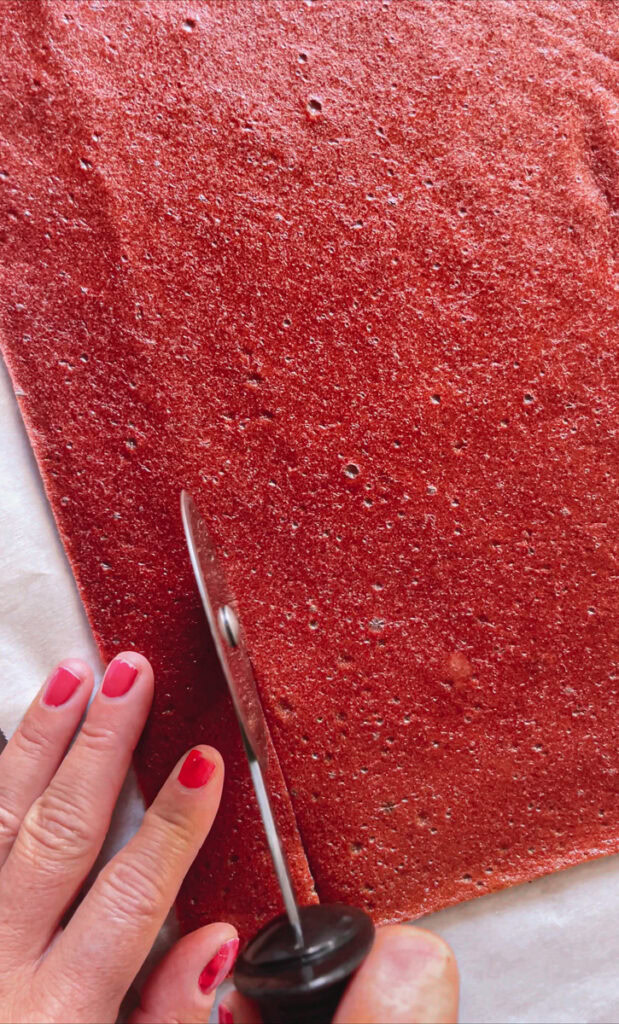
When it’s done, and you can tell it’s done when it’s no longer sticky to touch, and the whole sheet is an even color, gently peel it off the baking tray and slice it. If you used parchment paper, you can just slice through the paper and use that to roll it up! I used a pizza cutter to slice my strips.
Fruit Leather Making Tips
🍓 The runnier or the thicker the purée, the longer it will take to dehydrate. It can take anywhere from 8 to 10 hours, maybe even longer. It’s easy to overcook it, so start with a 4 hour timer, then gently touch the top. If it’s sticky and there’s still “wet spots” it’s not ready. Dehydrate in additional 30-60 minute intervals. Remember, it’s ideal to spread it evenly in a 1/4 inch layer.
🥭 If you do make it in the oven, you may notice the color is a little darker than when making it in the dehydrator. I made this recipe both ways and I definitely prefer the dehydrator method, however, I realize that it’s not ideal for people who don’t have the budget or space for a dehydrator, so I include dehydrating it in the oven as an option.
🍓 Don’t expect this to taste like or have the texture of store-bought fruit roll-ups. Remember, there’s no additives to make this fruit leather that melt-in-your-mouth consistency. But it’s still so delicious, I actually prefer it homemade.
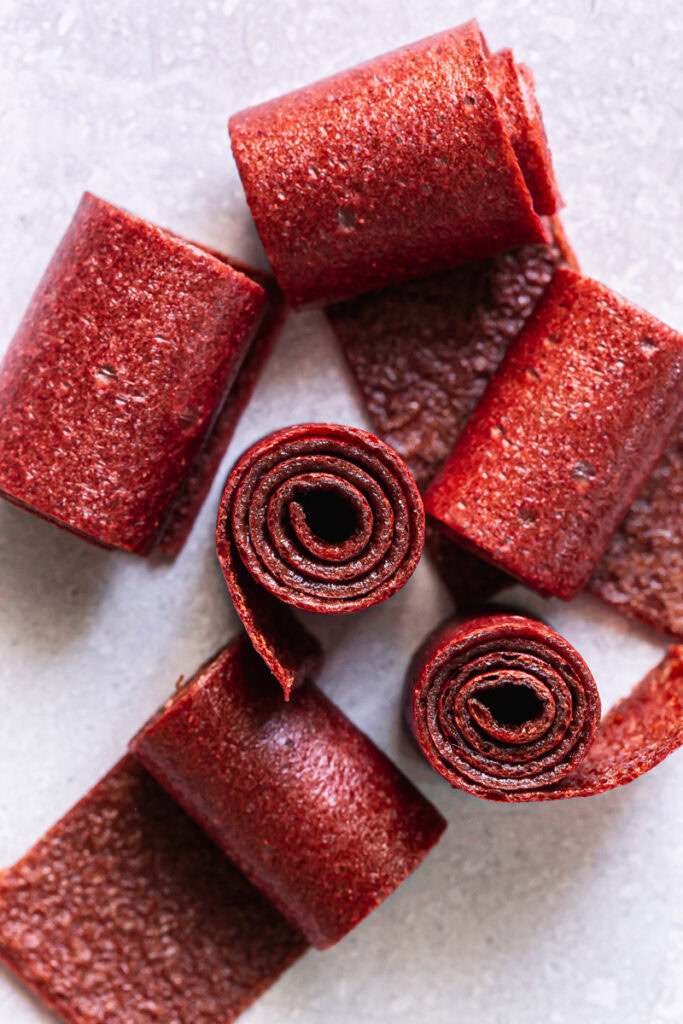
🥭 You can “re-hydrate” the fruit leather if you overcook it by letting it sit out on your counter uncovered. It’ll soften slightly. It’s still good when it’s crunchy, so don’t throw it away!
🍓 It’s really easy for fruit leather to look, feel, and taste differently. There’s a lot of different variable that could effect how it turns out. If it doesn’t work the first time, try again!
How To Store Fruit Leather
Storage. Roll the fruit leather with strips of parchment paper and keep it stored in an airtight container on your counter. Don’t refrigerate it or it will get too hard. You don’t have to worry about it getting moldy sitting out because I know it won’t last that long lol 😝
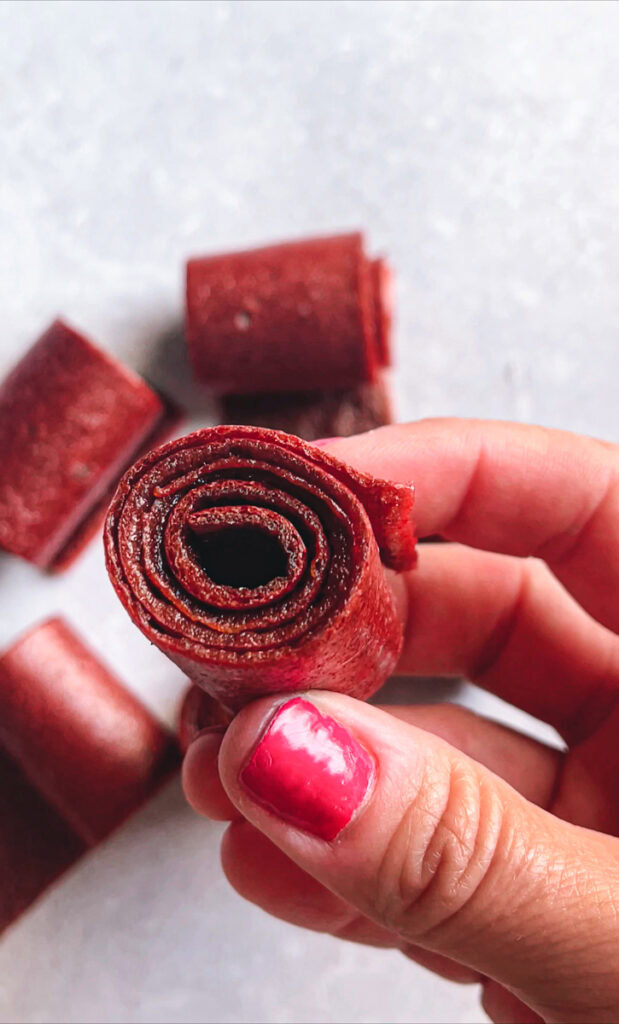
Of course my kids are obsessed with this fruit leather, but I found these roll-ups to be a nostalgic treat myself! I have a feeling I’ll be making more, trying all the fruits! 🍉🍇🍒🍑🫐🍍🥝🥭
Let me know what you think about this homemade strawberry mango fruit roll-up recipe down below in the comments section, as well as giving it a five ⭐️⭐️⭐️⭐️⭐️ rating so that others can discover this healthier alternative! Tag me on Instagram, Facebook, or Pinterest if you make it!

Recipe Video
Strawberry Mango Fruit Leather (fruit roll-ups)
- Total Time: 8 hours 10 minutes
- Yield: 6-10 roll-ups
Description
This homemade Strawberry Mango Fruit Leather only requires 4 ingredients and is the perfect snack for school lunches! These fresh, whole food fruit rollups are easily made with real strawberries and mango, dried in the dehydrator (or optionally the oven).
Ingredients
- 3 cups fresh strawberries
- 1 cup mango, fresh or frozen (I used frozen)
- 1 tablespoon lemon juice
- 1 tablespoon maple syrup (optional)
Instructions
Wash the strawberries, trim the tops off and place into a blender. Add the mango, lemon juice and maple syup and blend until smooth.
Pour the pureé onto a silicon mat-lined baking sheet (see notes). Spread the mixture as evenly as possible, gently tapping the tray on the counter can help to even out the mixture.
Dehydrate at 167 degrees Fahrenheit for 8 hours**, checking on them to make sure you don’t overcook it (it’ll be too crispy to roll). You’ll know they are done when you touch them and it’s no longer sticky.
Slice them into strips and roll them up! You can roll them with parchment paper so they don’t get stuck if you’d like. Store in an airtight container on your counter for up to a week (if you place them in the fridge they get hard).
Notes
READ THE BLOG POST FOR MORE INFORMATION AND TIPS!
I used a silicone baking sheet that came with my Denali Dehydrator (sponsored), if yours doesn’t have one, use a small 12 x 10 in baking sheet/mat. Mine was pretty thick, so a little larger would be ok too.
You could also make this fruit leather in the oven, just bake at 170 degrees F for at least 6 hours, adding more time as needed. You’ll know they are done when you touch them and it’s no longer sticky.
Cook time can vary depending on your dehydrator/oven. I would say start with 4 hours and then check on it every hour thereafter.
- Prep Time: 10 minutes
- Additional Time: 0 hours
- Cook Time: 8 hours
- Category: Snacks
- Cuisine: American





Thank you. This recipe is amazing. It came out perfect. First time ever so thank you!
Hi Callista! I’m so happy to hear that the recipe turned out great and you enjoyed it! 😊 thank you for your kind comment! 🩷
But what temperature do you set your dehydrator to?
Hi Emily, sorry it wasn’t clear. You want to dehydrate using a dehydrator at 167 degrees F or in the oven at 170 degrees F.
These look incredible and so easy to make. I definitely plan on giving the recipe a try!
Thanks Katie! I recommend using a dehydrator, but I have made this recipe in the oven and it worked as well, keep in mind these rollups aren’t exactly like the store bought, highly processed rollups- but my kids (and I) still love them! Hope you do too! 🙂