How To Easily Cut & Shred Red (or Green) Cabbage
This post may contain affiliate links. As an Amazon Associate and an affiliate for other programs, I earn a commission from qualifying purchases. Read the disclosure policy for more information.
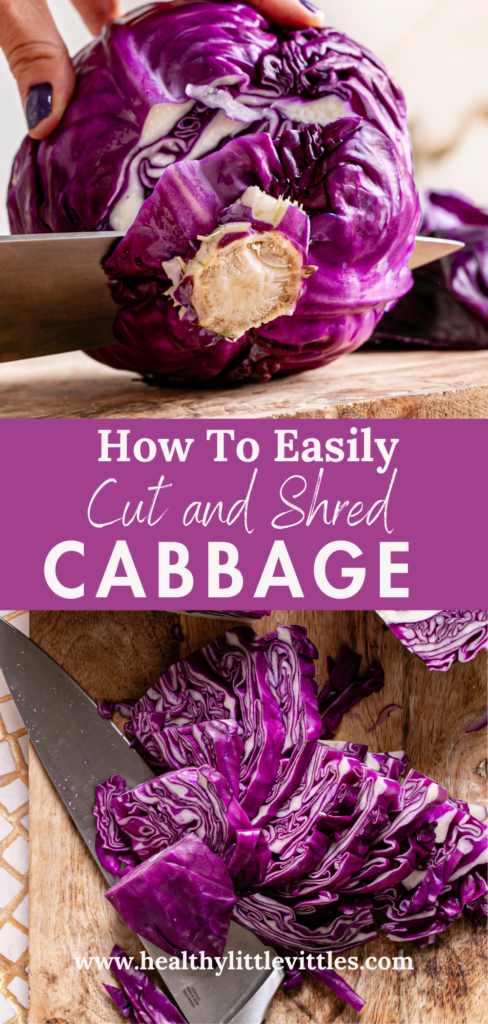
In this step-by-step tutorial post you’ll learn how to easily cut and shred red or green cabbage for a variety of dishes such as coleslaw, tacos, sauerkraut, Asian-inspired noodle dishes and more!
Ok, so I totally understand wanting to buy shredded red cabbage at the supermarket. Or if you’re making coleslaw, just buy a bag of pre-shredded coleslaw mix. But sometimes shredded cabbage is hard to find or sometimes it’s not the freshest tasting because it has been sitting in the store for days already.
Hopefully this tutorial post will take some of the intimidation out of cutting and shredding your own from a whole head of cabbage at home. You got this! 💪🏻
How To Wash Cabbage
The first step before you do anything is to wash the cabbage. Even though we will be removing the outer leaves, don’t skip this step 😉. After you cut the cabbage into quarters (see the next few steps) you can wash the cabbage wedges in a colander with running cold water. Shake them dry or dry them with a clean kitchen towel or paper towels the best you can.
Remove The Outer Cabbage Leaves
Usually you just need to remove the few most outer leaves, the leaves that might be wilted or damaged. We want to use the crispiest, freshest part of the cabbage for the best flavor, texture and recipe results.
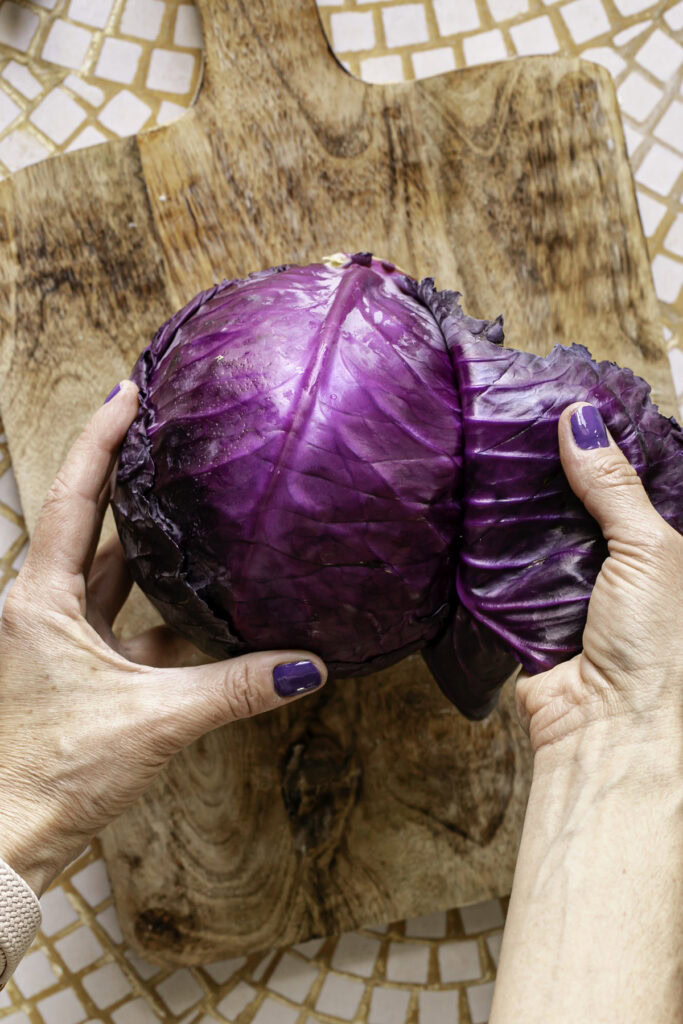
Slice Off The Cabbage Root
You’ll want to use a sharp, high quality knife for cutting cabbage. I like these kitchen knives. Start with placing the head of cabbage on its side, securely holding it in place and slicing off the bottom root of the cabbage. You can then throw away the root.
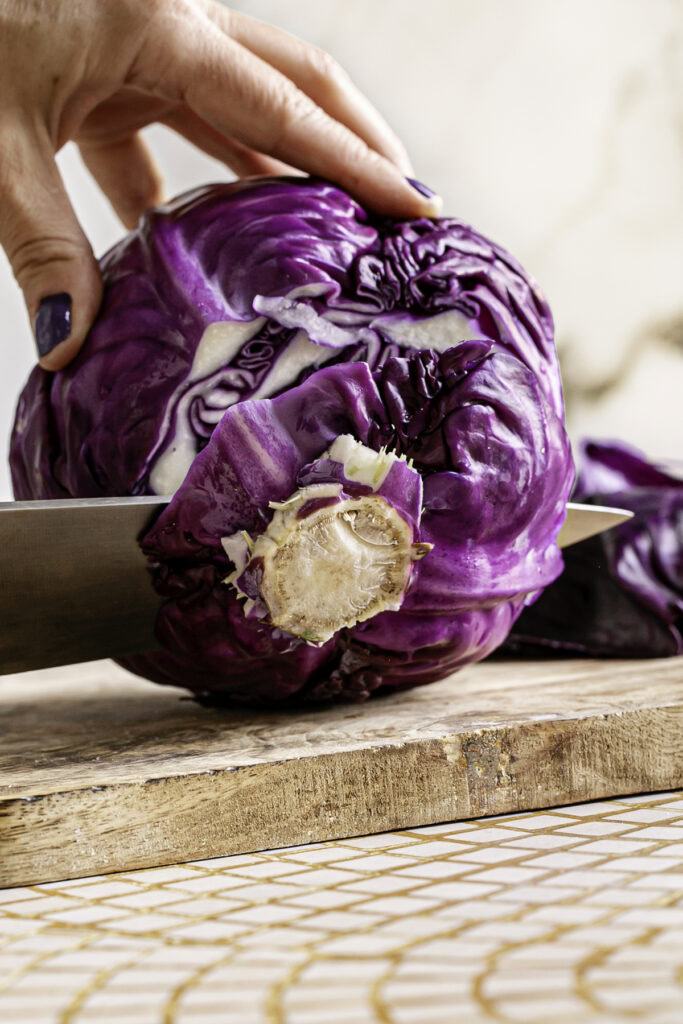
Cut The Cabbage In Half
Next, put the bottom (the root side of the cabbage you just cut off) down onto the cutting board. Slice the cabbage in half all the way through.

Cut Into Four Quarters
Put the flat side of one of the halves you just cut down onto the cutting board like this:
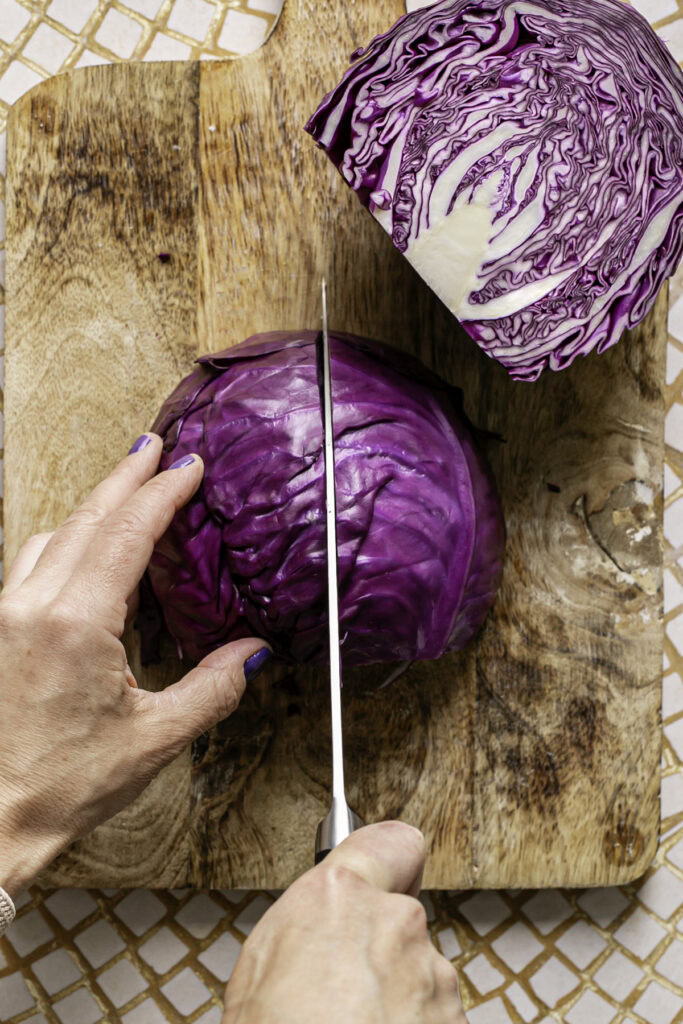
Cut each half of cabbage in half again to create four quarters.
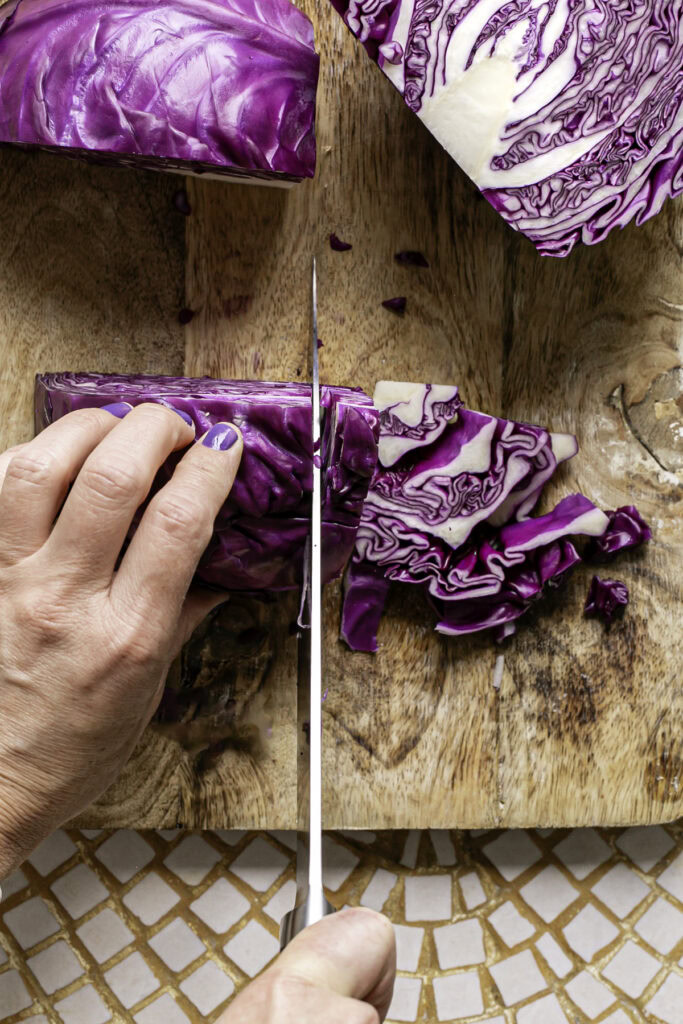
Chopping Cabbage
Now here’s where it becomes different depending on whether you want to chop or shred the cabbage.
If you want to chop the cabbage, you’ll start slicing the quarters of cabbage along the short edge like this:

Again, putting the flat, cut side of the cabbage down onto the cutting board. Repeat this for all four quarters of the cabbage.
Then, you’ll chop the slices you just cut into chunks. Watch those fingers! Using a claw grip is recommended.
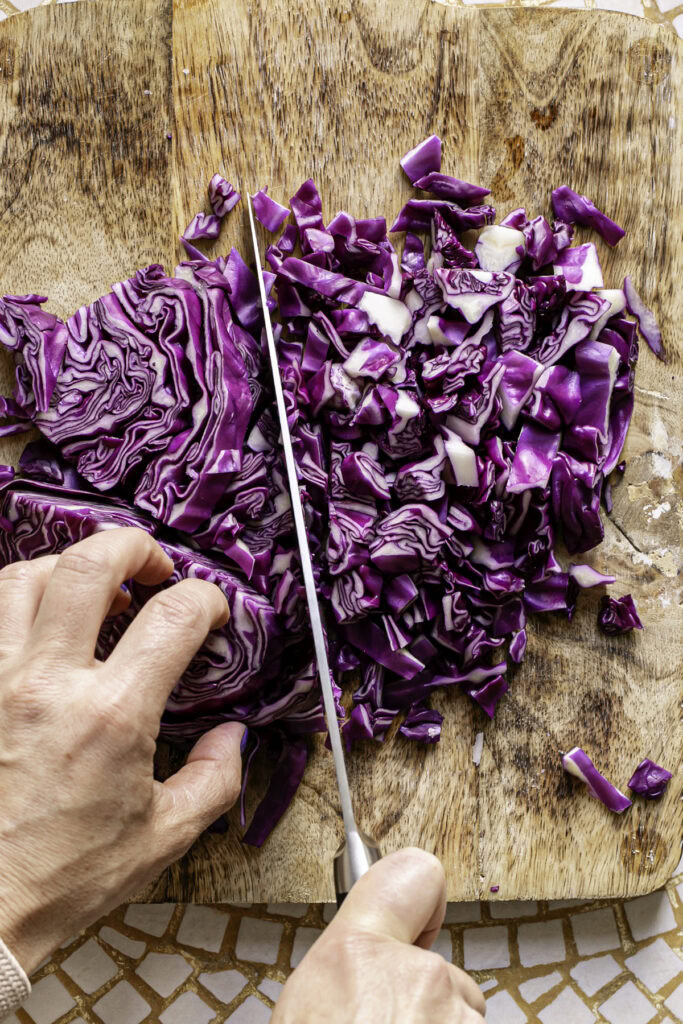
And continue to chop until you achieve the desired size.
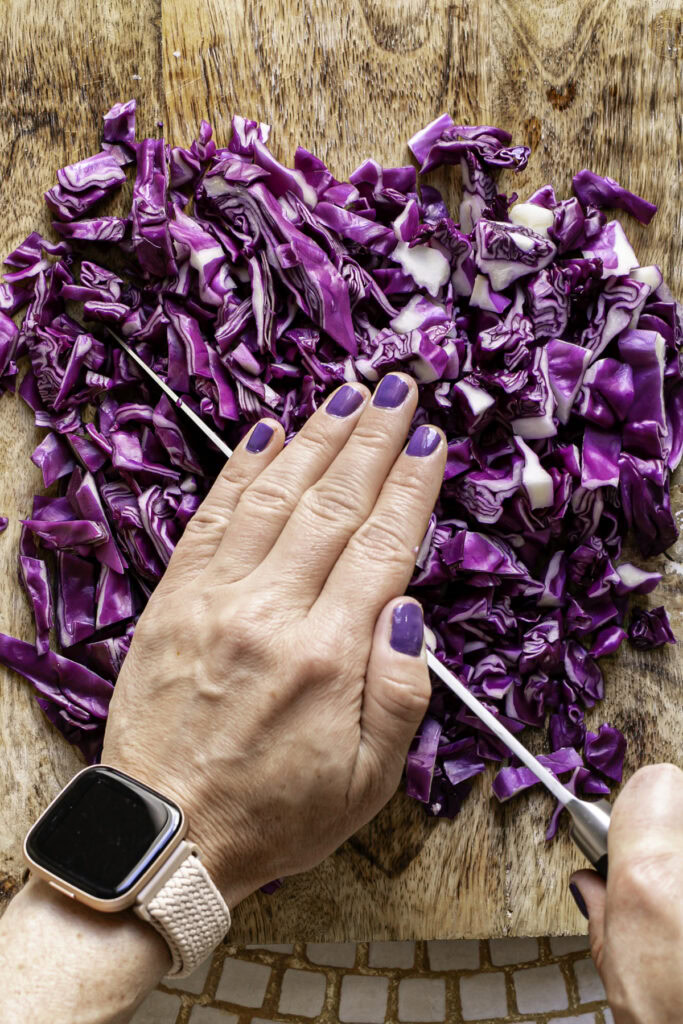
How To Shred Cabbage Using A Knife
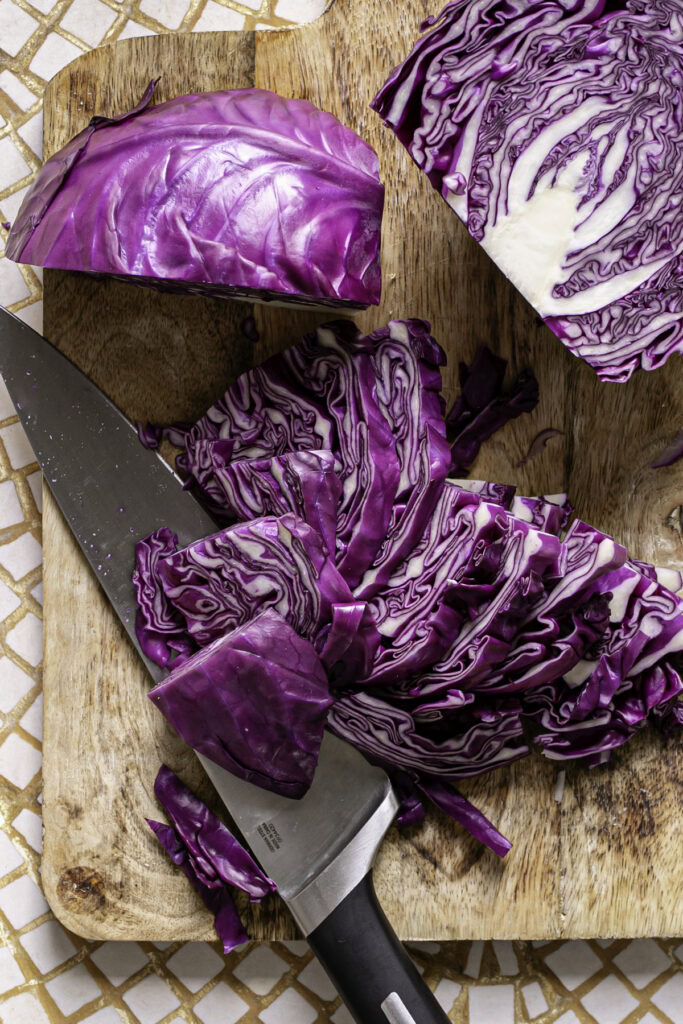
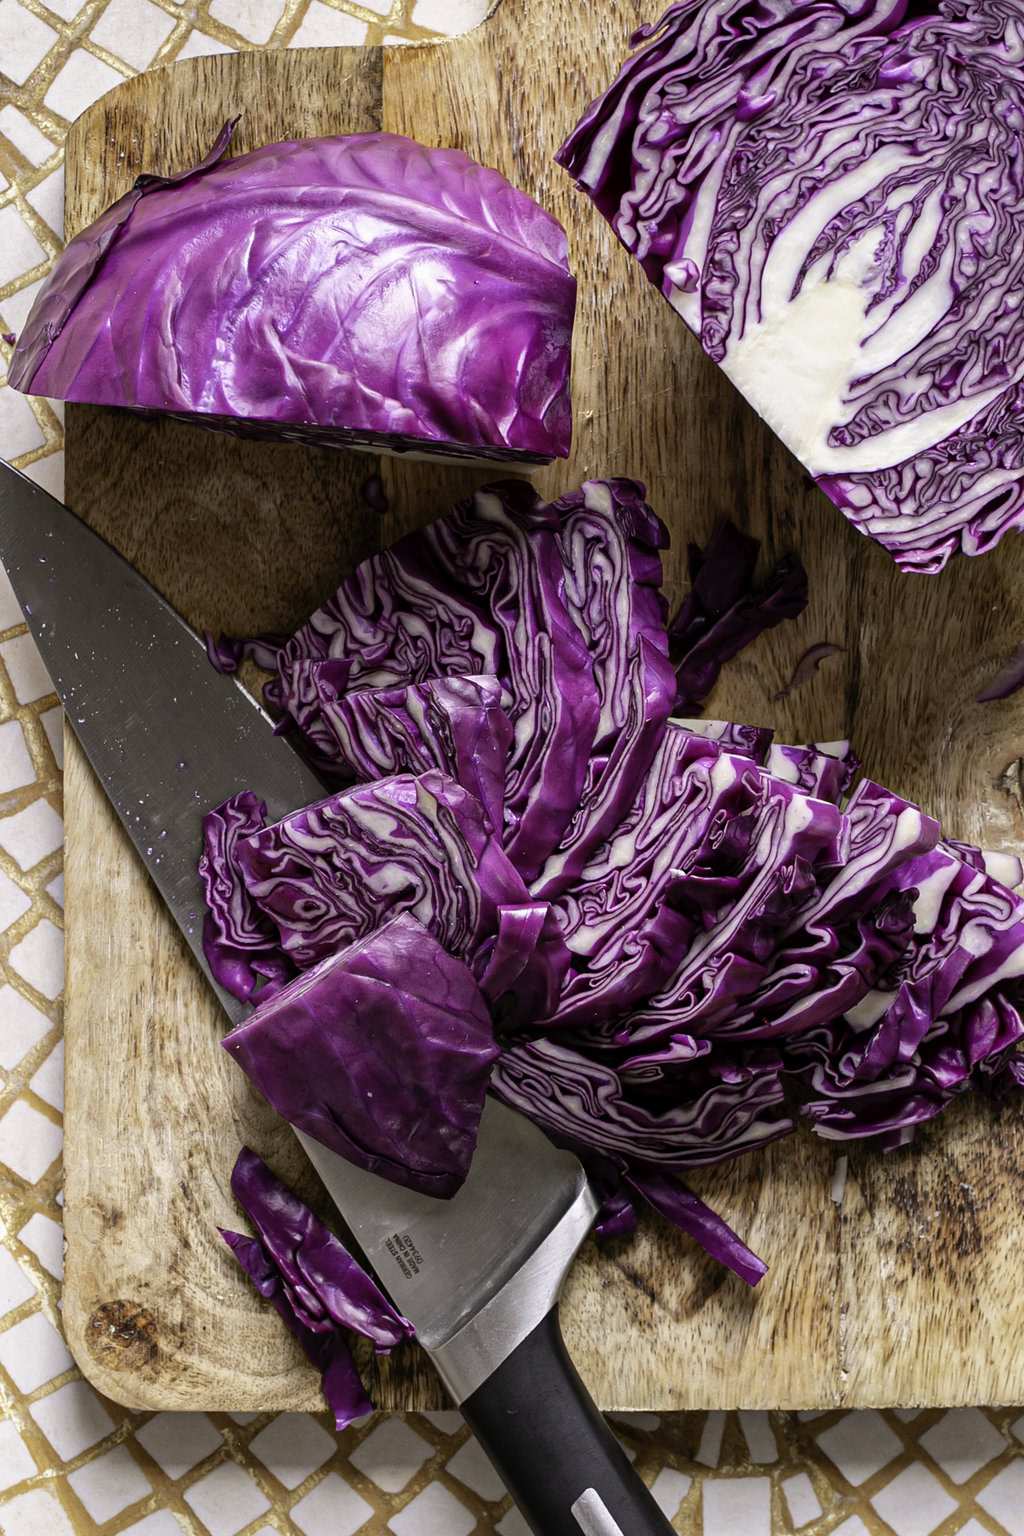
To shred the cabbage, repeat all the steps but instead of slicing the cabbage along the short edge, you want to slice the cabbage very thinly along the long edge like this:
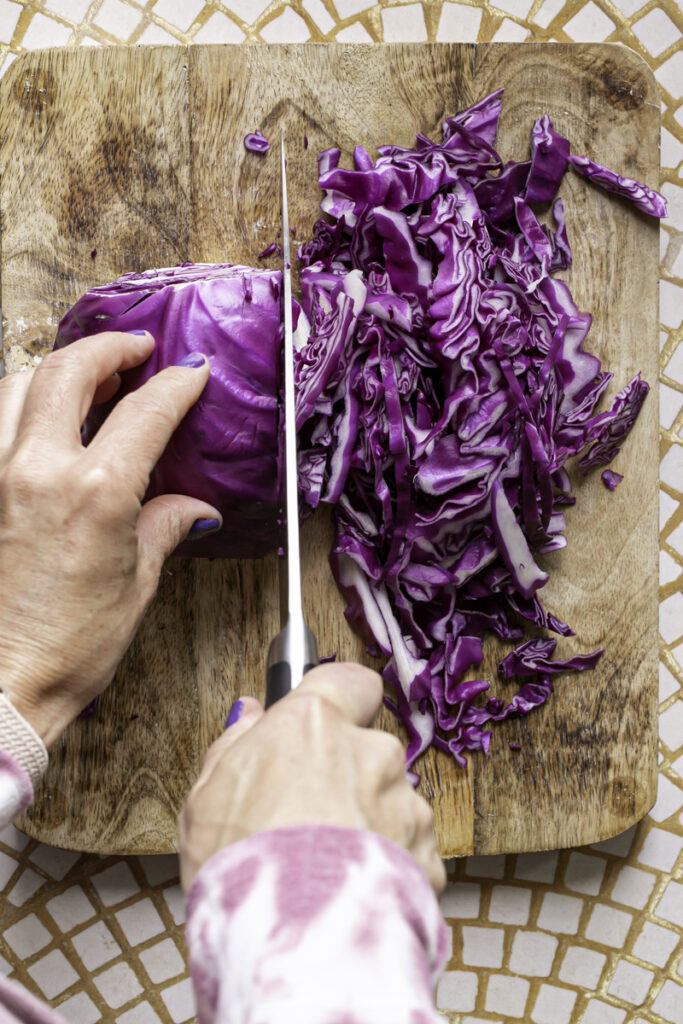
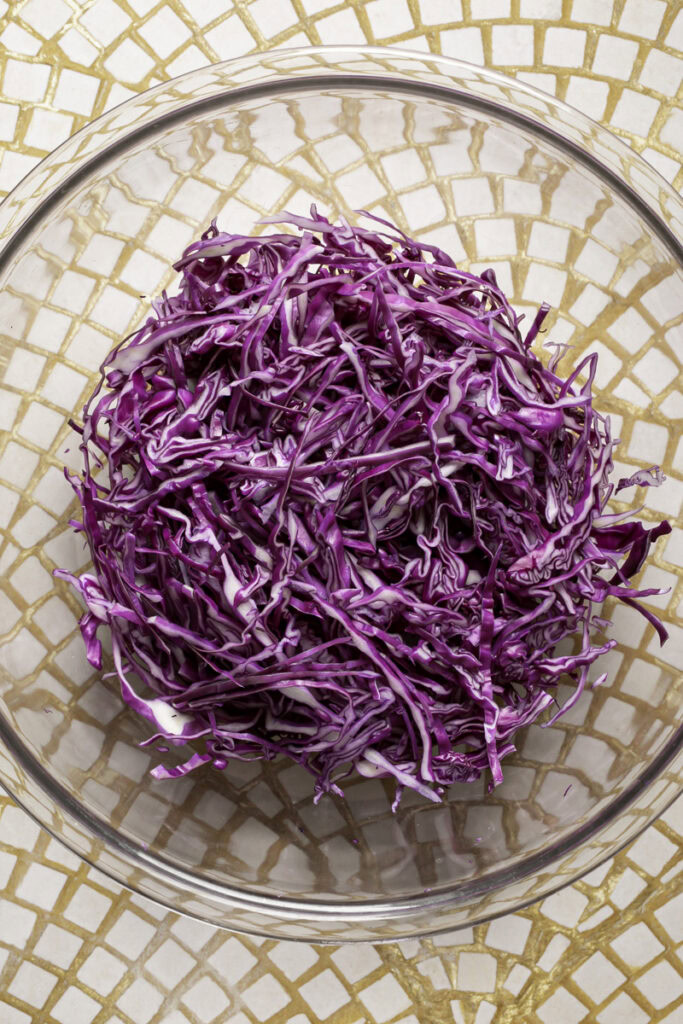
The key is to slice it very thin! This is ideal for making coleslaw.
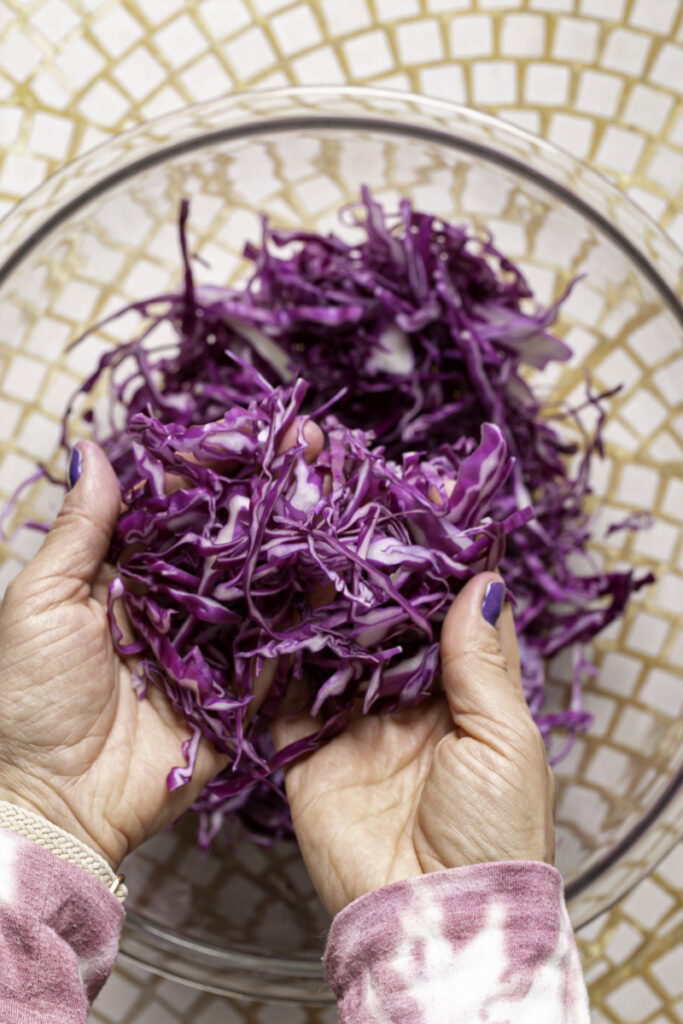
Repeat for all quarters of cabbage and that’s it! 💜 See? Not so intimidating, right?!
Other Methods For Shredding Cabbage
You can also shred cabbage by only cutting the cabbage head in half, and the with the flat cut side down on the cutting board, slice thin slices as you’re rotating the cabbage either clockwise or counterclockwise. I prefer shredding the cabbage with a knife along the long edge of a quartered cabbage as mentioned above. I find it makes longer, thinner shreds. I suppose that is most relevant when making coleslaw.
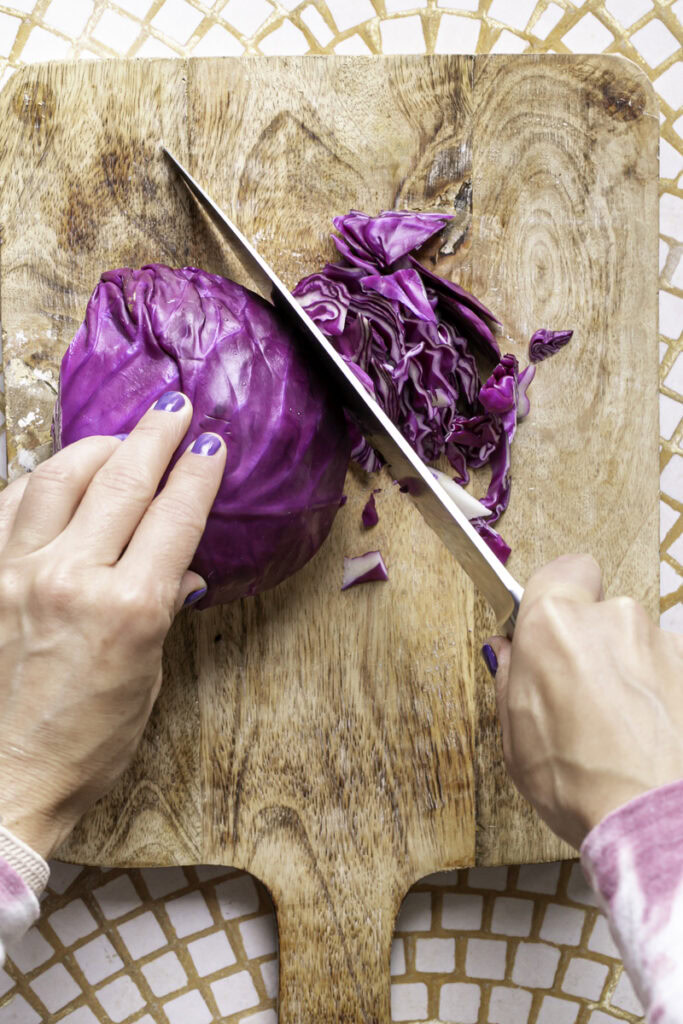
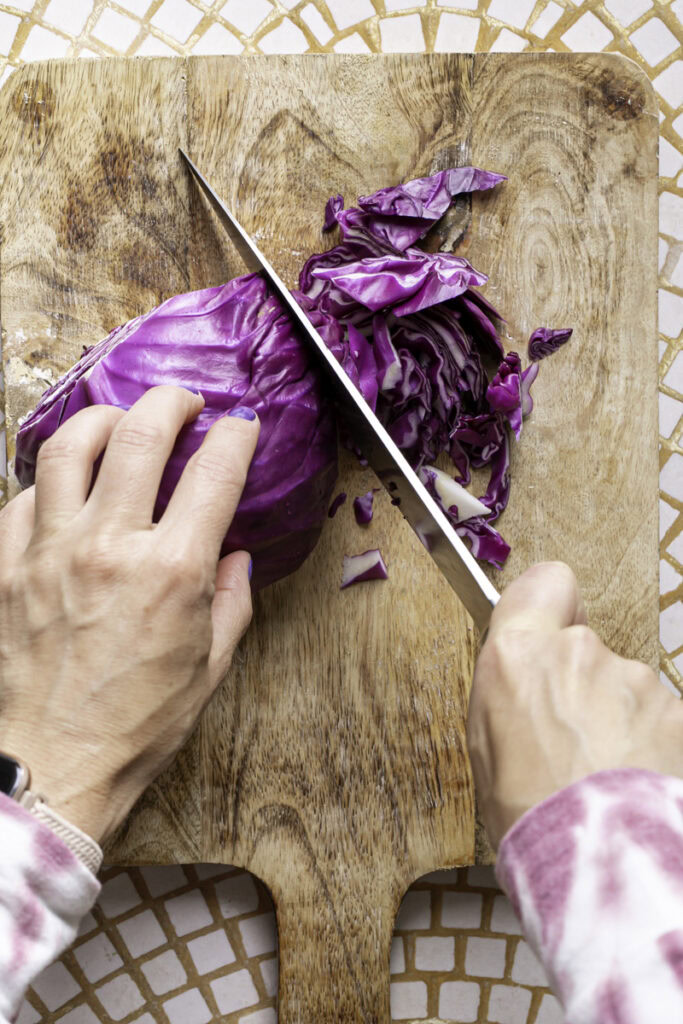
You can also shred cabbage with a large (wide) vegetable peeler or a mandolin slicer.
Some food processors come with a shredding plate/attachment for shredding vegetables.
You could also try a grater, but a grater will likely make the shreds very small- maybe not ideal for coleslaw or sauerkraut.
* Note: I have not tried some of these other methods as I prefer the knife method.
How To Store Cut Cabbage
Cut cabbage should be stored in an airtight container, preferably glass, and kept in the refrigerator.
How Long Does Cabbage Last?
Cut or shredded cabbage will last for three days when stored in an airtight container in the fridge before it starts to brown (oxidize), so be sure to cut the cabbage when you’re ready to use it, or maybe a day ahead of time for meal prep.
A whole head of cabbage will last a 1-2 weeks if kept in the refrigerator.
How To Freeze Cabbage
Freezing cabbage is possible, however you will need to blanch it prior to freezing. Frozen cabbage will only be able to be used in cooked dishes, not raw cabbage recipes, like coleslaw, because the frozen cabbage will lose its crispness when thawed.
Recipes Using Red Cabbage
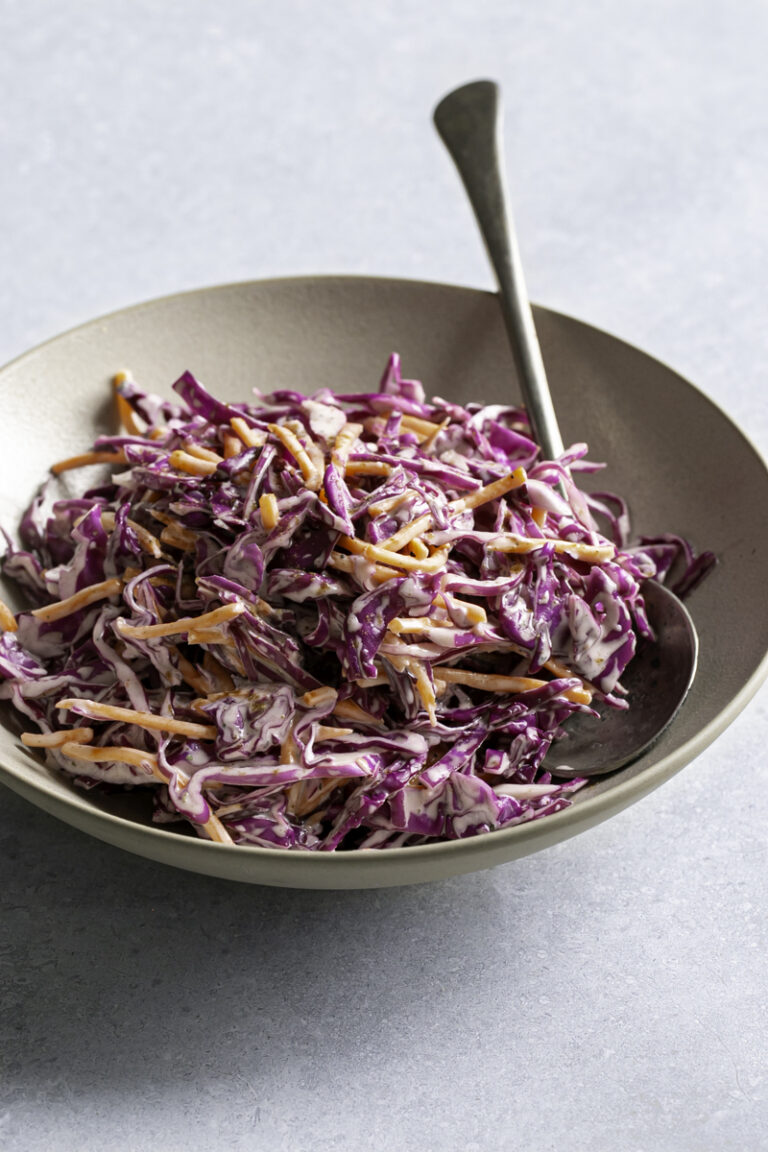
Easy u0026 Crunchy Red Cabbage Coleslaw (Vegan!)
This Easy u0026amp; Crunchy Red Cabbage Coleslaw is the BEST healthy coleslaw thatu0026#x27;s colorful, light and fresh. The bright and crisp raw shredded red cabbage is tossed with shredded carrots and a slightly tangy dressing made with vegan mayonnaise, apple cider vinegar, maple syrup, celery salt, salt u0026amp; pepper, and a squeeze of lime juice. This summer side dish is creamy, crunchy, and comes together quickly in just a few easy steps!
Thai Peanut Glass Noodle Salad
This Thai Peanut Glass Noodle Salad is a Thai-inspired noodle dish that’s made with gluten-free glass noodles, coleslaw cabbage and carrot mix, sweet juicy mango, crunchy cucumber, fresh cilantro and zingy ginger tossed in a mild peanut sauce, topped with crushed crunchy peanuts and finished off with freshly squeezed zesty lime juice!
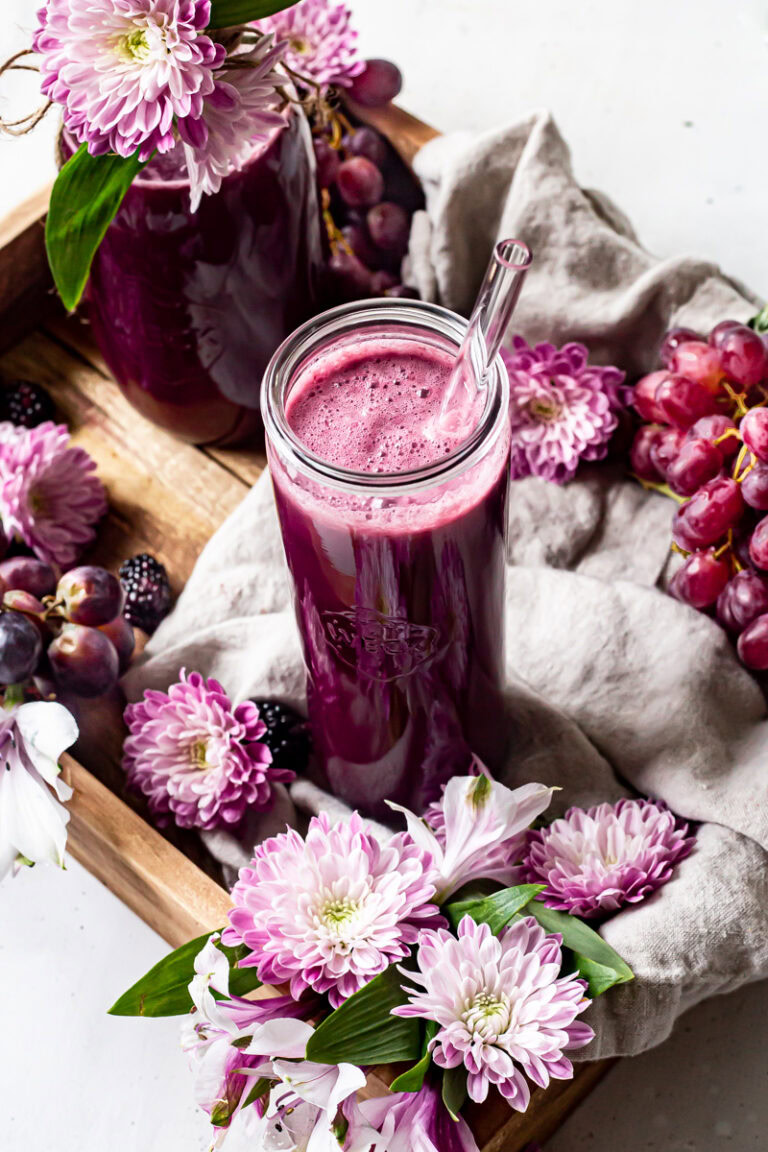
Purple Passion Blender Juice
No juicer needed to make this gorgeous purple juice! All you need is a blender, a nut milk bag (cheesecloth or kitchen towel), and fresh produce! This Purple Passion Blender Juice is made with purple cabbage, grapes, pears, blackberries, lemon, and celery for a healthy homemade juice the whole family will enjoy with no added sugar!
Thai Chopped Salad
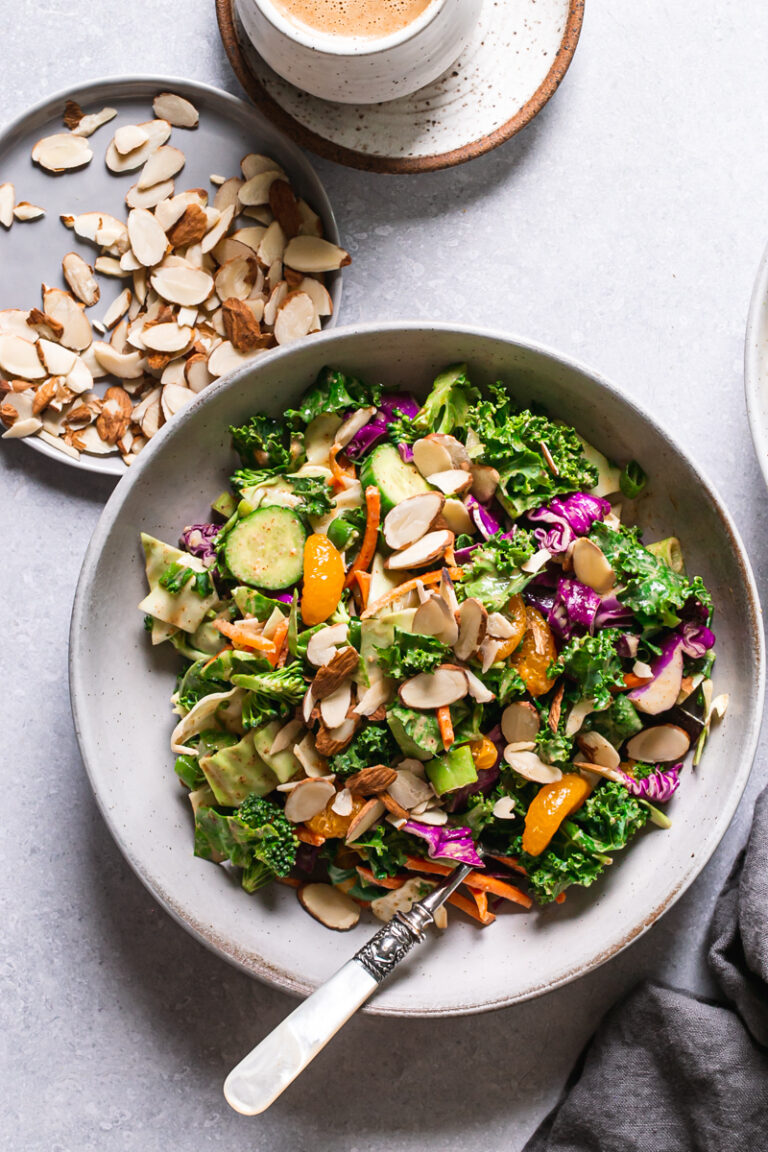
A delicious Thai Chopped Salad using green and purple cabbage, kale, broccoli, carrots, green onion, cilantro, mandarine oranges, and sliced almonds tossed in a simple Thai almond butter dressing for a delicious plant-based meal!
Sesame Kale Spring Rolls
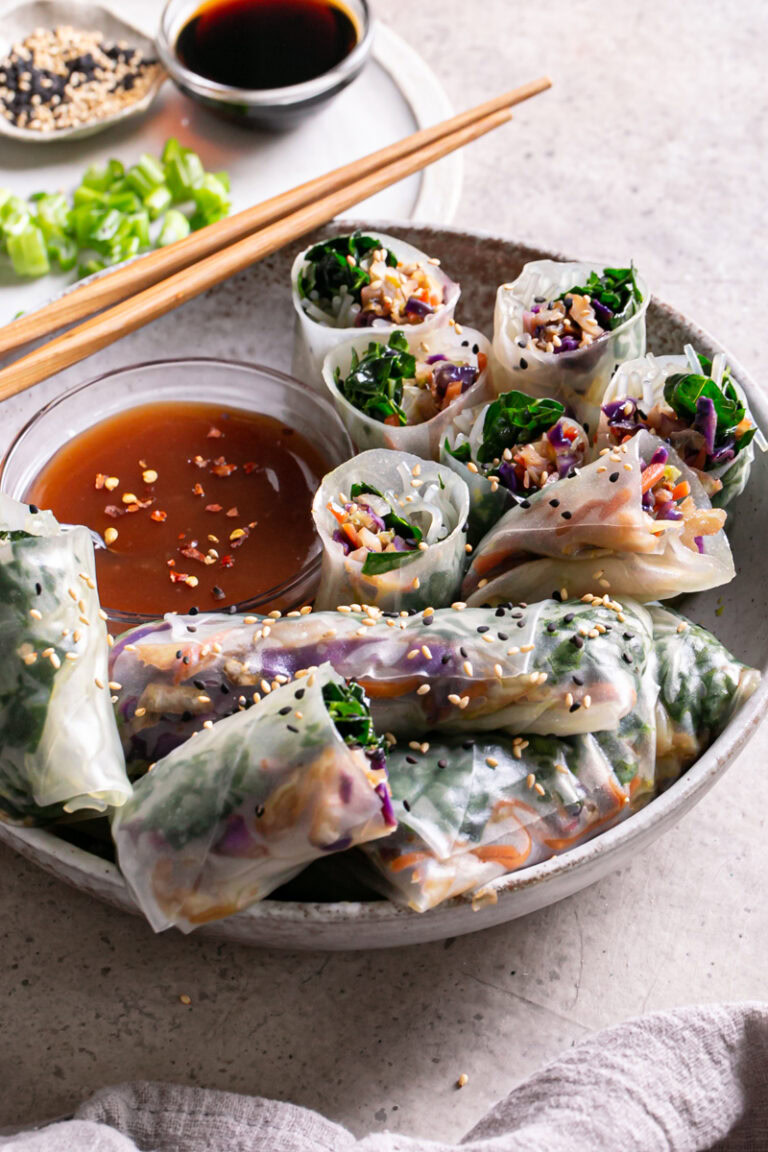
A healthy plant-based meal made with gluten-free rice paper wrappers, japchae noodles, sesame kale, and a cabbage carrot mixture (coleslaw mix). Serve these Sesame Kale Spring Rolls for lunch or dinner with homemade sweet and sour sauce or soy sauce.
Bourbon Cherry Kale Salad with Almond Oat Granola
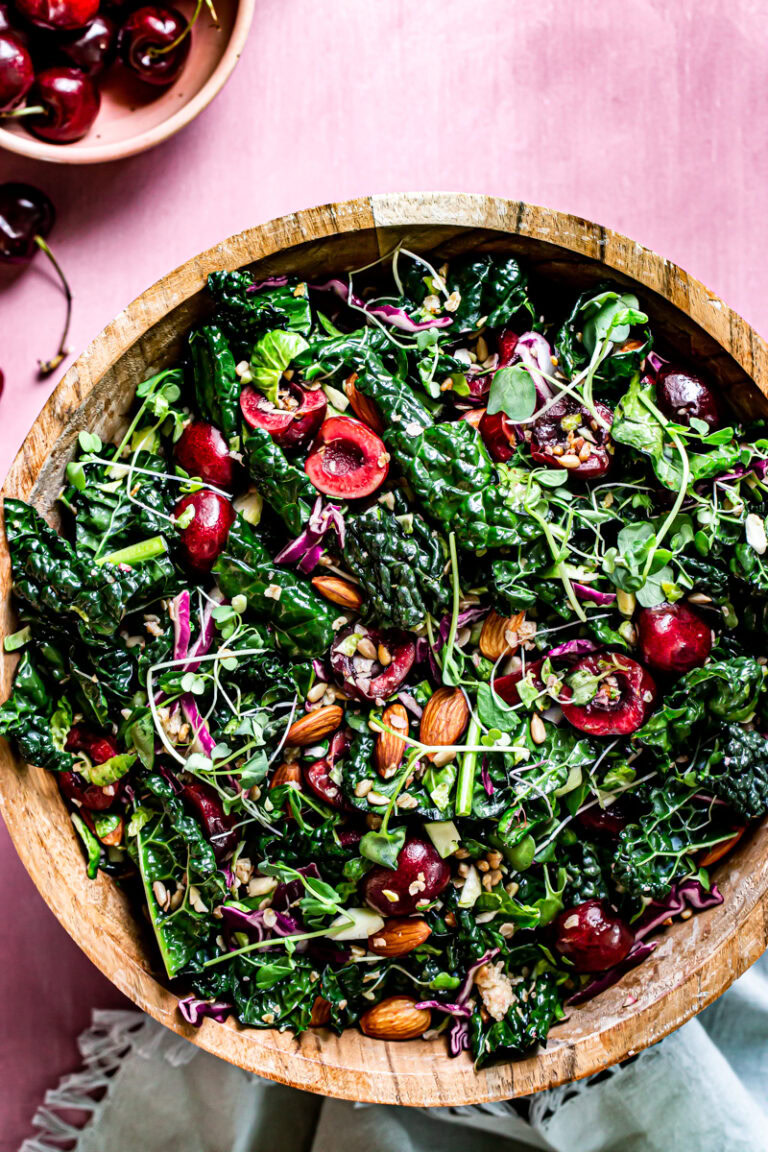
A delicious savory salad that combines kale, red cabbage, brussels sprouts, and fresh sweet cherries tossed in a bourbon cherry balsamic dressing. Then weu0026#x27;ll add a simple almond, oat, sunflower seed granola for a little crunch and the perfect finish to this Bourbon Cherry Kale Salad.
3-Leaf Curried Kale Salad
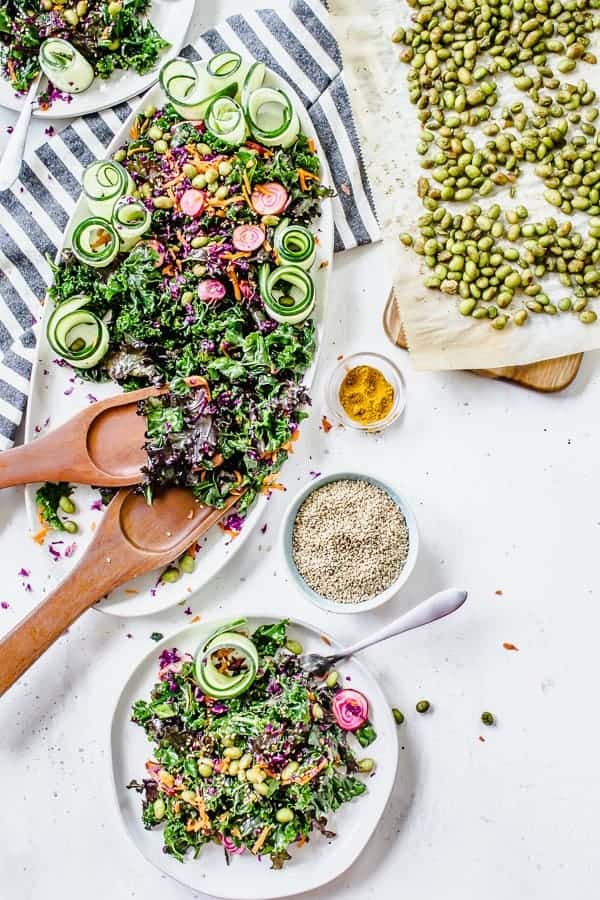
u0026nbsp; Iu0026#8217;m not sure if my craving for kale salads are because itu0026#8217;s u0026#8220;springu0026#8221; (with a chance of snow apparentlyu0026#8230; ugh insert eyeroll emoji) or because I just need a little post-Easter detox. Either way, I am totally indulging. Guys, itu0026#8217;s literally snowing right now as I am typing this. WHHHYYY?!! Anyway, so this weekend I
20-Minute Sriracha Peanut Pad Thai
An easy gluten-free, vegan sriracha peanut pad thai recipe for a quick weeknight dinner! Rice noodles tossed with a mild sriracha peanut sauce topped with fresh red cabbage, carrots, peanuts, cilantro, crispy tofu, ginger and lime juice!
Spring Detox Mason Jar Salads
This is a sponsored post written by me on behalf of Taylor Farms. The opinions and text are all mine. The Taylor Farms products mentioned in this post was sent to me as a gift to use in this recipe, thank you so much!u0026nbsp; Spring has finally sprung friends! I donu0026#8217;t know about you, but
More Tutorial Posts
Roasted Butternut Squash Carrot Soup
Learn how to cut a butternut squash with confidence and make this deliciously easy, 100% made-from-scratch Roasted Butternut Squash Carrot Soup! Itu0026#x27;s thick and creamy, gluten-free, vegan, and loaded with plant-based nutrients!
How to Make Vegan Buttermilk
This Vegan Buttermilk recipe is my go-to for making by gluten-free baked good light and fluffy without adding eggs! It only requires 2 simple, plant-based ingredients and perfect for gluten-free, vegan baking!
Quick u0026 Crunchy Refrigerator Sweet Pickles
An easy Refrigerator Sweet Pickles recipe that takes minimal ingredients and time to prepare and are ready to eat in a few days! You donu0026#x27;t need any canning equipment, and this pickle recipe is a great way to use up leftover cucumbers from your summer garden!
Garden Fresh Restaurant Style Canned Salsa
This Garden Fresh Restaurant Style Canned Salsa uses simple ingredients and the water bath canning method. Itu0026#x27;s so easy and is the best way to preserve all of the tomatoes from your garden you canu0026#x27;t consume before they go bad. This homemade mild-spiced salsa is perfect with tortilla chips, for your next taco night, enchiladas, and even in soup!
30 Easy Almond Flour Recipes (plus homemade almond flour!)
You can make your own almond flour with just one ingredient easily at home! Homemade almond flour is simple to make using a food processor or high quality blender.
2-Ingredient Sugared Cranberries
If you like the sweet and tart snacking combo, these 2-Ingredient Sugared Cranberries are for you! They make a festive garnish for drinks, desserts, pancakes and waffles and are perfect for holiday snacking, too!
Strawberry Mango Fruit Leather (Fruit Roll-Ups)
This homemade Strawberry Mango Fruit Leather only requires 4 ingredients and is the perfect snack for school lunches! These fresh, whole food fruit rollups are easily made with real strawberries and mango, dried in the dehydrator (or optionally the oven).
Caramelized Onion and Garlic Roasted Tomato Sauce
Use your home grown tomatoes from the garden to make this simple Caramelized Onion and Garlic Roasted Tomato Sauce! This fresh, garden-to-table pasta sauce is so flavorful by simmering the sweet and salty caramelized onions and garlic with the tomatoes, and classically herby with the addition of fresh basil and oregano. It’s perfect for pasta night tossed with your favorite gluten-free noodles!
I hope you found this How to Easily Cut & Shred Red (or Green) Cabbage post helpful! I’d love to hear how you’re including red or green cabbage into your recipes! Please leave a comment below or pop any questions you have in the comments box👇🏻.

How To Cut & Shred Red (or Green) Cabbage
- Total Time: 10 minutes
Description
In this step-by-step tutorial post you’ll learn how to easily cut and shred red or green cabbage for a variety of dishes such as coleslaw, tacos, sauerkraut, Asian-inspired noodle dishes and more!
Ingredients
- 1 head of red and/or green cabbage
Instructions
The first step before you do anything is to wash the cabbage. Even though we will be removing the outer leaves, don’t skip this step. After your wash the cabbage, remove the few most outer leaves, the leaves that might be wilted or damaged. We want to use the crispiest, freshest part of the cabbage for the best flavor, texture and recipe results.
[mv_img id=”15917″]
You’ll want to use a sharp, high quality knife for cutting cabbage. Start with placing the head of cabbage on its side, securely holding it in place and slicing off the bottom root of the cabbage. You can then throw away the root.
[mv_img id=”15915″]
Next, put the bottom (the root side of the cabbage you just cut off) down onto the cutting board. Slice the cabbage in half all the way through.
[mv_img id=”15916″]
Put the flat side of one of the halves you just cut down onto the cutting board like this:
[mv_img id=”15914″]
Cut each half of cabbage in half again to create four quarters.
[mv_img id=”15913″]
After you cut the cabbage into quarters you can wash the cabbage wedges in a colander with running cold water. Shake them dry or dry them with a clean kitchen towel or paper towels the best you can.
Now here’s where it becomes different depending on whether you want to chop or shred the cabbage.
Chopping Cabbage
You’ll start slicing the quarters of cabbage along the short edge like this:
[mv_img id=”15912″]
Again, putting the flat, cut side of the cabbage down onto the cutting board. Repeat this for all four quarters of the cabbage. Then, you’ll chop the slices you just cut into chunks. Watch those fingers! Using a claw grip is recommended.
[mv_img id=”15910″]
And continue to chop until you achieve the desired size.
[mv_img id=”15909″]
Shredding Cabbage
To shred cabbage, repeat all the steps but instead of slicing the cabbage along the short edge, you want to slice the cabbage very thinly along the long edge like this:
[mv_img id=”15944″]
The key is to slice it very thin! This is ideal for making coleslaw.
[mv_img id=”15945″]
Repeat for all quarters of cabbage and that’s it!
READ MY POST FOR OTHER METHODS FOR SHREDDING & FREEZING CABBAGE.
Cut cabbage should be stored in an airtight container, preferably glass, and kept in the refrigerator for up to three days. A whole head of cabbage will keep fresh in the fridge for 1-2 weeks.
- Prep Time: 10 minutes
- Additional Time: 0 hours
- Cook Time: 0 hours
