Garden Fresh Restaurant Style Canned Salsa
This post may contain affiliate links. As an Amazon Associate and an affiliate for other programs, I earn a commission from qualifying purchases. Read the disclosure policy for more information.
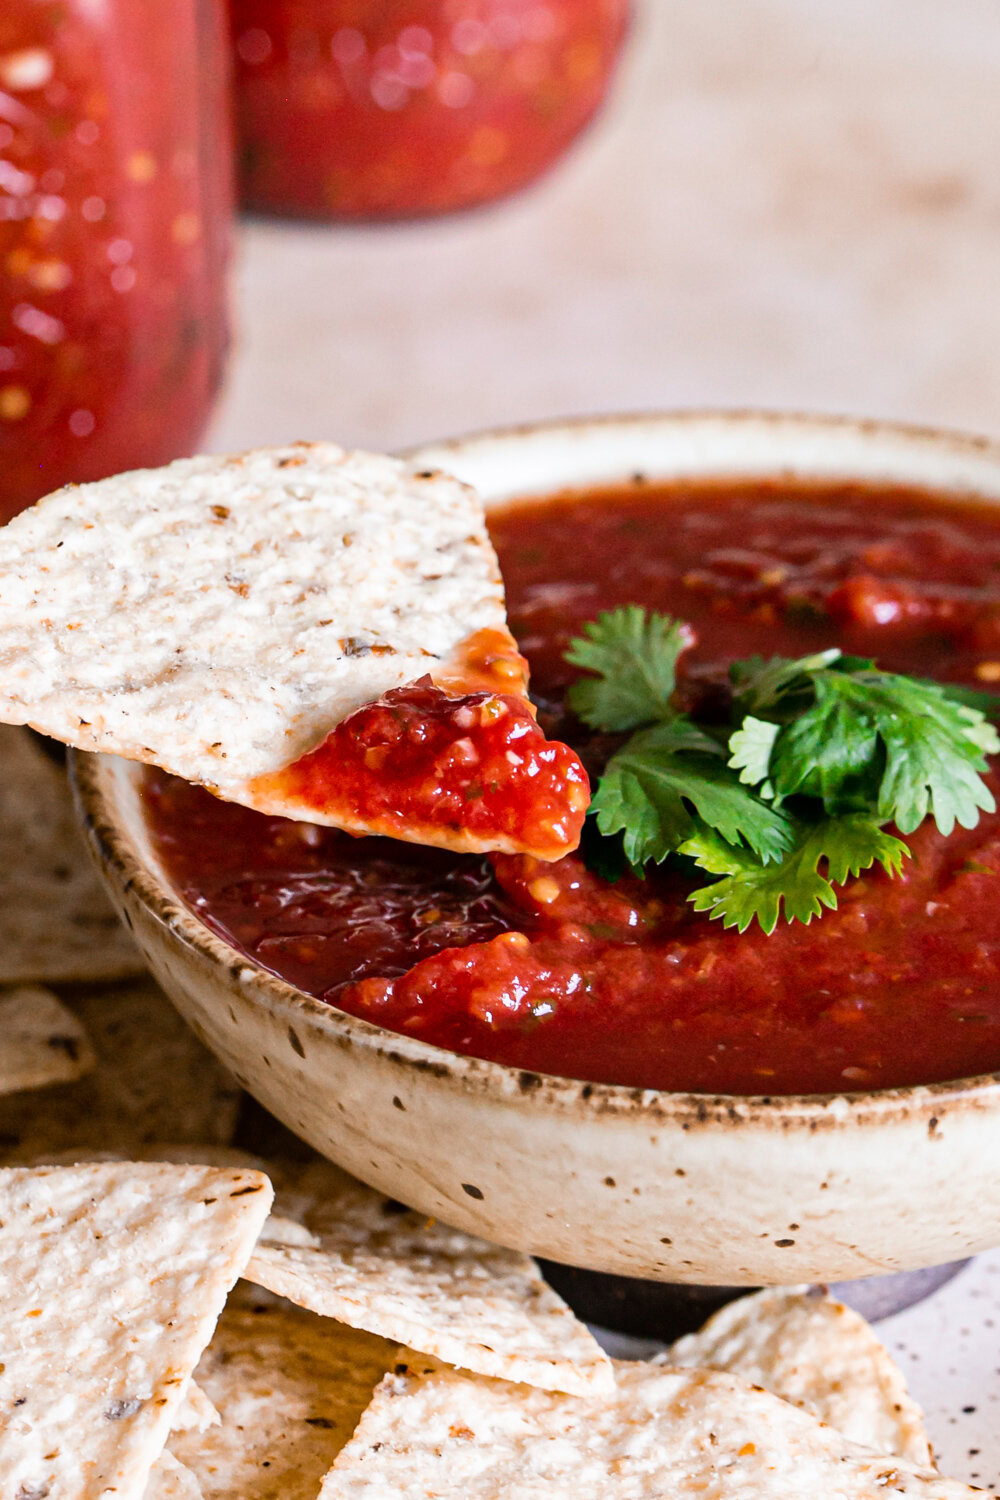
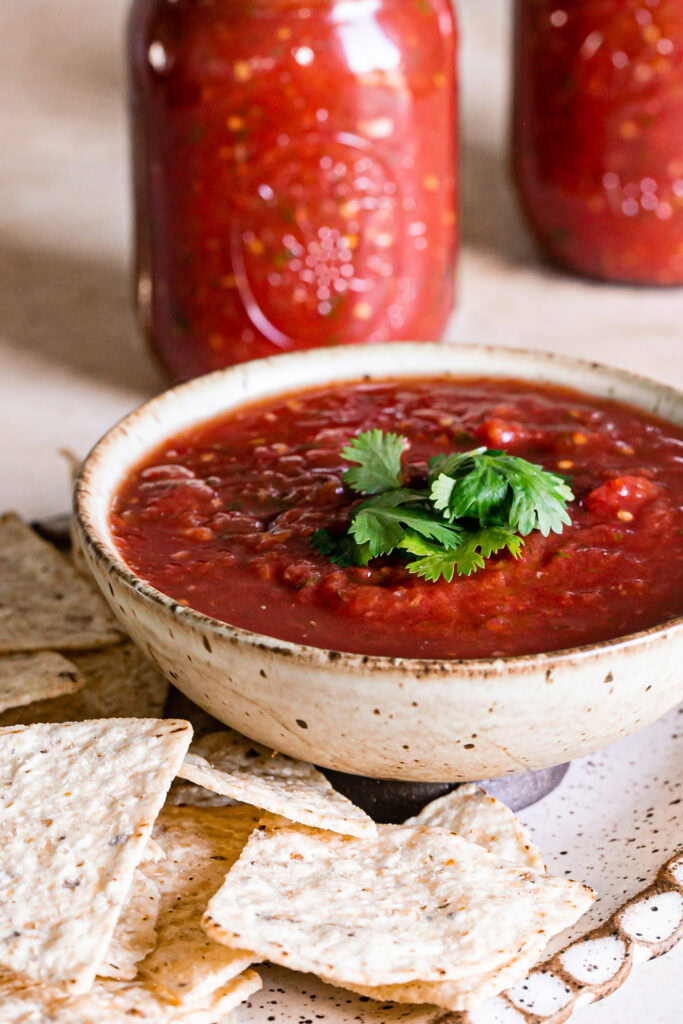
This Garden Fresh Restaurant Style Canned Salsa uses simple ingredients and the water bath canning method. It’s so easy and is the best way to preserve all of the tomatoes from your garden you can’t consume before they go bad. This homemade mild-spiced salsa is perfect with tortilla chips, for your next taco night, enchiladas, and even in soup!
If you have leftover tomatoes from your garden like I did this year, this Garden Fresh Restaurant Style Canned Salsa is the perfect way to use them up and not have to throw them away! This canned salsa recipe is super easy to make, it tastes so fresh and will hold you over until next summer when you’re ready to plant tomatoes again!
This was my first time canning anything! It was exciting and fun to learn a new culinary skill, and one that would help me to preserve all of my gorgeous, lush tomatoes from the garden. I’m not sure why my tomatoes did so fantastic this year, but it was so fun to pick all of them with my kids and then turn them into this delicious salsa.
I tried a couple different canned salsa recipes before I felt confident enough to share my own version with you! And yes, I had that many tomatoes! 😉 You only need a few simple ingredients to make this garden fresh canned restaurant style salsa! I absolutely adore fresh tomatoes from my own garden. They are so sweet and seem to have so much more flavor than the tomatoes you buy at the store. But no worries if you don’t have enough from your garden, you can alway buy them, but I would suggest purchasing organic tomatoes, because it’s the next best thing to fresh tomatoes from your own garden.
What is Restaurant Style Salsa?
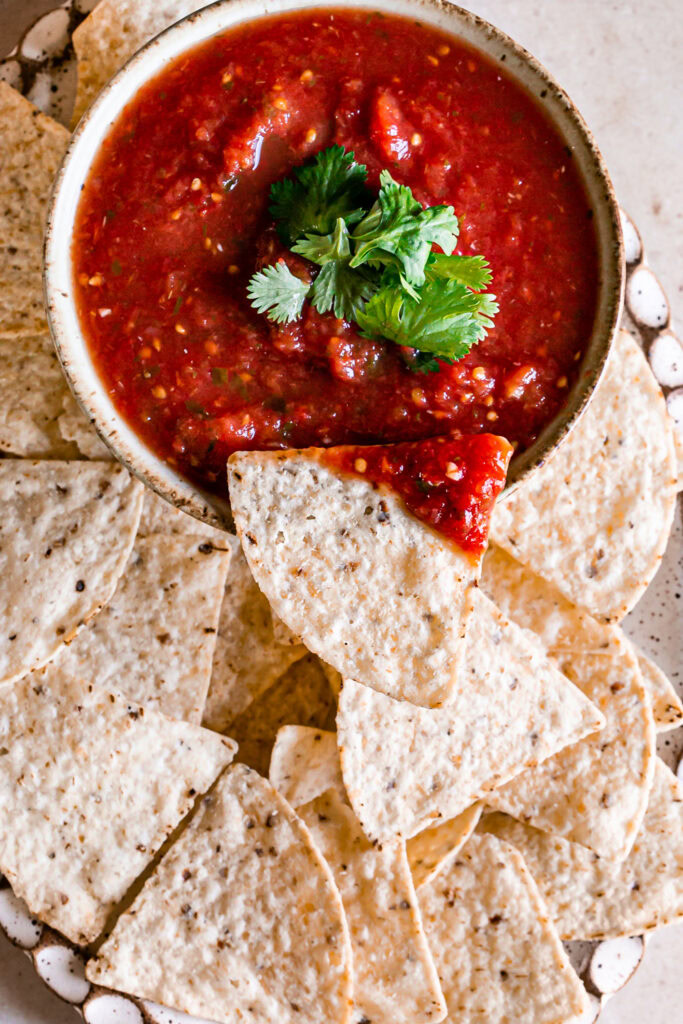
Restaurant-style typically has a smooth texture with finely minced or blended ingredients and has a thinner consistency, much like you might enjoy as an appetizer at your favorite Mexican restaurant. I’ve made this salsa chunky-style and it’s great that way too, just depends on if you’re team chunky or not 😉 If you like chunky salsa just skip the immersion blender step, or just give it a couple pulses and stop.
The Ingredients
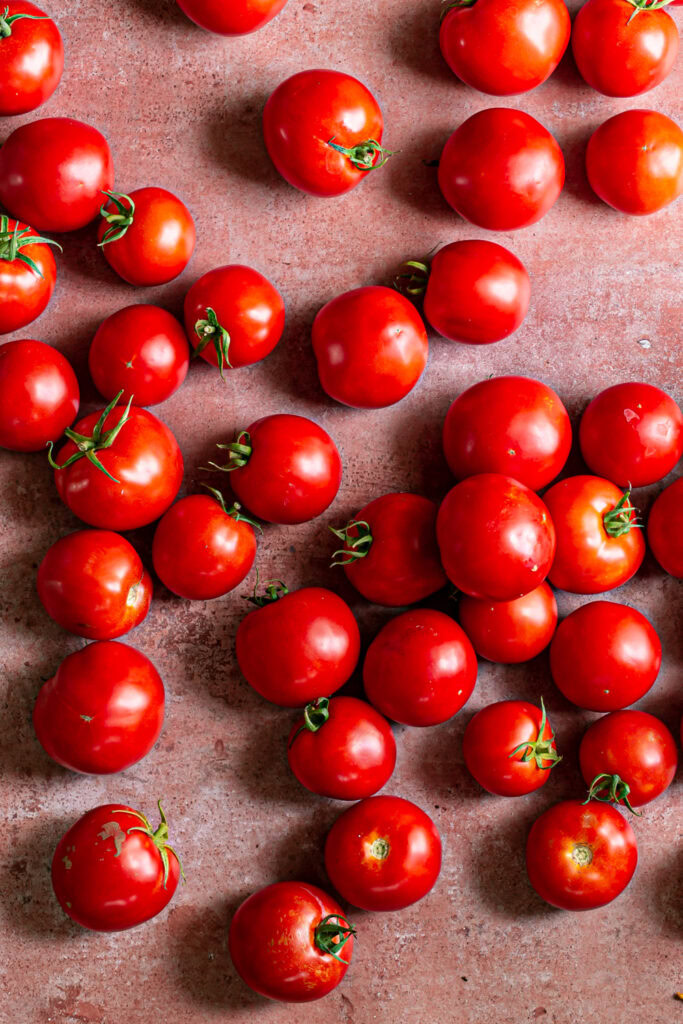
Tomatoes. For this recipe, I used 3 9×12 baking sheets and filled them full with washed tomatoes from my garden. Tomatoes vary in size, but I would say you will need about 80-100 tomatoes. You’ll want enough to fill 3 baking sheets. If you don’t have that many tomatoes, you can always cut the recipe in half. The good thing about making your own fresh salsa is you can always taste and add more to your liking.
Cilantro. For this recipe I used 1/2 cup of fresh cilantro. Simply tear the cilantro leaves from the stems and then chop them into small pieces.
Onion. I used 1 large sweet onion (yellow onion) I diced. This will be about 2 cups worth.
Jalapeño Pepper. I’m a huge wuss when it comes to spicy food, so I only used 1 medium jalapeño pepper, seeds removed and diced. Plus, I wanted my kids to enjoy this salsa too, so this salsa is definitely considered mild.
Garlic. You will need 8 cloves of garlic, minced. If you want to simplify this step you can buy pre-minced garlic and add 8 teaspoons of garlic, or whatever the bottle says is equivalent to a clove times eight.
Lime Juice. Not only does lime juice add flavor, but it also provides acidity to keep the salsa preserved, helping to keep bacteria from growing. I used 1 cup of bottled lime juice. If you do this, make sure it’s pure lime juice. You may also use fresh limes, but I always have a bottle of pure lime juice on hand so this was the easy way to go for me.
Apple Cider Vinegar. Using vinegar in your canned salsa also allows for you to preserve it, and adds a little tang. You can replace the vinegar with more lime juice, but you’ll definitely want to use bottled lime juice if doing so as it’s more acidic than fresh squeezed lime juice. I used 1 cup of apple cider vinegar. I have also made it with white vinegar and you can use that, but I prefer the taste of the apple cider vinegar.
Salt. You’ll need 2 teaspoons of salt plus more to taste if desired.
Because of the use of vinegar and lemon juice, I am not adding and preservatives, yay! The acidity in those food items and sealing the jars with the water bath method will help keep the salsa preserved.
What You Need
To make canned salsa you’ll need four essential things. There are other things that may be helpful to have, but for the water bath method here are the only tools I used:
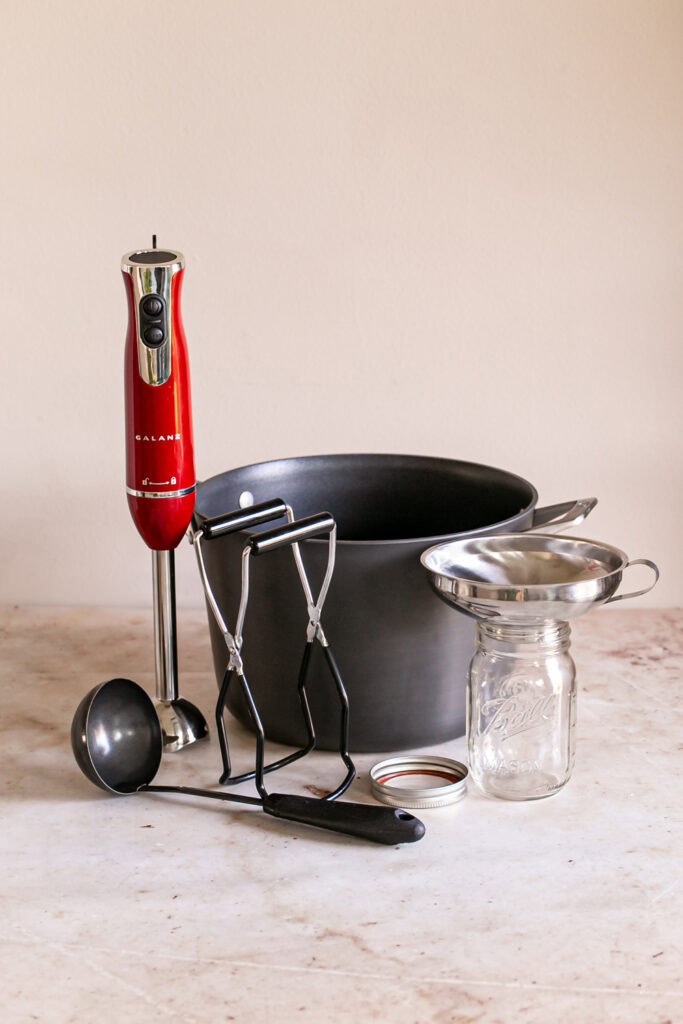
Canning Jars. I used Ball 16-ounce Mason Canning Jars with lids and bands. They also make wide mouth jars too, but the ones pictured are just the regular jars. I bought mine in a pack of 12 on Amazon.
Large Stock Pot. I happened to have a large Calphalon 8 quart (7.5 liter) Stock Pot on hand that I used. It fit about 4 jars at a time (method below).
Canning Jar Lifter Tongs. A must! I wasn’t sure I needed them, but it makes lifting and placing the jars in and out of the hot water a lot easier and pain-free 😉 You can purchase on Amazon for $8-$10.
Wide Mouthed Canning Funnel. I didn’t think I needed this, but I did, haha. It made spooning the hot salsa from the pot into the jars so much easier, cleaner (and less painful!). You can also purchase one on Amazon for $5-$6.
Immersion Blender. This kitchen gadget definitely makes this restaurant style salsa easier to make as you just slightly blend the salsa right in the pot. You could also pulse the mixture in a food processor or blender if you don’t have an immersion blender, or if you want a chunkier salsa you can use a fork/potato masher.
Ladle. I suppose this one isn’t essential either, but it does help scoop the salsa into the jars faster. You could always use a large spoon you already have.
They do make canning starter kits that comes with all of these items together, but if you already have some of the items you can purchase them separately.
The Water Bath Canning Method
There are a couple different canning methods, I still have to experience anything other than the water bath method actually. For this salsa recipe I’m using the easy method- cuz I’m all about easy! If you’re a more visual person, be sure to watch THIS REEL on Instagram.
Roast the Tomatoes. Preheat the oven to 450 degrees F. After you wash all of the tomatoes, add them to a baking sheet (you will need to fill 3 large baking sheets with tomatoes). Roast the tomatoes until the skins are wrinkly and start to char, about 25 minutes. Note: a lot of water will be released from the tomatoes when roasting. Very carefully remove the trays from the oven and discard some of the water half way through roasting to avoid it spilling over and burning in your oven. I learned that from experience, lol.
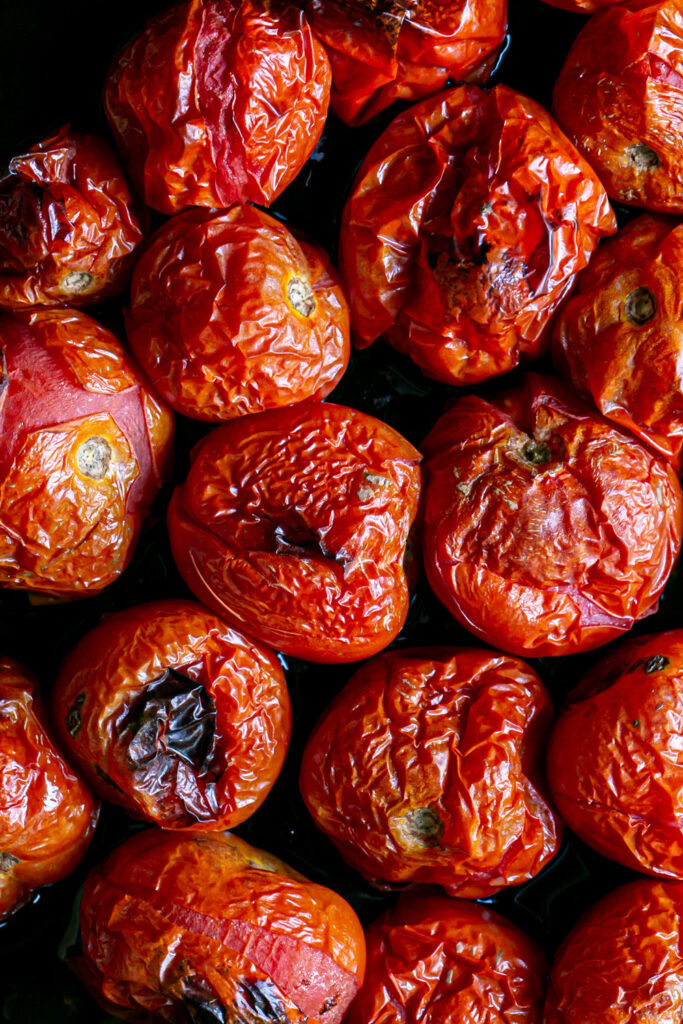
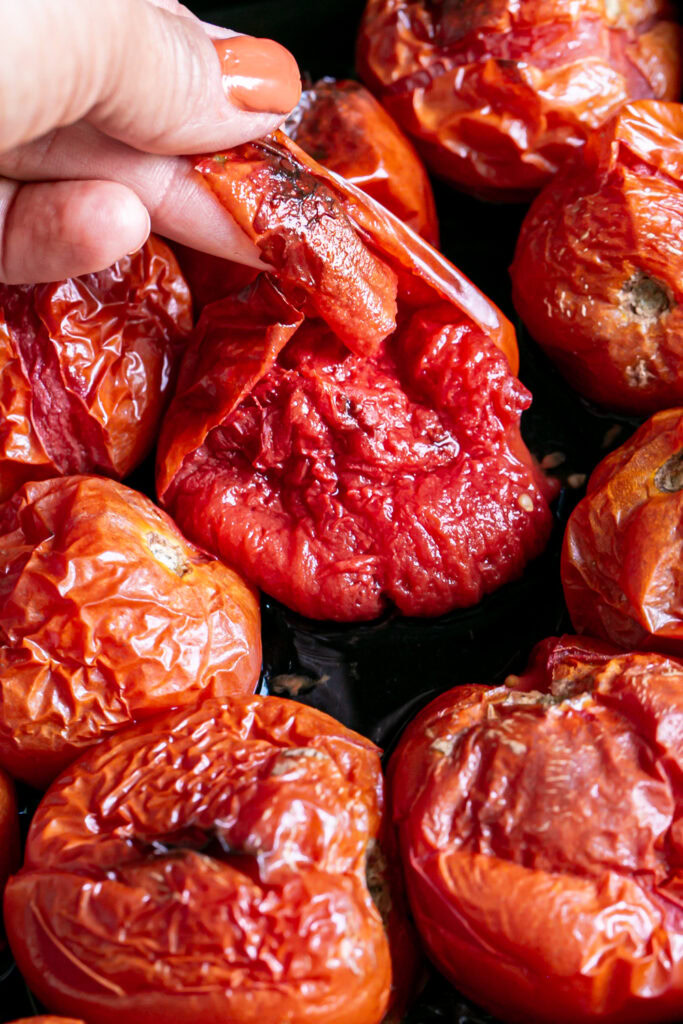
Why roast the tomatoes? This step is to remove the skins and give the salsa that rich, almost caramelized flavor. You could make the salsa with the skins on, but I prefer to remove the skins. And it’s almost kinda fun to just peel those skins right off after roasting!
After they are roasted, you’ll want to let them cool a bit before peeling or you’ll burn your fingers.
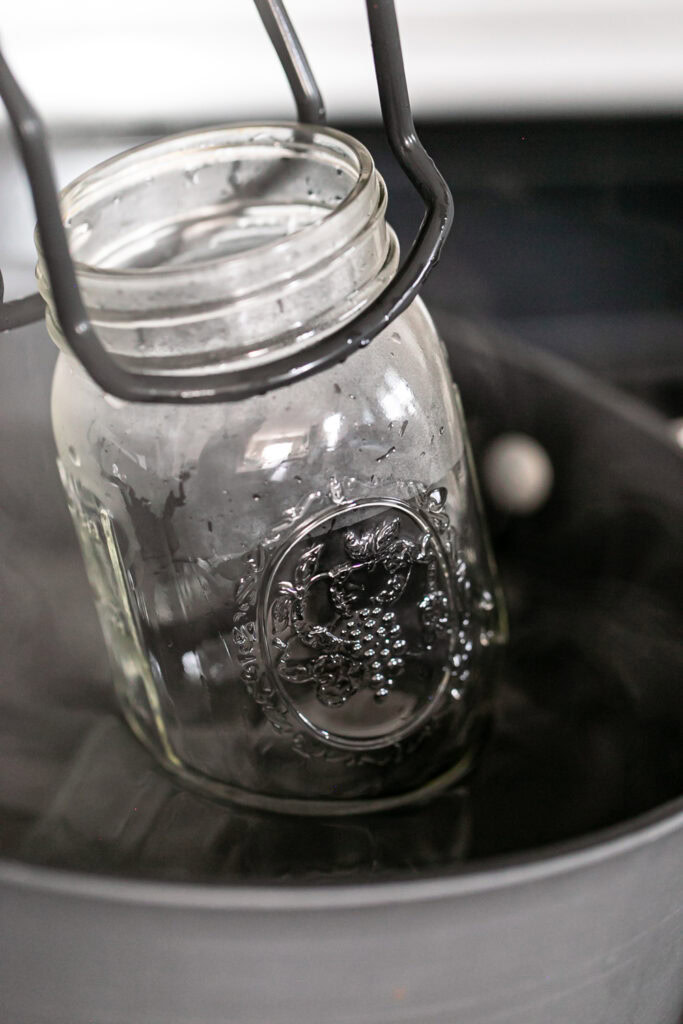
Preheat the Jars. For this step, you want to place the jars in a large pot of simmering water (not boiling) to help sanitize them and keep them from breaking when adding the hot salsa. Simply insert each jar into the simmering water and let them sit in there until you’re ready to fill them. Tip: to keep them from floating you’ll need to fill them with some of the water until they sink. You may have to add a bit more water to the pot after doing so.
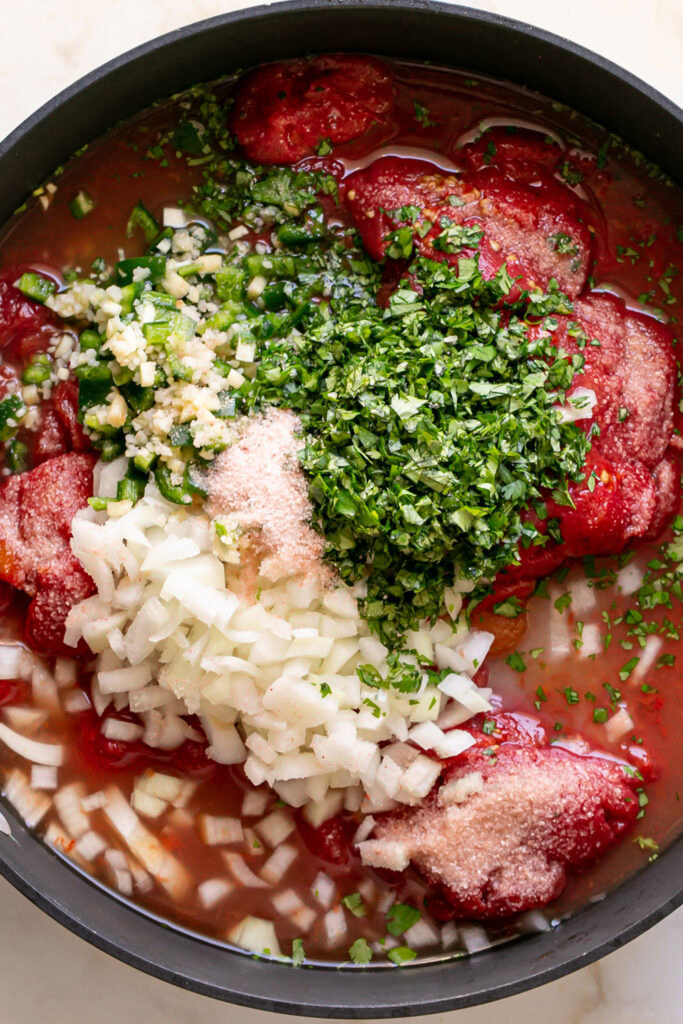
Prepare the Salsa. After you dice and chop the cilantro, jalapeño pepper, onion and garlic, you’ll add everything to a large pot, including the peeled, whole tomatoes, lime juice, apple cider vinegar, and salt. Stir everything together, cover and simmer over medium heat for about 30 minutes.
Blend. At this point you’ll want to blend the salsa to your desired consistency. I used my immersion blender right in the same pot, but if you don’t have one you can use a regular blender or food processor and just pulse.
Fill the Jars with Salsa. After the salsa simmers for about 30 minutes and everything is fragrant and well incorporated you’ll start filling the jars! Carefully remove the empty jars from the pot of water with the jar lifting tongs and set on your counter. Fill each jar with the salsa leaving 1/2 inch of space between the top of the jar and the salsa. In other words, don’t fill it all the way to the top.
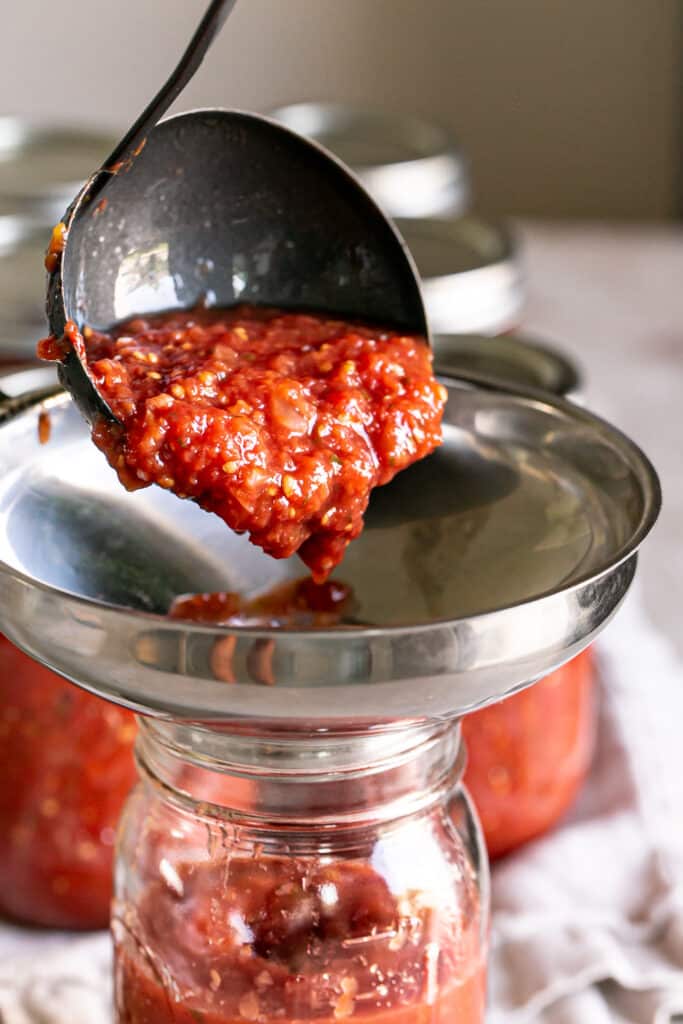
Remove Air Bubbles. Gently tap the bottom of each jar after it’s filled on the flat surface a few times to remove the air bubbles. This helps to remove any trapped air and keep the salsa from spoiling.
Apply the Lid and Band. Wipe any salsa from the rim of the jar, then top with the lid and apply the band until it’s tight, but not TOO tight. Fingertip tight is adequate.
Place the Jars in the Pot. Bring the water in the pot to a boil and gently lower the jars in the water with the tongs, being sure to have the water cover the jars by 1-2 inches. If there’s too much water, just carefully pour some of it out. I could fit 4 jars in my 8 quart pot at one time. Boil for 20 minutes and then remove it with the tongs and place on a kitchen towel. Repeat this process until all of the jars are complete.
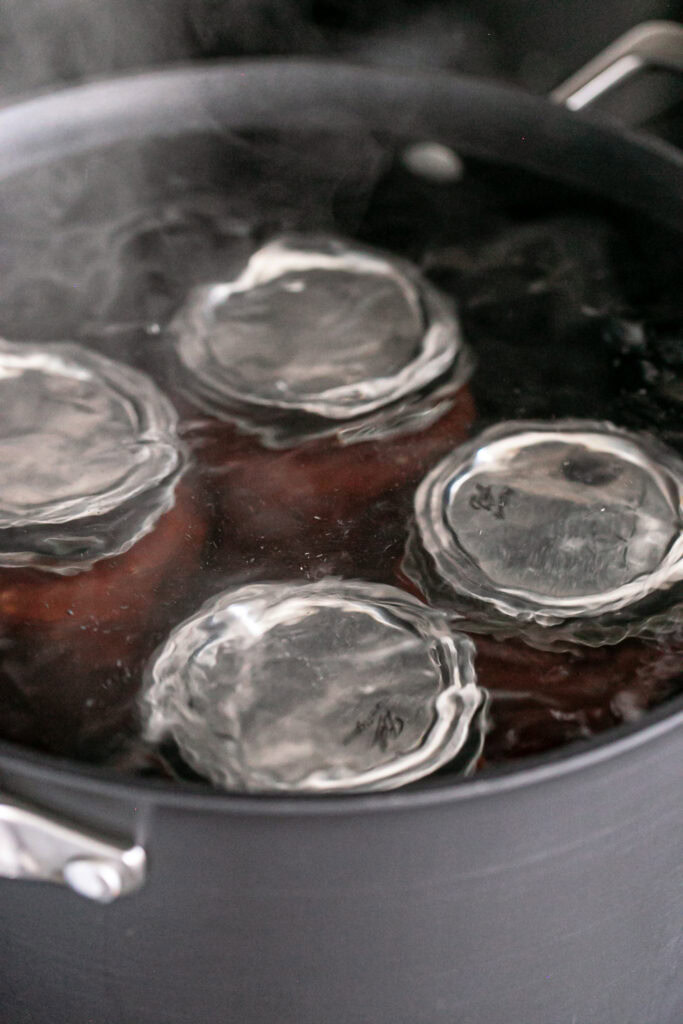
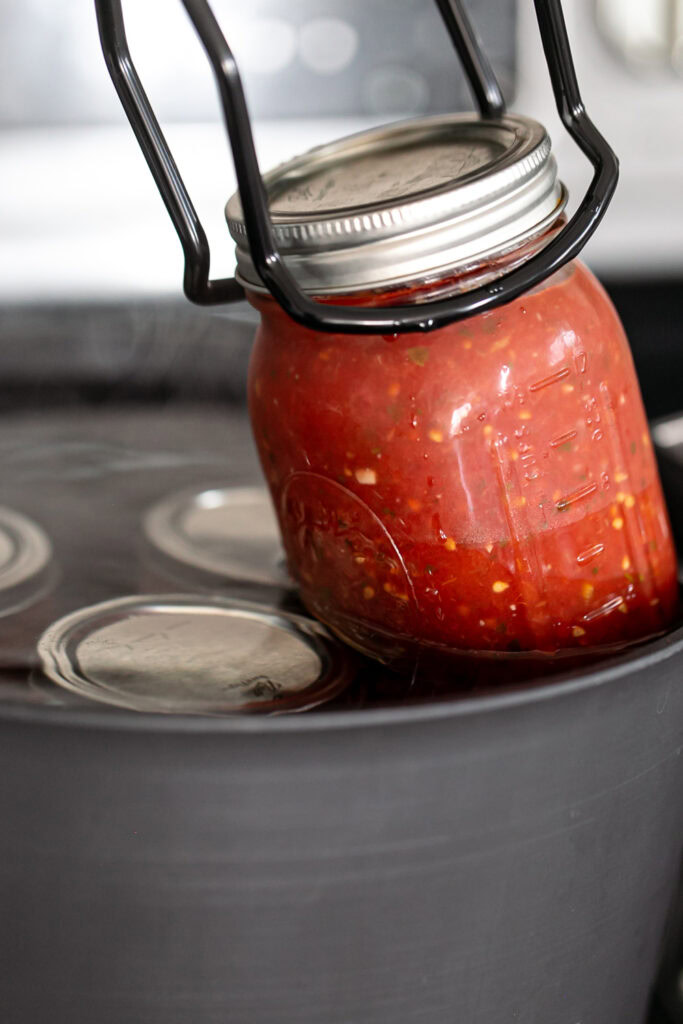
Rest. You AND the jars! 🙂 Once you remove the jars from the water and have them sitting on a flat surface, let the jars rest untouched for 12-24 hours. You’ll notice the lids making a popping/ping sound, this is good news! One of the signs the jars sealed correctly. Try to take note of which jars pop/ping.
How To Make Sure The Jars Sealed Correctly
It’s very important to make sure the jars are sealed correctly when canning to avoid any bacteria growth in the jar that could cause illness.
Testing the Jars. After the jars have rested 12-24 hours there are a few ways you can test them to see if they sealed correctly. Aside from noticing if they popped, there are two methods I use:
1. The flex test. Remove the band and apply pressure with your finger to the center of the lid with your fingertip. If it bends, it’s bad.
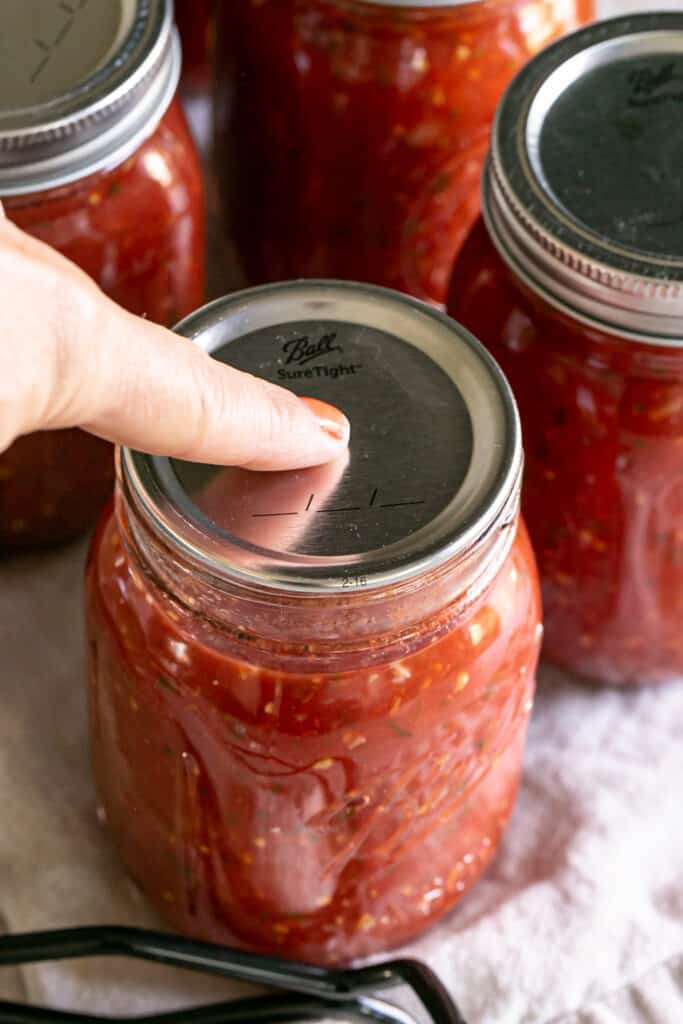
2. Try to lift the lid. If the lid is hard to lift up and the lid stays attached that means it’s sealed correctly! But be careful not to open the jar because then you have to eat it right away. Oh darn 😉
3. The spoon test. Using the back of a spoon, gently tap on the lid. Properly sealed jars will have a high pitched ring. If you hear a dull, low tone when you tap the lid it might not be sealed correctly so use the other steps to verify. If you tend to be a little tone deaf (like my hubby, LOL!) this might not be the best test to utilize, so definitely perform the other tests along with it.
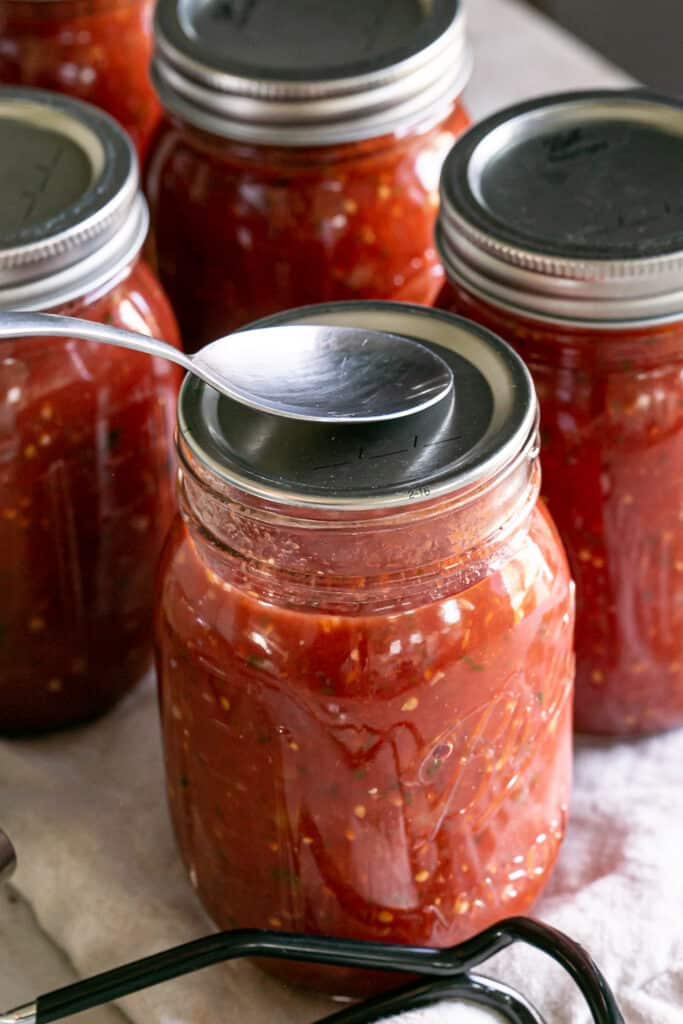
What to Do If You Jars Don’t Seal Properly
There are a couple of options here. Don’t worry, all your hard work isn’t wasted. You can repeat the boiling step, but be sure to do that right after discovering they didn’t seal and you have to get new lids. The lids are one-time use and will not seal a second time.
You can eat it right away and keep it in your fridge for a couple of weeks.
If you have a ton, you can use the salsa in recipes, like enchiladas, tacos, on a taco salad, in soup, and taco pasta or pizza! Mmm, I’m gonna have to get a recipe for those up on the blog!
You can gift it to friends and family. I don’t know anyone who hates chips and salsa, and I be they’ll be super appreciative for some fresh, homemade salsa that tastes amazing!
How To Store This Canned Salsa
Because we are canning it, it’s sealed and will remain good for 6-8 months. Make sure that you sniff it, observe it, and test it prior to scarfing it down or serving just to be on the safe side. Follow the Testing steps while you’re canning to ensure all of the jars do indeed seal correctly.
Once opened, store in the fridge and consume within 10-12 days.
Can I Freeze The Salsa Instead?
If you’re worried the jars didn’t seal correctly, you can freeze it instead! You will probably want to transfer the salsa to a zipper plastic bag and then freeze. You can store in the freezer for 6 months.
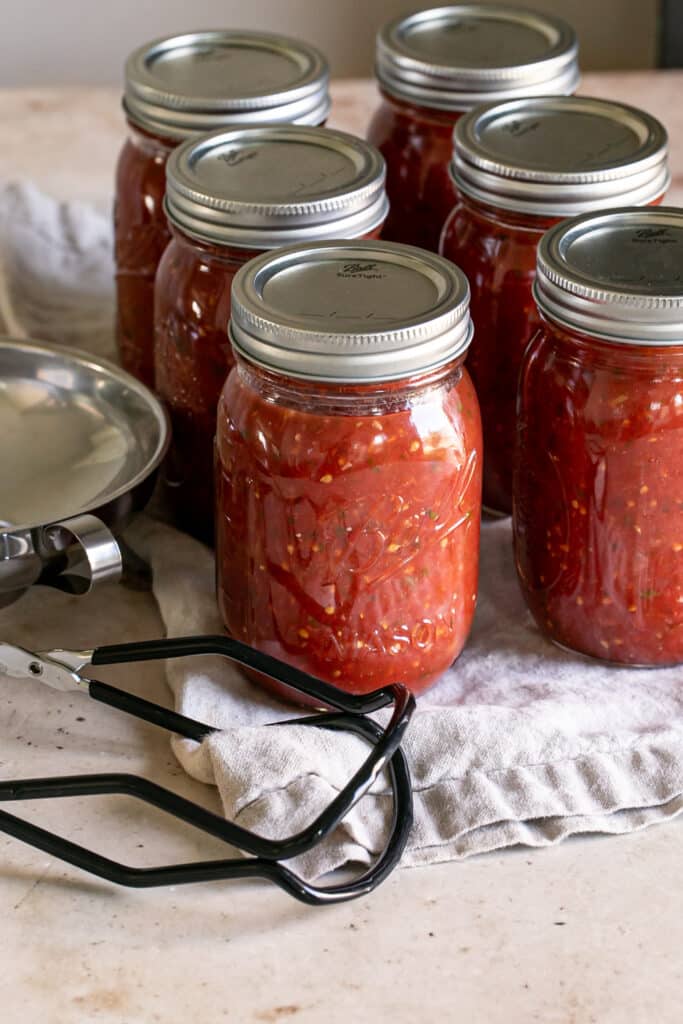
I am so in love with this Garden Fresh Restaurant Style Canned Salsa I’m not sure I can go back to store-bought salsa. I am so glad my pantry is stocked for a little while, now I just have to pace my family and I to enjoy it slowly. I hope you love it too! Hopefully if you haven’t tried canning this post will persuade you that it’s really simple and fun!
Be sure to leave a comment below down below in the comments section, as well as giving it a ⭐️⭐️⭐️⭐️⭐️ rating so that others can discover this easy canned salsa recipe! Tag me on Instagram, Facebook, or Pinterest!
Note: you take FULL responsibility making sure the jars are sealed correctly.


Garden Fresh Restaurant Style Canned Salsa
- Total Time: 1 hour 30 minutes
- Yield: 10-12 16 ounce jars
Description
This Garden Fresh Restaurant Style Canned Salsa uses simple ingredients and the water bath canning method. It's so easy and is the best way to preserve all of the tomatoes from your garden you can't consume before they go bad. This homemade mild-spiced salsa is perfect with tortilla chips, for your next taco night, enchiladas, and even in soup!
Ingredients
- 10-12 canning jars (16 ounce) with lids and bands
- (3) 9×12 baking sheets full of tomatoes (approximately 80-100 tomatoes)
- 1 medium jalapeño pepper, seeds removed and diced
- 1/2 cup fresh cilantro leaves, chopped
- 2 cups sweet onion (1 large onion)
- 8 cloves garlic, minced
- 1 cup lime juice, pure bottled
- 1 cup apple cider vinegar
- 3 teaspoons salt, plus more to taste
Instructions
First, roast the tomatoes. Preheat the oven to 450 degrees F. After you wash all of the tomatoes, add them to a baking sheet (you will need to fill 3 large baking sheets with tomatoes). Roast the tomatoes until the skins are wrinkly and start to char, about 25 minutes. Note: a lot of water will be released from the tomatoes when roasting. Very carefully remove the trays from the oven and discard some of the water half way through roasting to avoid it spilling over and burning in your oven. After they are roasted, you'll want to let them cool a bit before peeling or you'll burn your fingers.
Next, preheat the jars. For this step, you want to place the jars in a large pot of simmering water (not boiling) to help sanitize them and keep them from breaking when adding the hot salsa. Simply insert each jar into the simmering water and let them sit in there until you're ready to fill them. Tip: to keep them from floating you'll need to fill them with some of the water until they sink. You may have to add a bit more water to the pot after doing so.
Now prepare the salsa. After you dice and chop the cilantro, jalapeño pepper, onion and garlic, you'll add everything to a large pot, including the peeled, whole tomatoes, lime juice, apple cider vinegar, and salt. Stir everything together, cover and simmer over medium heat for about 30 minutes.
At this point you’ll want to blend the salsa to your desired consistency. I used my immersion blender right in the same pot, but if you don’t have one you can use a regular blender or food processor and just pulse.
Fill the jars with salsa. After the salsa simmers for about 30 minutes and everything is fragrant and well incorporated you'll start filling the jars! Carefully remove the empty jars from the pot of water with the jar lifting tongs and set on your counter. Fill each jar with the salsa leaving 1/2 inch of space between the top of the jar and the salsa. In other words, don't fill it all the way to the top. Remove air bubbles by gently tapping the bottom of each jar after it's filled on the flat surface a few times to remove the air bubbles. This helps to remove any trapped air and keep the salsa from spoiling. Wipe any salsa from the rim of the jar, then top with the lid and apply the band until it's tight, but not TOO tight. Fingertip tight is adequate.
Bring the pot of water to a boil. Gently lower the jars in the water with the tongs, being sure to have the water cover the jars by 1-2 inches. If there's too much water, just carefully pour some of it out. I could fit 4 jars in my 8 quart pot at one time. Boil for 20 minutes and then remove it with the tongs and place on a kitchen towel. Repeat this process until all of the jars are complete.
Once you remove the jars from the water and have them sitting on a flat surface, let the jars rest untouched for 12-24 hours. You'll notice the lids making a popping/ping sound, this is good news! One of the signs the jars sealed correctly. Try to take note of which jars pop/ping.
Testing the Jars
After the jars have rested 12-24 hours there are a few ways you can test them to see if they sealed correctly. Aside from noticing if they popped/pinged, there are two methods I use:
The flex test. Remove the band and apply pressure with your finger to the center of the lid with your fingertip. If it bends, it's bad.
Try to lift the lid. If the lid is hard to lift up and the lid stays attached that means it's sealed correctly! But be careful not to open the jar because then you have to eat it right away. Oh darn 😉
The spoon test. Using the back of a spoon, gently tap on the lid. Properly sealed jars will have a high pitched ring. If you hear a dull, low tone when you tap the lid it might not be sealed correctly so use the other steps to verify.
What to Do If You Jars Don't Seal Properly
There are a couple of options here. Don't worry, all your hard work isn't wasted. You can repeat the boiling step, but be sure to do that right after discovering they didn't seal and you have to get new lids. The lids are one-time use and will not seal a second time.
You can eat it right away and keep it in your fridge for a couple of weeks. If you have a ton, you can use the salsa in recipes, like enchiladas, tacos, on a taco salad, in soup, and taco pasta or pizza!
You can gift it to friends and family. I don't know anyone who hates chips and salsa, and I bet they'll be super appreciative for some fresh, homemade salsa that tastes amazing!
How To Store This Canned Salsa
Because we are canning it, if it's sealed correctly it will remain good for 6-8 months. Make sure that you sniff it, observe it, and test it prior to scarfing it down or serving just to be on the safe side. Follow the Testing steps while you're canning to ensure all of the jars do indeed seal correctly. Once opened, store in the fridge and consume within 14 days.
Notes
READ MY BLOG POST FOR MORE TIPS
* If you’re worried the jars didn’t seal correctly, you can freeze it instead! You will probably want to transfer the salsa to a zipper plastic bag and then freeze. You can store in the freezer for 6 months.
** You take FULL responsibility making sure the jars are sealed correctly.
- Prep Time: 30 minutes
- Additional Time: 0 hours
- Cook Time: 1 hours
- Category: Appetizers
- Cuisine: Mexican





I don’t see anywhere that you used the immersion blender… When did you use this step?
Hi Tracy, so sorry about that, thank you for pointing this out to me. You’ll want to do that right before spooning into the jars. I updated the recipe card and blog post with this instruction. Thank you for your help!
It would be nice to know an approximate amount of prepared tomatoes in case the other ingredients need to adjusted.