Peanut Butter Caramel Apple Pops
This post may contain affiliate links. As an Amazon Associate and an affiliate for other programs, I earn a commission from qualifying purchases. Read the disclosure policy for more information.
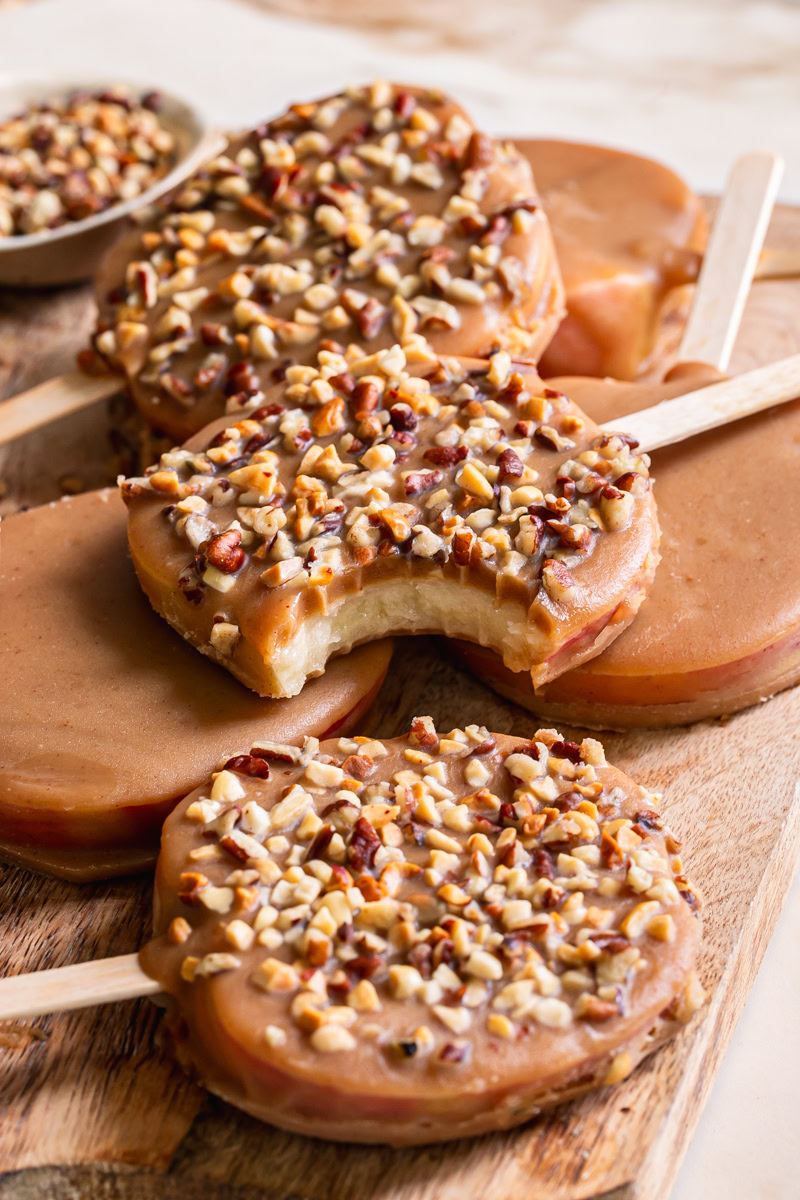
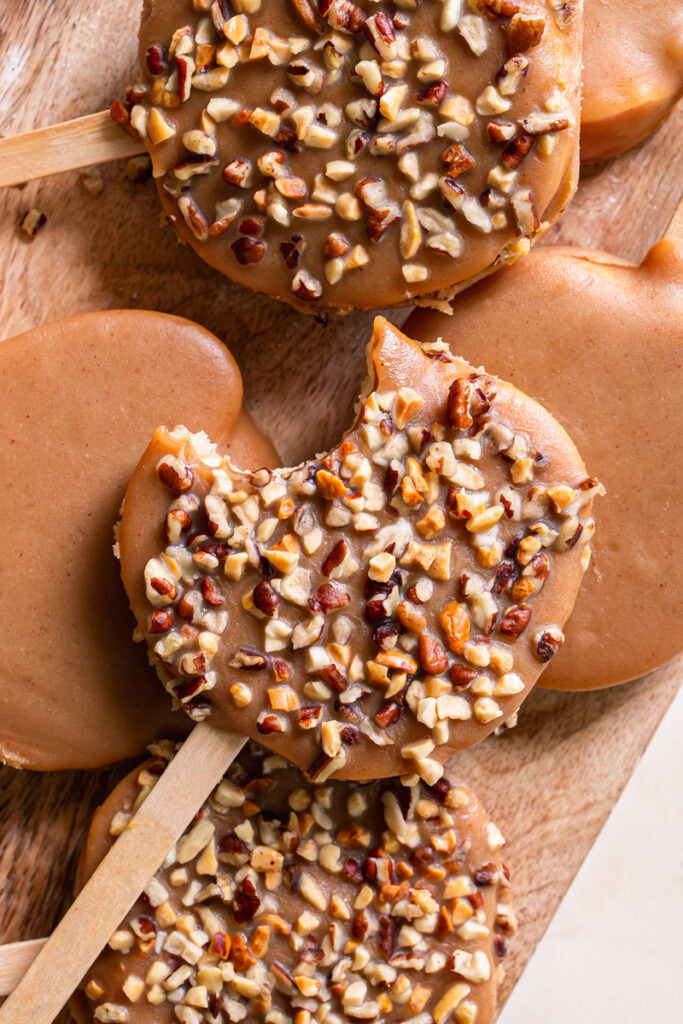
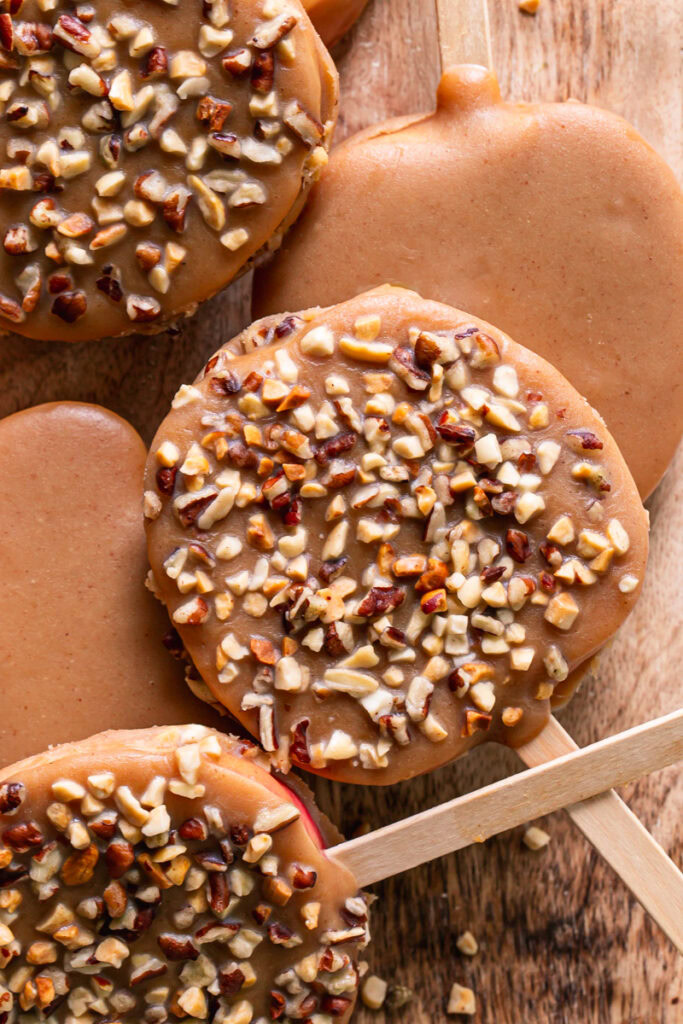
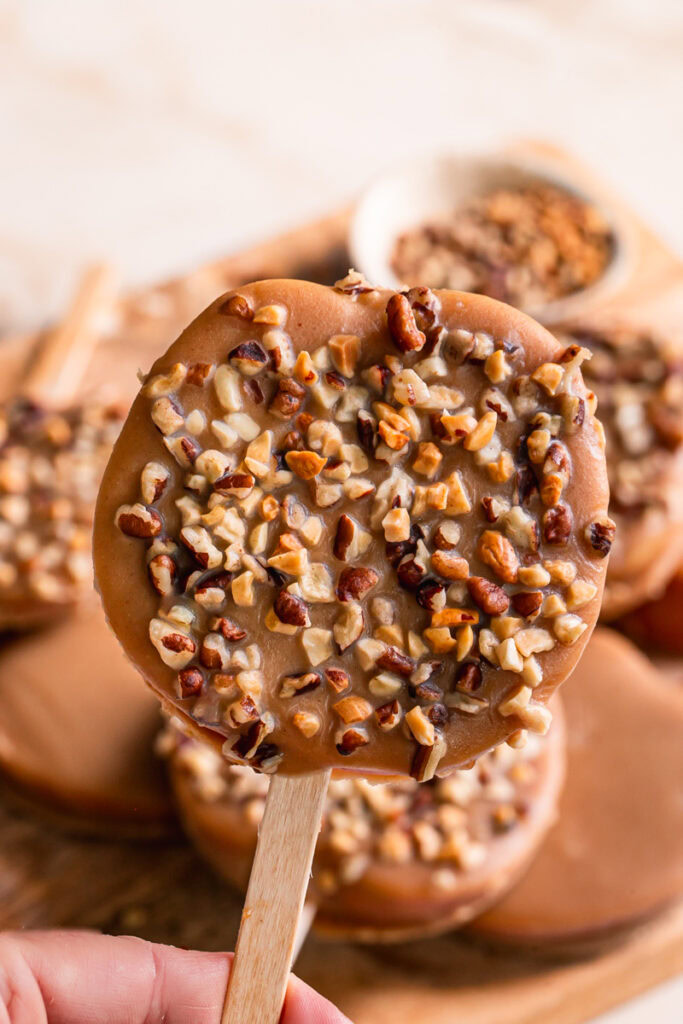
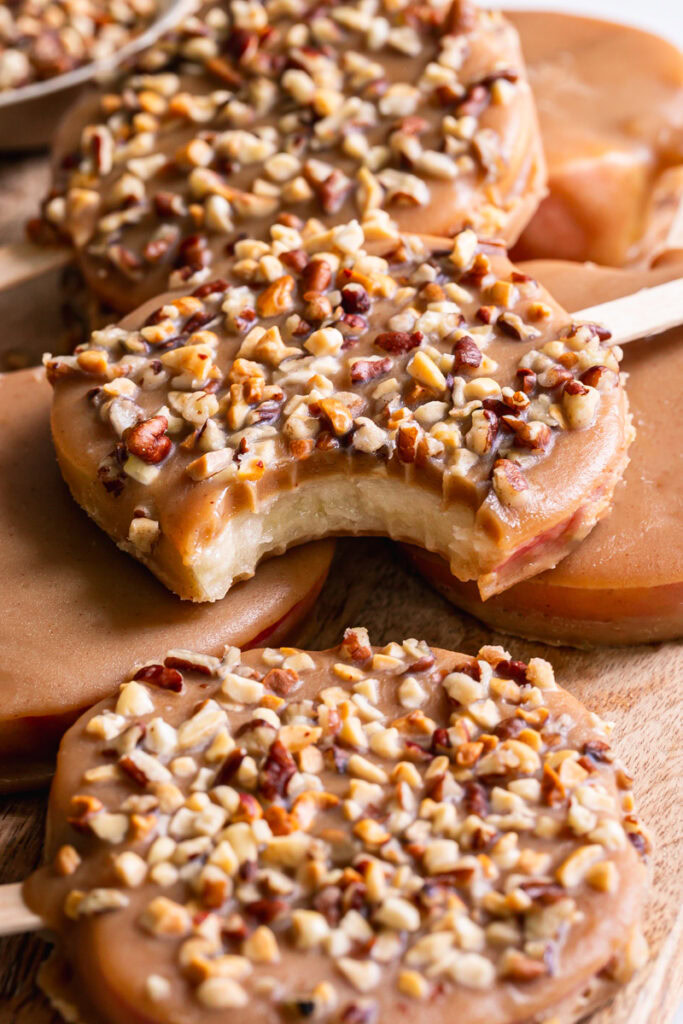
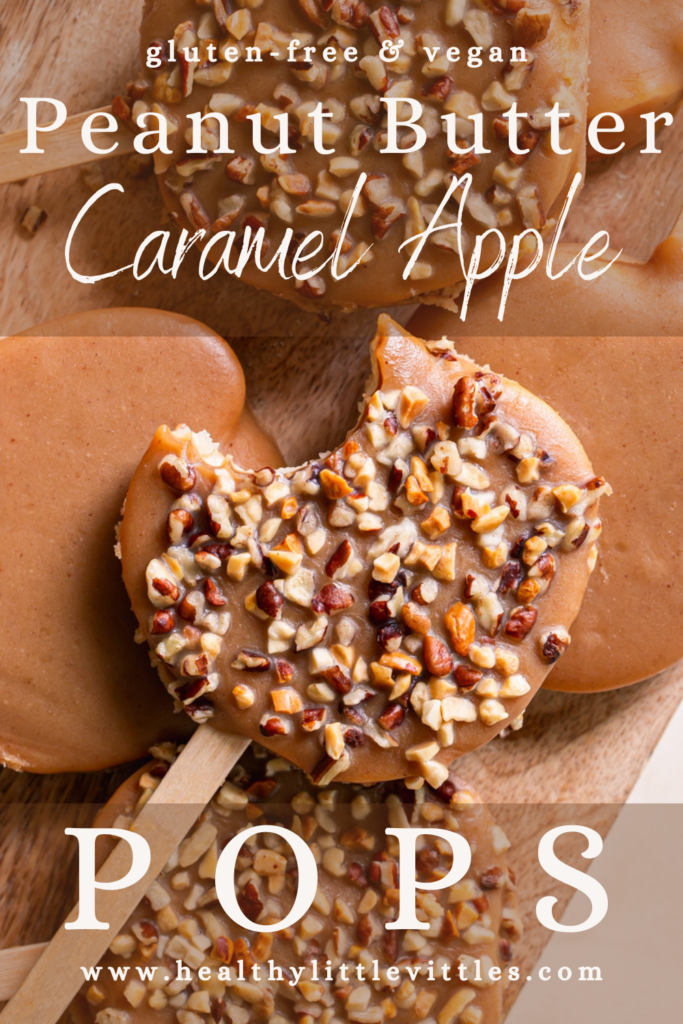
Fall has arrived, and these dairy-free, Peanut Butter Caramel Apple Pops are a must this season! This fun autumn treat is made with fresh organic apples dipped in my easy homemade dairy-free peanut butter caramel and then sprinkled with crushed peanuts and pecans.
What’s better than peanut butter and apples? Peanut butter caramel covered apples! My kids went from asking for apple slices and peanut butter to asking for these Peanut Butter Caramel Apple Pops this Fall, so you know they’ve gotta be good, because kids don’t lie… or if they do, they certainly don’t ask for something they don’t like again 😜.
I originally saw this idea on the Healthy Little Peach blog, her Turtle Apple Slices sounded so good, I wanted to try the apple pops too, but with my vegan caramel sauce. Now, my vegan caramel isn’t quite like the thick, sticky, gooey caramel you might be used to coating apples with, so don’t expect that same texture, that being said- they are still super delicious and a really fun healthy treat. There’s no refined sugar and no butter used in this caramel apple recipe.

The Ingredients
Apples. You can use whatever kind of apple you’d like for this recipe. I find the more tart the apple, the better it is paired with the sweet peanut butter caramel… I used pink lady apples, but I think Granny Smith green apples would be superb in this apple pops recipe also. Or if you’re not a fan of tart apples, feel free to use whatever apples you pick at the orchard this Fall 🍏🍎.
Peanut butter. You’ll want to use a creamy peanut butter for this recipe, preferably peanut butter that doesn’t have any added sugar. I also like to use natural peanut butter, the kind without palm oil.
Coconut oil. The use of coconut oil allows the caramel sauce to set up when placed in the fridge without making the caramel coating hard. I like to use organic, unrefined coconut oil. Another oil will not work in this recipe, and does give the caramel apples a touch of coconut taste.
Maple syrup. Of course the apples are sweet on their own, but the maple syrup brings that carmel-y sweetness to the vegan peanut butter caramel.
Plant milk. You will need 1/4 cup of any plant milk of choice. This helps the caramel to have that thick, glossy, caramel-like texture- kinda like the caramel version of chocolate ganache.
Vanilla. Add 1/2 teaspoon of pure vanilla extract to the caramel sauce for flavor.
Salt. Just a pinch of salt brings out the sweetness of the maple syrup in the caramel.
Chopped nuts. Are you team nut caramel apple or no nut caramel apple? Adding chopped nuts is optional, but I was able to find chopped peanuts and pecans mix at Kroger that worked perfectly for these caramel apple pops. I personally like the crunch the chopped nuts bring to these pops, but that’s up to you. You could also make both like I did.
Popsicle sticks. You’ll need regular ol’ popsicle sticks to make these apple pops.
How To Make These Peanut Butter Caramel Apple Pops
You’ll start by slicing the apples in 1/2 to 3/4 inch wide slices. I like to slice the outer ends off and then slice to the sides of the core. You’ll get 2 slices per apple. You could get more if you’re not picky about the core, I just prefer my apple slices to be seed and core free, lol.
I like to soak the apple slices in lemon water so they don’t brown. This step is optional if you will be enjoying the apple pops right away, but if you don’t think you’ll eat all of the pops in one day, you might choose to soak the slices in 1 cup of water + 2 tablespoons of lemon juice for 5-10 minutes.
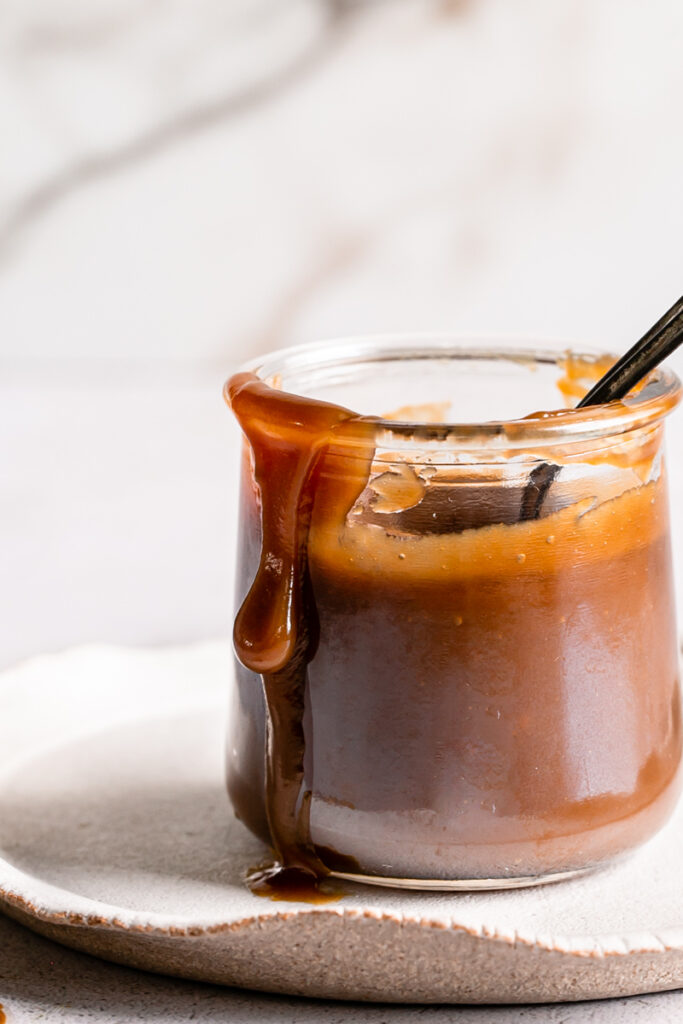
While the apples are soaking, make the peanut butter caramel. In a small saucepan, melt the coconut oil over high heat. Once melted, whisk in the maple syrup, vanilla and pinch of salt. Once the mixture is bubbling, whisk in the peanut butter, whisking continuously until the mixture starts to thicken. NOTE: It’s very important to follow the order of ingredients or the caramel will be too thin.
Remove from heat and whisk in the plant milk until it’s smooth and silky like caramel sauce! If the caramel sauce isn’t super thick, and it runs right off the apple slices when you try to coat them, allow the caramel to cool before coating the apples.
Line a large baking sheet with parchment paper. If you did soak the apple slices, pat them dry with a paper towel before coating in the caramel.
Carefully make a small slit in the bottom of the apple slice with a knife and then gently push in the popsicle sticks until you reach just below the center of the apple slice. Try your best to stay in the center of the apple slice so the stick doesn’t pop out the back side.
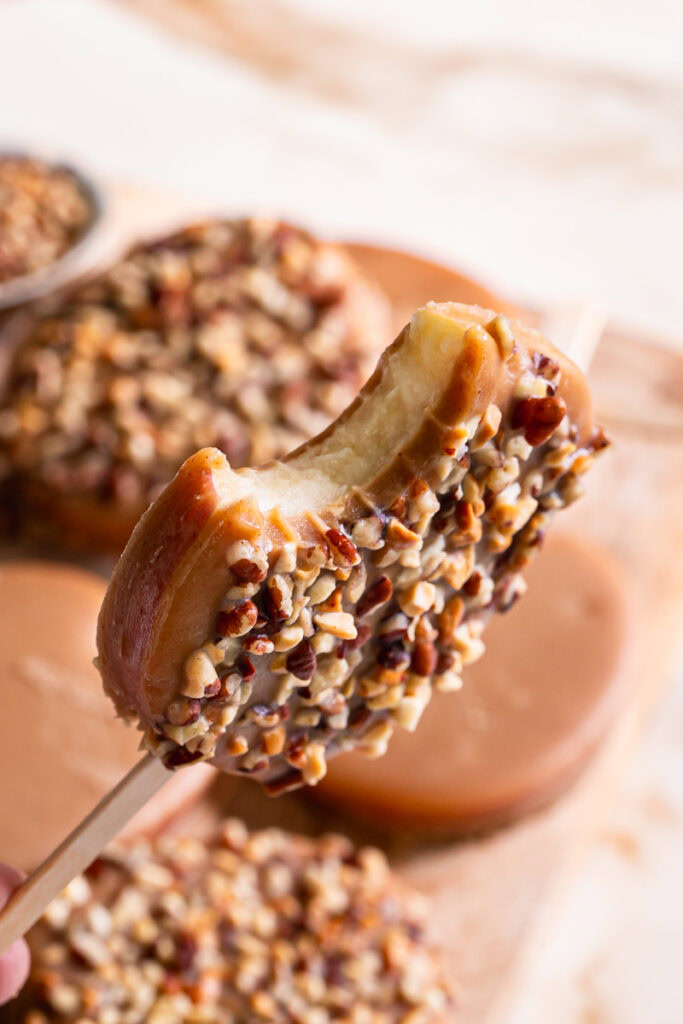
Gently dip the apple slices in the caramel to entirely coat the apple slice in the peanut butter caramel. You may need to use a spoon to help you. Then place the caramel coated apple pop on the parchment-lined baking sheet. If you’re using chopped nuts, sprinkle the apple slices with the nuts before moving onto the next pop to ensure they will stick in the caramel.
Once all of the apple slices are coated with the caramel, place the baking sheet into the fridge to set up. Note, the color of the caramel will lighten and it will be soft, but shouldn’t run off the apples.
Storage
These Peanut Butter Caramel Apple Pops are best enjoyed the same day, however, they will keep in the fridge for 1-2 days. Store them in an airtight container or wrapped in cling wrap then place into the fridge.
Also, they will soften quite a bit if left at room temperature, so they are best enjoyed right from the fridge.

You most likely won’t have any leftover caramel sauce, but if you do, you can use it as a dip for fresh apples, or you can drizzle it over my Caramel Apple Date Bark!
I hope you like this less messy way of enjoying caramel apples! If you like this Peanut Butter Caramel Apple Pops recipe too, consider giving it a five rating ⭐️⭐️⭐️⭐️⭐️ so that others can discover it! Tag me on Instagram, Facebook, or Pinterest if you make it!

Peanut Butter Caramel Apple Pops
- Total Time: 20 minutes
- Yield: 7–8 pops 1x
Description
Fall has arrived, and these dairy-free, Peanut Butter Caramel Apple Pops are a must this season! This healthy treat is made with fresh organic apples dipped in my easy homemade dairy-free peanut butter caramel and then sprinkled with crushed peanuts and pecans.
Ingredients
- 3 large apples*
- 5 tablespoons coconut oil
- 4 tablespoons pure maple syrup
- 1/2 teaspoon pure vanilla extract
- pinch of salt
- 6 tablespoons peanut butter
- 1/4 cup plant milk (such as oat, soy, coconut, etc.)
Instructions
You'll start by slicing the apples in ½ to 3/4 inch wide slices. I like to slice the outer ends off and then slice to the sides of the core. You'll get 2 slices per apple. You could get more if you're not picky about the core, I just prefer my apple slices to be seed and core free, lol.
I like to soak the apple slices in lemon water so they don't brown. This step is optional if you will be enjoying the apple pops right away, but if you don't think you'll eat all of the pops in one day, you might choose to soak the slices in 1 cup of water + 2 tablespoons of lemon juice for 5-10 minutes.
While the apples are soaking, make the peanut butter caramel. In a small saucepan, melt the coconut oil over high heat. Once melted, whisk in the maple syrup, vanilla and pinch of salt. Once the mixture is bubbling, whisk in the peanut butter, whisking continuously until the mixture starts to thicken. NOTE: It's very important to follow the order of ingredients or the caramel will be too thin and liquidy.
Remove from heat and whisk in the plant milk until it's smooth and silky like caramel sauce! If the caramel sauce isn't super thick, and it runs right off the apple slices when you try to coat them, allow the caramel to cool before coating the apples, or add another tablespoon or two of peanut butter.
Line a large baking sheet with parchment paper. If you did soak the apple slices, pat them dry with a paper towel before coating in the caramel.
Carefully make a small slit in the bottom of the apple slice with a knife and then gently push in the popsicle sticks until you reach just below the center of the apple slice. Try your best to stay in the center of the apple slice so the stick doesn't pop out the back side.
Gently dip the apple slices in the caramel to entirely coat the apple slice in the peanut butter caramel. You may need to use a spoon to help you. Then place the caramel coated apple pop on the parchment-lined baking sheet. If you're using chopped nuts, sprinkle the apple slices with the nuts before moving onto the next pop to ensure they will stick in the caramel.
Once all of the apple slices are coated with the caramel, place the baking sheet into the fridge to set up. Note, the color of the caramel will lighten and it will be soft, but shouldn't run off the apples.
Notes
*any variety of apple will work, although I used Pink Lady apples. Granny Smith green apples would be delicious too.
- Prep Time: 15 minutes
- Additional Time: 0 hours
- Cook Time: 5 minutes
- Category: Dessert
- Cuisine: American


I followed the directions and everything was looking good after I whisked in the milk but then I let it cool for a minute and when I went back, the oil had separated and the rest of the caramel was super chunky. What did I do wrong?
Hi Hally, I’m so sorry this happened! I’m not sure why, did you add the ingredients in the exact order mentioned? Otherwise it might not set up. The other thing could be which brand of ingredients you used. perhaps it was cooked too long? I’m sorry, I wish I could troubleshoot this better 😞.