Pumpkin Pie Cookie Cups

This post may contain affiliate links. As an Amazon Associate and an affiliate for other programs, I earn a commission from qualifying purchases. Read the disclosure policy for more information.
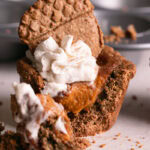
When you want pumpkin pie but the simplicity of making cookies you combine them into one fabulous dessert recipe! These Pumpkin Pie Cookie Cups are made with a gluten-free, vegan cookie cup crust, then filled with vegan pumpkin pie filling, baked, chilled and topped with dairy-free whipped cream!
Sponsored by Calphalon
This is a sponsored post written by me on behalf of the Calphalon. The opinions and text are all mine. The product(s) used in this recipe was sent to me as a gift, thank you so much!
Want To Remove Ads?
✓⃝ Enjoy every recipe on my site completely ad-free
✓⃝ Get instant access exclusive, member-only content
✓⃝ Receive a FREE bonus eCookbook + a weekly dinner meal plan + grocery shopping lists, and printable guides when you join (a $40+ value!)
✓⃝ Cancel anytime
Nothing beats a pumpkin pie around the holidays. Well, except for maybe these Pumpkin Pie Cookie Cups! Look, I’m all about traditional- well kind of… I mean, gluten-free vegan baking isn’t necessarily “traditional”, but you get what I mean. But also, time is money, especially around the holidays. I’ve teamed up with Calphalon to bring you a time saving holiday dessert that gives traditional pumpkin pie some keen competition.
The Cookie Cups
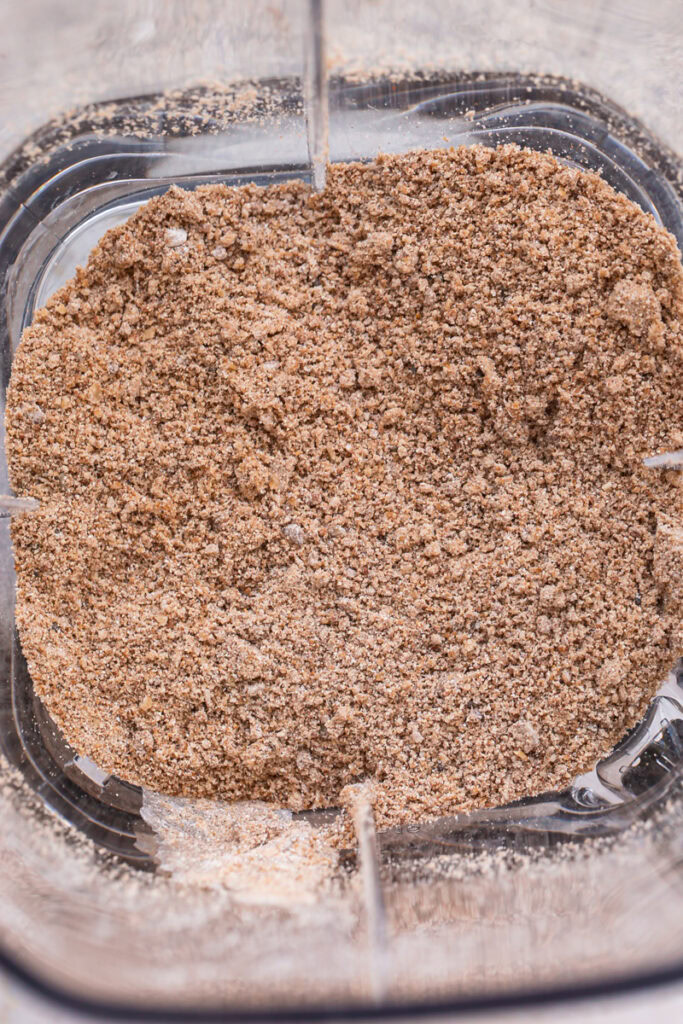
Let’s start with the cookie cups. These are so easy and delicious and are made gluten-free and vegan. You’ll start by blending your favorite granola with oat flour, cinnamon, baking soda, and salt until you achieve a fine, graham cracker crumb-like texture. I used Purely Elizabeth Original Granola and the Calphalon ActiveSense™ Blender to grind it. The blender did a fantastic job!
Place the crumb mixture into a medium bowl and stir in the almond butter or sunflower seed butter for nut-free (or other nut/seed butter of choice), maple syrup, and vanilla until you have a cookie dough-like batter.
Note: If you use sunflower seed butter the cups will turn slightly green as they cool. This is a phenomenon that happens when chlorophyll is released during the baking process and then cooled.


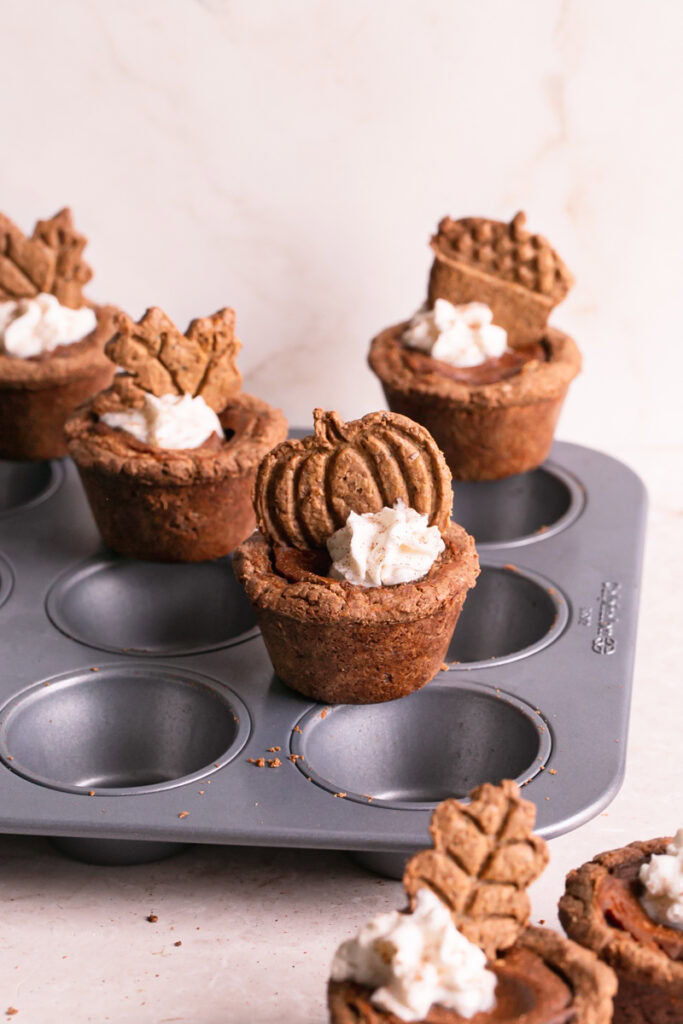
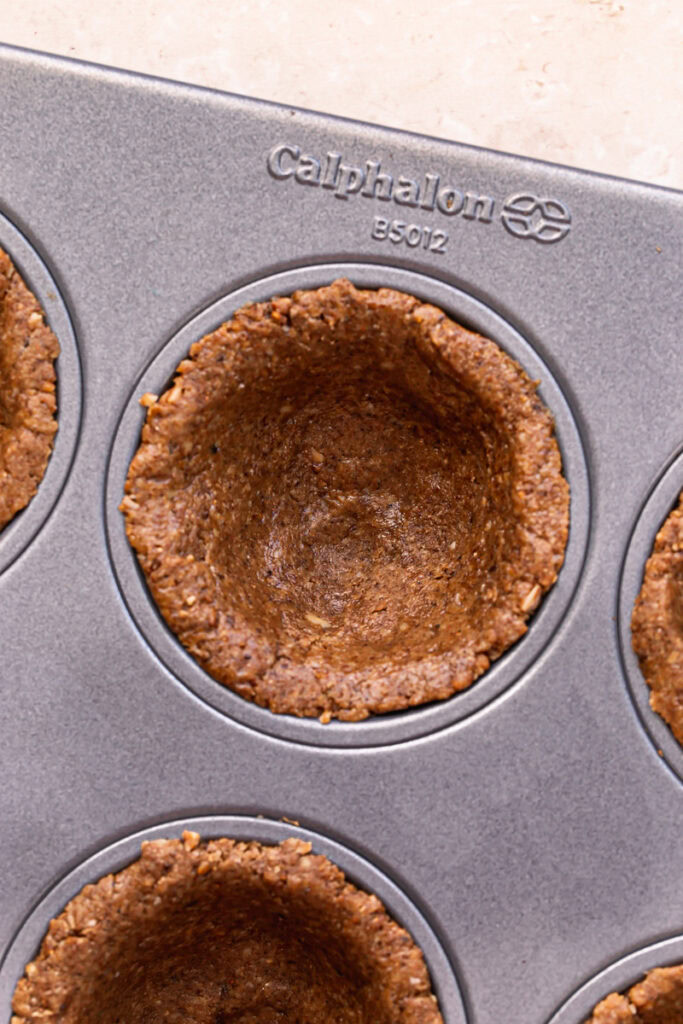
Since we are using the Calphalon 12-cup Muffin Pan, there is no need to grease it. Their Nonstick Bakeware pans have interlocking nonstick layers to deliver perfect release for beautiful results and easy cleanup. Gently press the cookie dough into the muffin tin cups equally, using 3 tablespoons per cup, making a well in the middle of each with your fingers. Set the muffin pan aside and preheat the oven to 350 degrees F.
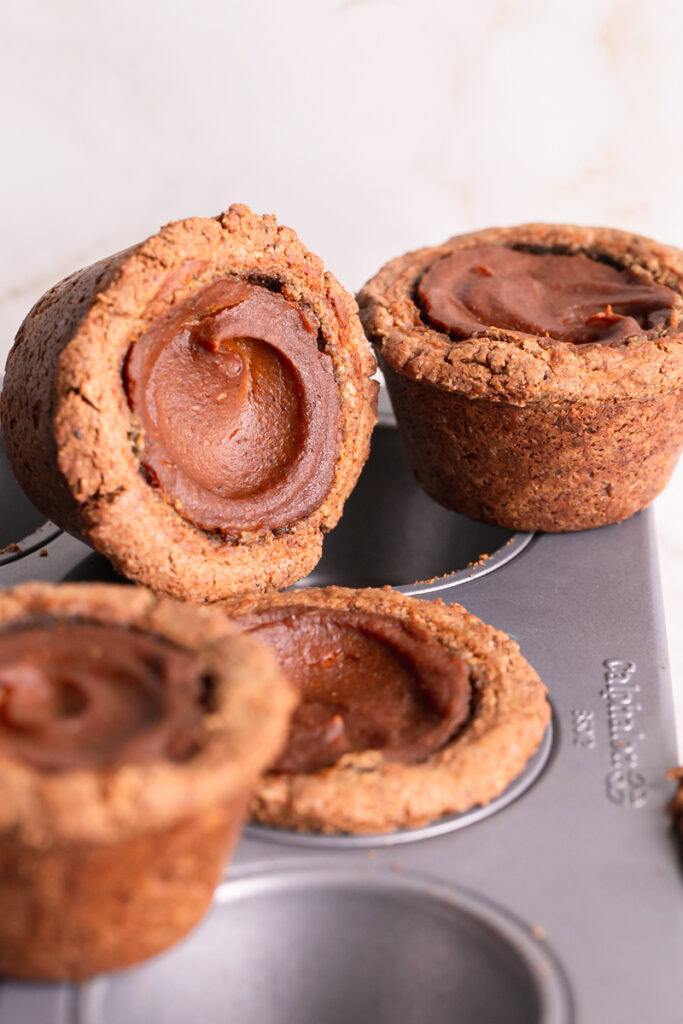
The Pumpkin Pie Filling
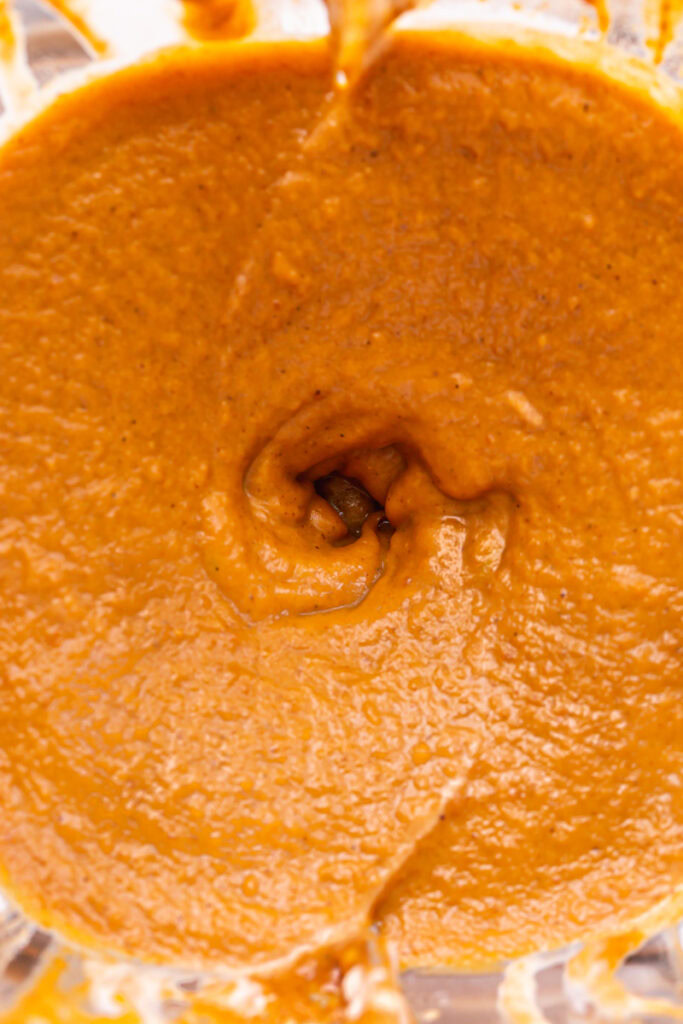
Next, make the pumpkin pie filling. Again using the Calphalon ActiveSense™ Blender, blend the pure pumpkin purée (NOT pumpkin pie mix), full fat coconut milk (the solid part only!), pure vanilla extract, coconut sugar, pumpkin pie spice and salt together until smooth.
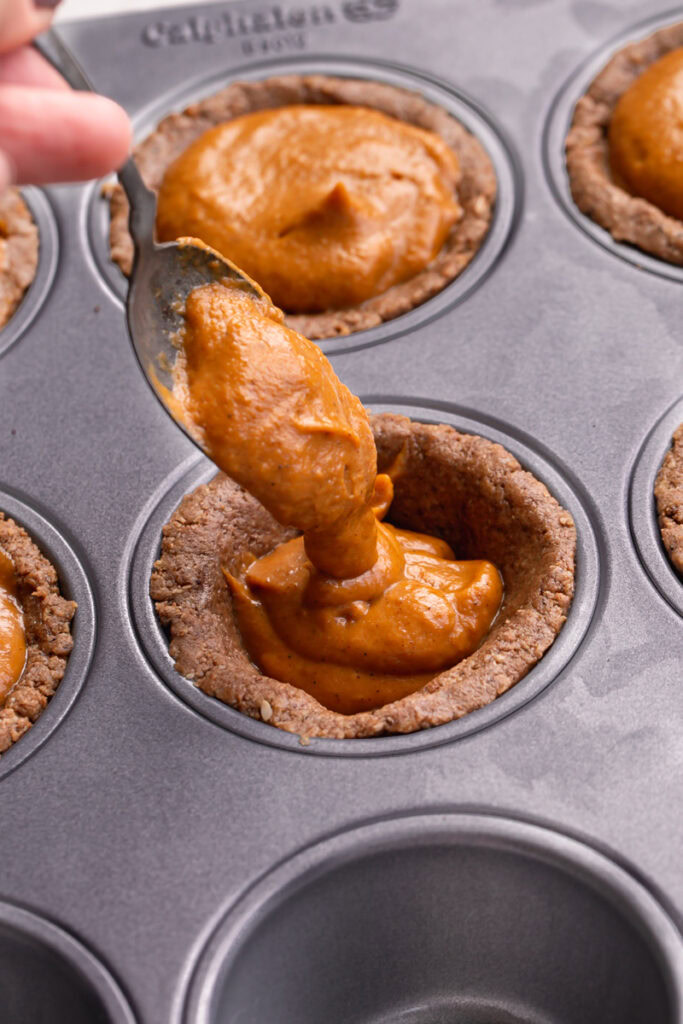
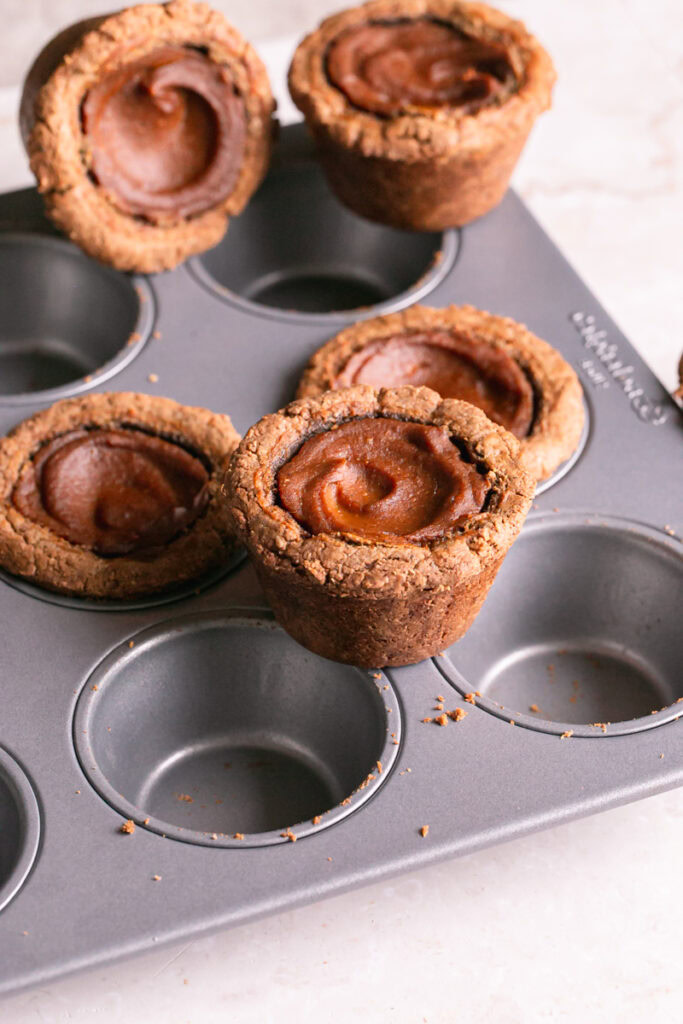
Spoon the filling into the cups all the way up to the top and bake in the oven for 20-23 minutes. Remove from the oven and allow them to cool to room temperature and then place the muffin pan in the fridge to set up.
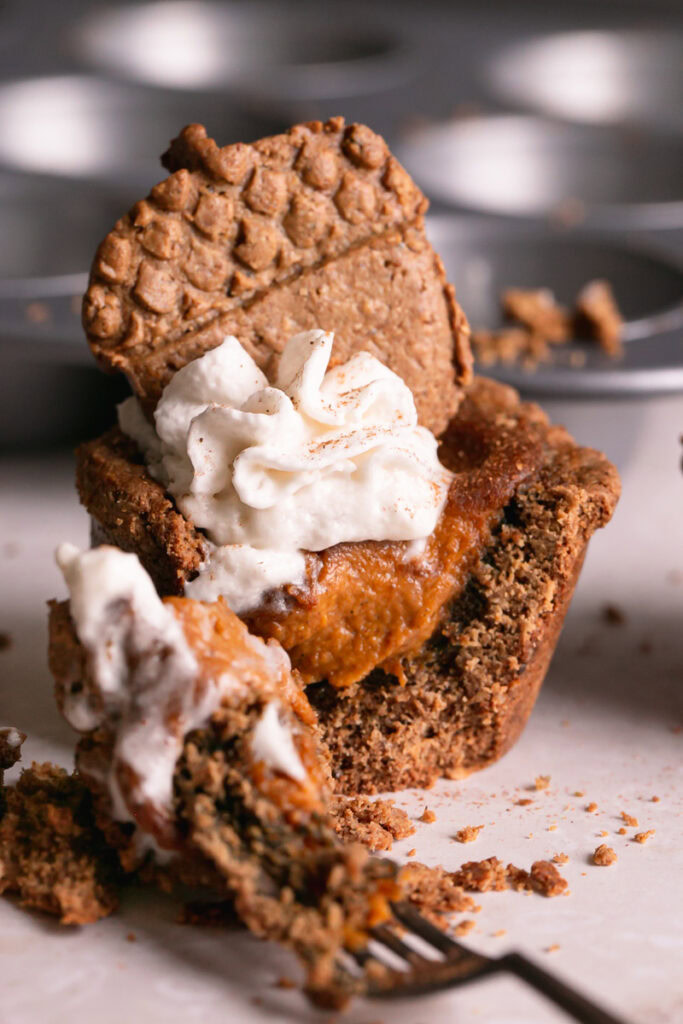
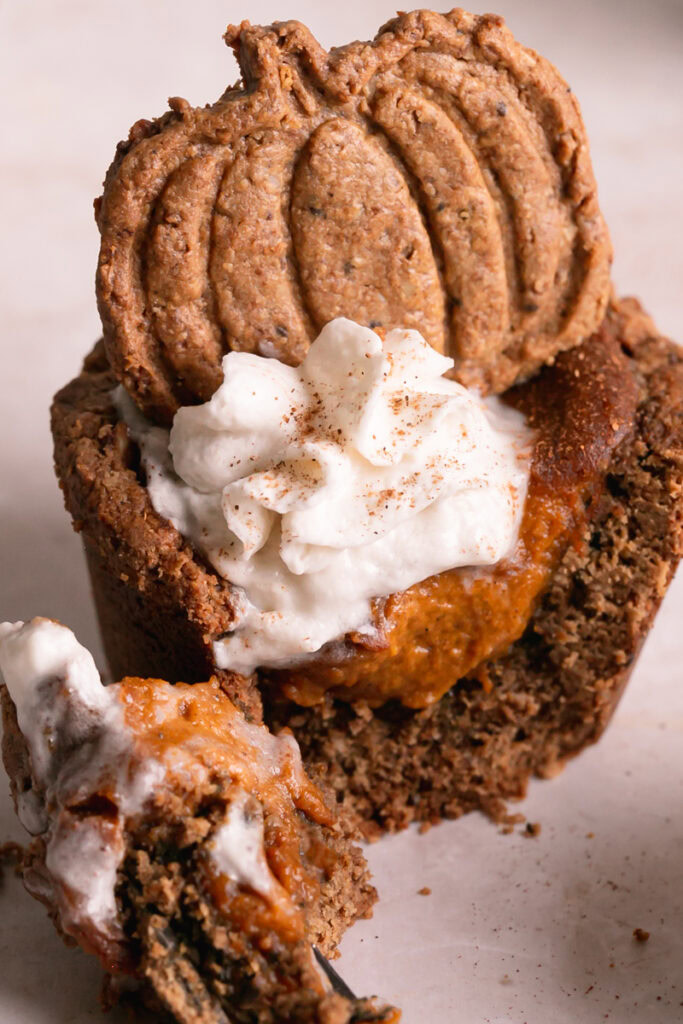
Chill these cups for at least 2 hours to overnight. When you’re ready to serve, gently remove each cookie cup from muffin pan using a butter knife to loosen them.
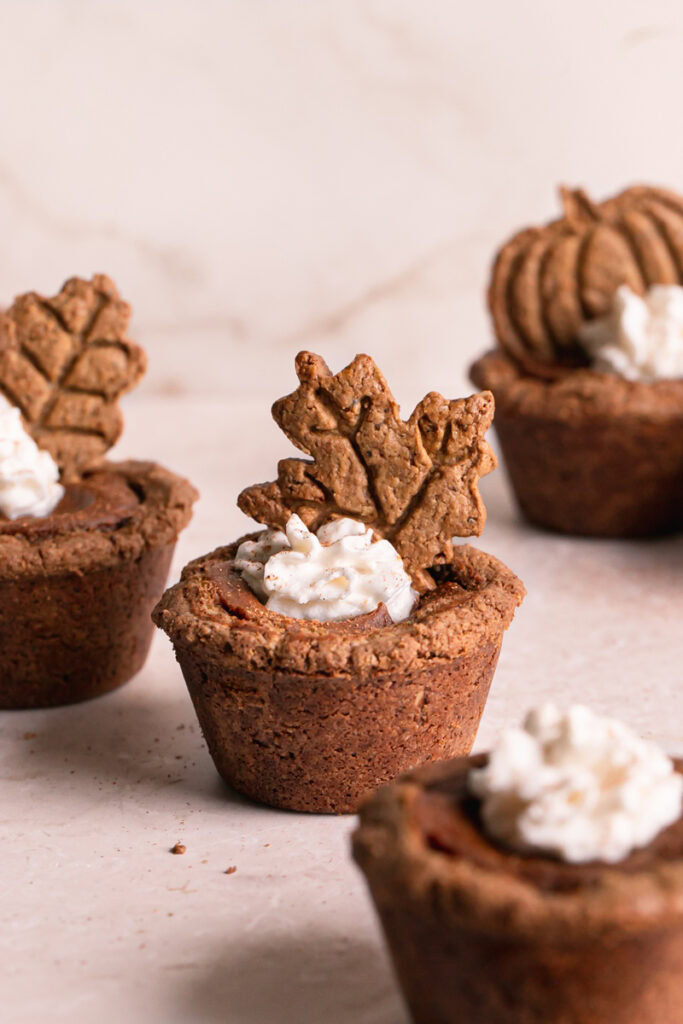
Top with dairy-free whipped cream and a sprinkle of cinnamon (if desired).
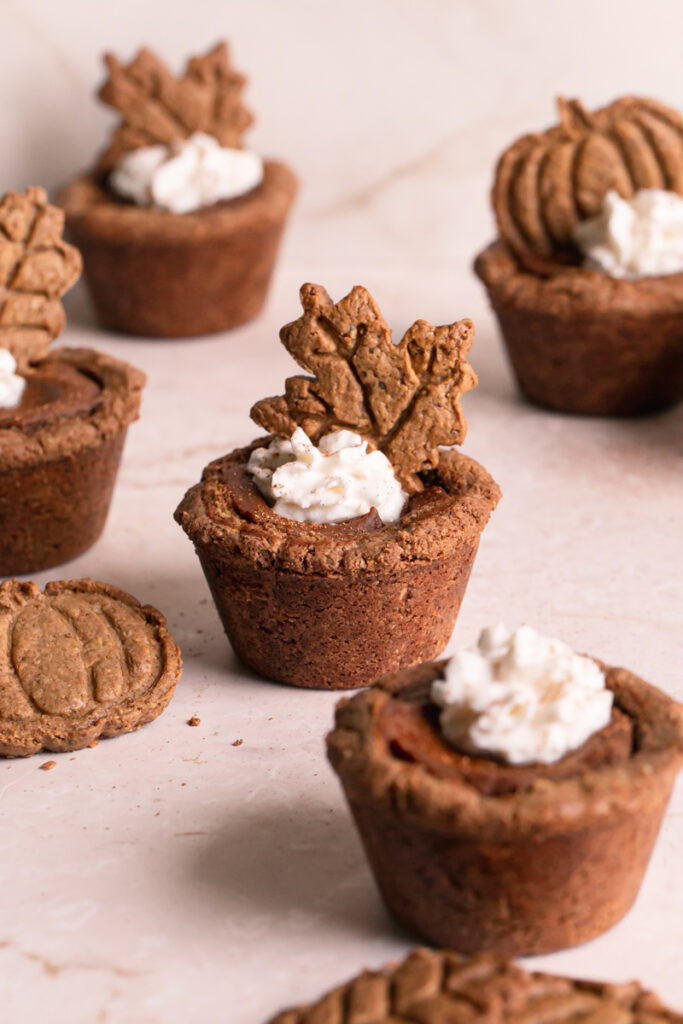
The Cookie Cutouts (optional)
If you happen to have the extra time and motivation and want to up the fall vibes even more, decorate these cookie cups with cookie leaves, pumpkins, acorns, etc. (as shown). Do this by doubling the batch of cookie cup crust dough (or make two separate batches), roll out between two pieces of parchment paper and use cookie cutters to create the shapes you’d like. It helps to chill the dough before cutting.

Then bake like cookies on a baking sheet at 350 degrees for 12-15 minutes. You can make these ahead of time and keep them in the fridge for when you’re ready to use them. Allow them to cool completely before removing from the baking sheet, they will crisp up as they cool.

The Kitchen Tools
The two things you’ll need to make these Pumpkin Pie Cookie Cups is the Calphalon 12-cup Muffin Pan and the Calphalon ActiveSense™ Blender. The Calphalon bakeware is my favorite bakeware because it features a heavy-gauge steel core that won’t warp and heats evenly without hot spots so your baked goods come out of the oven perfectly and evenly browned. The interior of the baking pans has interlocking nonstick layers that are designed to deliver long-lasting, high-performance release and these pieces are dishwasher safe!
Their blender is amazing for many different culinary creations, but particularly for these Pumpkin Pie Cookie Cups- it has a pulse function on low, medium, or high speed to deliver the perfect cookie crust consistency.
If you like Pecan Pie, there’s a delicious Pecan Pie Cookie Cups recipe in my baking cook book The Beginner’s Guide to Gluten-Free Vegan Baking that are very similar 😉 Be sure to check out my VEGAN S’MORES COOKIE CUPS too!
I’d love to hear what you think of this pumpkin pie dessert! Leave a comment below in the comments section, as well as giving it a ⭐️⭐️⭐️⭐️⭐️ rating so that others can discover this holiday pumpkin dessert recipe! Tag me on Instagram, Facebook, or Pinterest!

Pumpkin Pie Cookie Cups
- Total Time: 40 minutes
- Yield: 6–7 cookie cups 1x
Description
When you want pumpkin pie but the simplicity of making cookies you combine them into one fabulous dessert recipe! These Pumpkin Pie Cookie Cups are made with a gluten-free, vegan cookie cup crust, then filled with vegan pumpkin pie filling, baked, chilled and topped with dairy-free whipped cream!
Ingredients
Cookie Cups
- 2 cups gluten-free granola (I used Purely Elizabeth Original Granola)
- 1/2 cup oat flour
- 1 teaspoon baking soda
- 2 teaspoons cinnamon
- pinch salt
- 1/2 cup almond butter (or sunflower seed butter for nut-free)
- 1/4 cup pure maple syrup
- 1 teaspoon pure vanilla extract
Pumpkin Pie Filling
- 3/4 cup pure pumpkin puree (not pumpkin pie mix!)
- 1/2 cup full fat coconut milk, solid part only
- 1 teaspoon pure vanilla extract
- 1/3 cup coconut sugar
- 1/2 teaspoon cinnamon
- 1/2 teaspoon pumpkin pie spice
- pinch salt
Instructions
- To a blender, pulse the granola, oat flour, baking soda, cinnamon and salt together until you have a fine graham cracker crust-like texture. Pour the mixture into a bowl and add the almond butter (or other nut/seed butter), maple syrup, and vanilla and stir to form a cookie dough.
- Press 3 tablespoons of cookie dough into each cup of a muffin pan making a well in the middle with your fingers. Set aside.
- Preheat the oven to 350 degrees F. To the same blender add the ingredients for the pumpkin pie filling and blend until smooth and combined. Spoon about 2 tablespoons of pumpkin pie filling in each cookie cup, up to the top and bake for 20-23 minutes. Remove from the oven and allow the cookie cups to cool to room temperature then place in the fridge to set up at least 2 hours to overnight.
- Serve with dairy-free whipped cream. Keep them stored covered in the fridge.
Cookie Decorations for Garnishing (optional)
If you want to make the decorations as shown in the photos, make a second batch of the cookie crust dough and roll it out between two pieces of parchment paper. Chill the dough for an hour and then cut into desired shapes. Bake in the oven on a baking sheet for 12-15 minutes. Allow them to cool before removing from the baking sheet and decorating the cookie cups. You can also make these ahead of time and keep them stored covered in the fridge until you're ready to use.
Notes
* If you use sunflower seed butter the cups will turn slightly green as they cool. This is a phenomenon that happens when chlorophyll is released during the baking process and then cooled.
** This is a sponsored post created for Calphalon using their Nonstick Bakeware
- Prep Time: 20 minutes
- Additional Time: 0 hours
- Cook Time: 20 minutes
- Category: Dessert
- Cuisine: American