


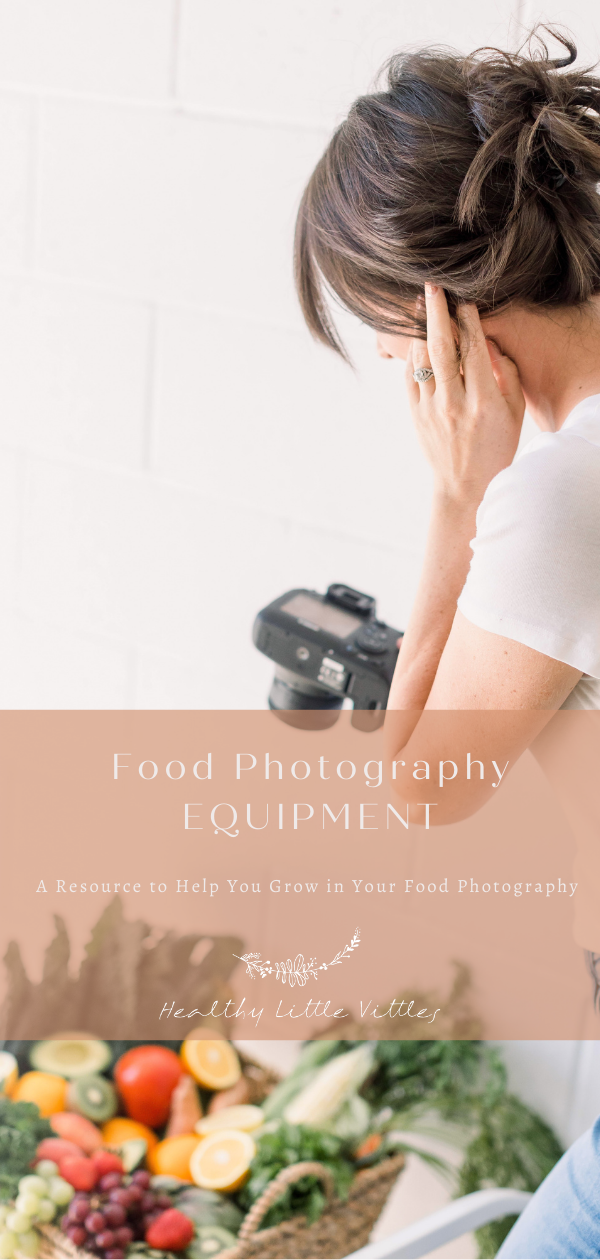
Food Photography Equipment
A basic list of the equipment, programs, and gear I use for my food photography to help you get started or grow on your journey with food photography and food blogging! Included are backdrops, props, and other learning resources that I have found helpful in my own food photography.

When it comes to my business- food blogging, I have to admit that aside from quality food ingredients I tend to be pretty fugal. There are TONS of things that I could buy/want to buy, gear that may or may not push me to the next level in my food photography and blogging life, but I’m a pretty simple gal and can get overwhelmed easily if I have too many things to think about. I like to work quick, maybe too quick sometimes, but less moving parts equals a faster project completion, because for me the nap hustle is real y’all. And while I do tend to be a perfectionist, hello Virgo! and enjoy learning and growing in my craft, I personally think mastering your skills as opposed to having the best equipment is time and money better spent. Basically, learn to work with whatcha got, and when the time makes sense and you start profiting from your work, then you can reinvest back into your business.

So let’s chat essentials first. I am sure as time goes on and I continue to learn this list will evolve, but below is a list of what you absolutely need for food photography and/or blogging. An important thing for me to note here is that I use natural light for all of my photography, so there will not be any lighting resources in this post. I just don’t have the room for lights, and again, keeping things simple 😉
☆ A camera. Cameras can get very expensive but obviously you need one. For the first two years of my blogging career I used a Canon T2i, a very basic camera with the kit lens, $500 total. It did an ok job. I have since upgraded and now use a Canon 6d Digital Camera. I know some people even use their iPhones to take their photos… so don’t stress too much about the camera. I will say I LOVE my camera and it was a great upgraded investment for my business.

☆ A lens or two. Lenses too can be VERY expensive. Again, for the first couple of years I used the lens that came with my camera (18-35mm). Now I most often use my 100mm lens or 50mm lens. Both of these lenses are non-zoom lenses, so if you’re working in a tight space you may want to get a zoom lens. I have my eye on a 24-70mm lens but it’s almost $2,000… so ya, that will have to wait until I’m making the big bucks lol.
☆ An extra camera battery. I cannot tell you how many times I’ve left my camera on while editing and when I went to go take photos of a new recipe the battery was completely dead. Good thing I had a back up after all that work preparing my recipe! They are generally cheap, so I recommend having at least two.

☆ Adobe Lightroom. My all-time favorite photo editing software. Some people use photoshop to completely edit their photos, I do have that program as well as it comes in handy for other business needs or even additional photo enhancements, but Lightroom is my recommendation. You used to be able to just purchase the program, but now you pay a monthly service charge, which I used to hate, but that just means I am always up-to-date with the latest and greatest Lightroom has to offer.
Those are the basic essentials. Now let’s chat a bit about non-essentials, but highly recommended items to make your food photography even better.
☆ Backdrops. I’ve become obsessed with them, lol. They can make the biggest difference in your photos, and I like to mix them up to compliment the dish I create. Some of my favorite places to buy them are from Woodville Backdrops $$$, Photo Surfaces $$$, Capture By Lucy $$, Bessie’s Backdrops $$, or you can even make your own, which I have also done.

☆ Props. My other obsession, probably my biggest obsession, is photography props. I love buying new dishes, bowls, flatware, glasses, linens… and the list goes on. My suggestion is to keep props neutral, it will complement the food better and will also allow you to get more use out of each piece. That doesn’t mean you can’t buy that pink plate you’ve been swooning over, but I find that ivory, cream, and white works best with most foods. Stick to non-reflective pieces. Generally, you don’t want shiny ceramics and flatware in your photos, they may clash with your food and can be hard to edit too. My favorite props come from Sweetheart Ceramics and RV Pottery! I also like supporting these artists in their small business too! I love to incorporate antique pieces into my photos as well. Etsy or Ebay are my go-to for those items but you can also check your local thrift store or antique shops for one-of-a-kind pieces that make your work charming, timeless and unique! Not to mention they are usually very cheap, SCORE! My preferred napkin/towel material is linen. I find it’s easy to style in photos without being too stiff. I like Wonder Linen the best so far.

☆ Tripod. Confession time. I rarely use a tripod. I like to freely move around when I shoot to get different angles and quite frankly I’m not patient enough to set it all up. That being said, using a tripod is next level and helps you achieve that crispness you may be searching for (that I am always pursuing). A tripod eliminates any shake and movement that your hands make giving your photos extra clarity. They can be very pricey so I haven’t invested in a good one yet, I just have a cheap one from Amazon for under $20 when I am wanting to capture that pour or drizzle shot. It’s on my shortlist of things I need to invest in next.
☆ Camera remote. If your camera doesn’t have a self-timer on it and you are able to use a remote with it it will allow you to take those drizzle/pour shots we all love so much!
☆ Diffuser. Something else I don’t really use, but many photographers find it useful. If you live in a house that has fantastic light you may want one, especially for when it’s sunny outside to help keep the highlights down. My house is usually the opposite so I don’t find I need one. I like to photograph in the morning or early afternoon when the lighting is less harsh to help with that, but I do have one just in case I need one.
Learning Resources
Interested in learning more? Try taking the Foodtography School Course! I took this course at the beginning on my blogging journey and it not only helped me enhance my food styling and photography, but also taught me how to approach brands and start making money taking photos and talking about my recipes! It fueled me to take my blog from hobby to career and I also keep in touch with a lot of the other people who were in the class with me, whom are also very successful!

I am also in love with Bea Lubas’ book, How to Photograph Food. She is so incredibly talented, I love her photography so much #goals. She also recently teamed up with another super talented food photographer Eva Kosmas Flores to bring us all an amazing food photography course, First We Eat. I know that Minimalist Baker and Pinch of Yum (Food Blogger Pro) also have food photography courses.

Things to Remember…
☆ Light is your number one priority to learn. There is nothing more essential to learn in photography than light. Whether you use natural light or artificial, it is crucial to train your eye to see how light lays on your subject, illuminates or reflects off of different parts of your food. If you want crisp, sharp images you need to pair up the correct camera settings with the light your shooting in at that particular moment. Artificial light makes this a bit easier once you figure out how that works best in your space, but I’m a sucker for simplicity and natural light always keeps it interesting for me.
☆ There is no one-setting-fits-all. I used to look at other photographer’s work that I admired and wondered what their specific camera settings were so that I could use those settings and magically my photos would be as good as theirs. I’m sorry to tell you, but sadly it doesn’t work that way… there are so many variables to take into account: what time of day you’re shooting, is it sunny vs. cloudy, the geographic area you live in, the light in your home, the direction your windows are facing, the camera and lens you’re using, the color of your walls! And the list goes on. It all comes back to light. Learn to observe the light in your space and play around with different camera settings to see what you like best. I sense a whole other blog post about this, haha 😉
☆ We all start somewhere. None of the food photographers and bloggers that you follow start out being an amazing photographer with thousands of likes and followers. We all start from zero, so give yourself some time to learn and don’t forget to offer yourself some grace along the way. We all look back at old photos and wish we would have styled it differently or captured the light better, or edited it differently. This is a never-ending learning process so keep doing just that… learning! I’m still very much learning every single day.
☆ Food blogging is a LOT of hard work. There are many hats we food bloggers wear and our work is never “complete”. There’s always delicious recipes to make, photos to take and edit and share with your audience! So don’t stress yourself out too much trying to get everything done, guilty here. Have a plan and work hard, but don’t become anxious if you don’t cross everything off your to-do list daily. You don’t want to take the fun out of it, so remember that you’re doing it because you love it and if you keep that a top priority, the traffic will come, the followers will follow, and your recipes will be enjoyed.
☆ Remain teachable. Even the most established photographers are still learning. And we all certainly encounter obstacles and “bad photography days”. I enrolled in Bea & Eva’s photography course about a month ago, after I had 60,000 followers on Instagram, and well after I was getting a decent enough amount of blog traffic to be able to run ads. I am always looking to improve and I look to more experienced food photographers and study their work to make my own work better. Invest that time, money, and attention to perfecting your craft because you may not even realize it until one day you look back and see just how much you’ve learned and the progress you’ve made. And then you keep going.
I hope that this post was helpful and encouraging. If you’re curious to see my progress over the last three years, scroll way back on my Instagram feed (yikes! haha). Feel free to reach out with any questions or feel free to leave a comment below. Thanks for reading and just know I am rooting for you!


The Healthy Little Vittles blog provides general information and discussions about health, health foods, nutritional content and value, and related subjects from time to time. Read the health disclaimer for more information.
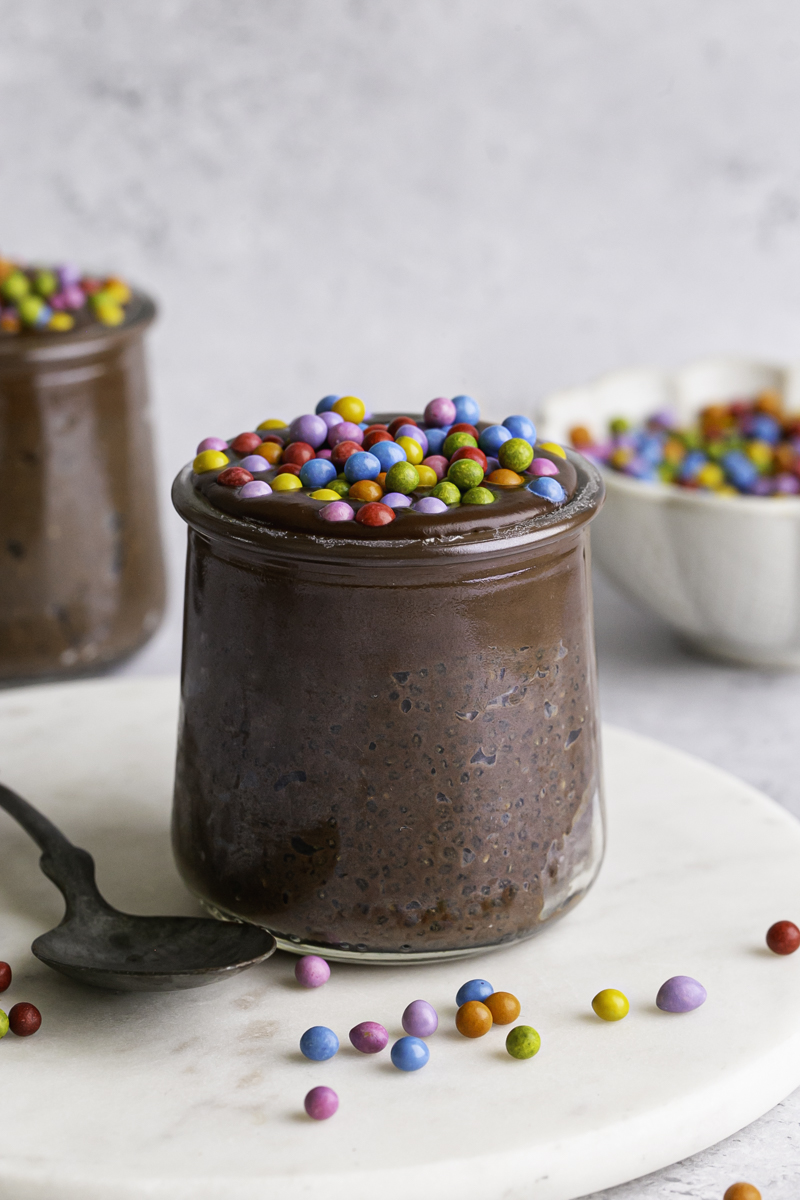
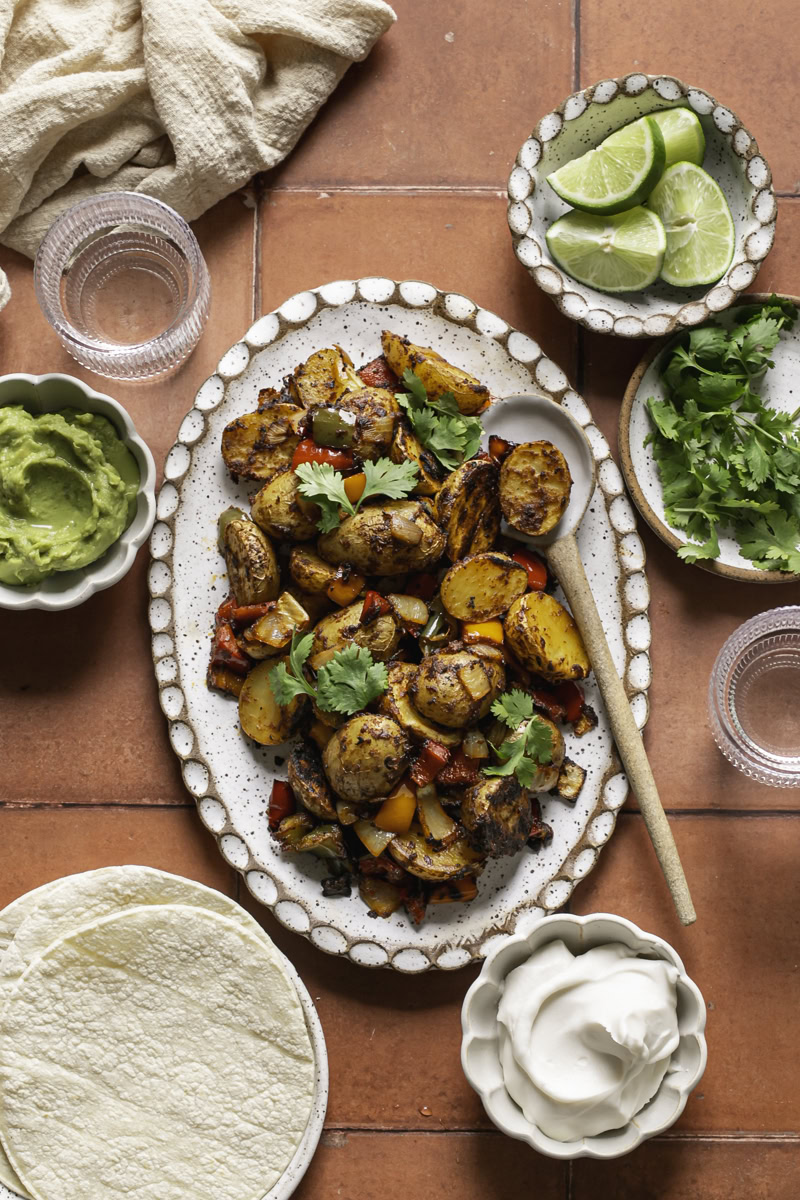
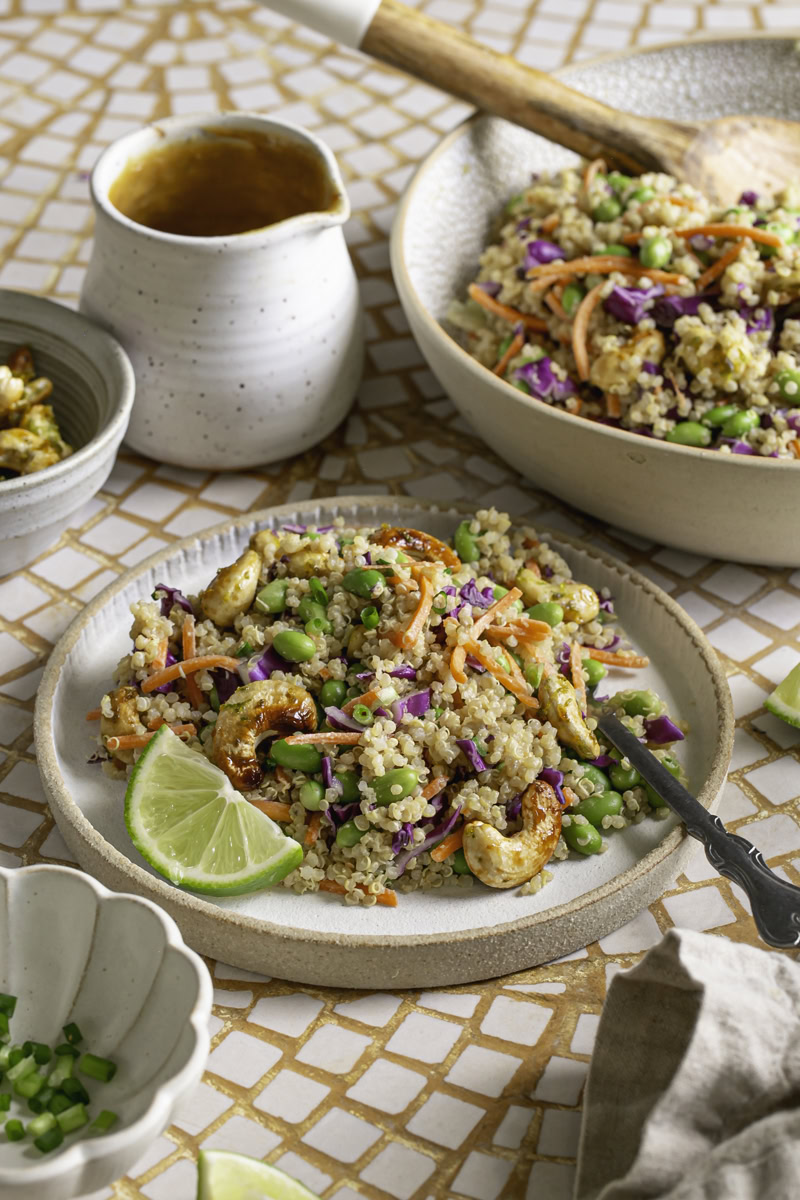
You MIGHT Also like

About the author
Gina Fontana
Gina Fontana is a certified health coach, recipe developer, food photographer, published author, and blogger. Her own personal health challenges led her to a gluten-free, vegan, plant-based lifestyle where she found significant improvement in her symptoms. Her passion and mission is to now share that with others who also need (or want) to pursue a healthier lifestyle.
")
")
 (1)")
